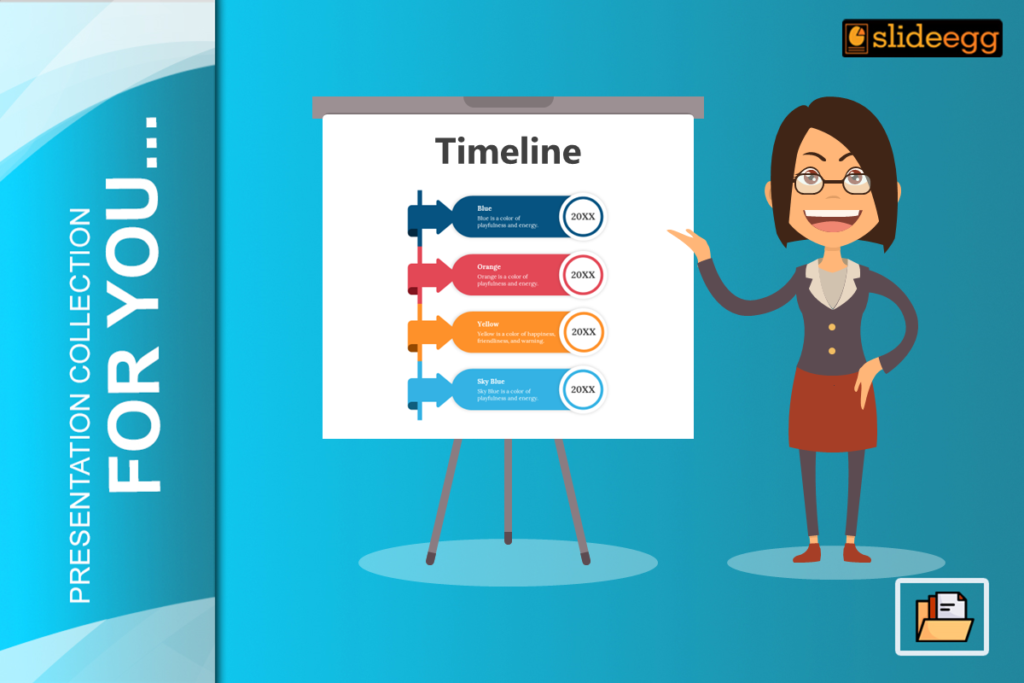
Now, the timeline in PowerPoint is indeed valuable if you have to organize data quickly and present it in a way that your audience will understand. Whether you are working on a business proposal, following up on a project, or just looking to point out some historical events, it can make things simple by making the data fit into a clear visual image. But how do you do this? Don’t worry, as it’s much easier than you might think. And that is just what I am here to walk you through.
Timelines are always powerful in the corporate world, education, or personal projects. PowerPoint offers you a flexible platform where you can create timeline slides that not only function great but are crafted in a great UI. In this step-by-step guide, learn how to create a timeline in PowerPoint.
Why Have a Timeline in PowerPoint?
Ever tried to describe a series of events without having something visual in front of you? It’s a bit like navigating a new city without a map. Timelines make crystal clear the linearity of events, and therefore, it becomes pretty easy for your audience to follow a timeline. Besides, a brilliant design of the timeline will make your presentation outstanding and keep your audience interested.
Choosing the Right Timeline PPT Template
The other thing you need to consider is choosing the right template before creating your timeline. PowerPoint has thousands of different timeline PPT templates at your service, all serving varied needs. From a very simple and clean template to a more detailed one, picking the right template will save you hours of work in the long run and set a tone for your entire presentation.
Clean Templates: Suitable for professional, clean presentations.
Storytelling Templates: Suitable if you are in a creative industry.
Project Management Templates: Great to represent your project milestones and deadlines.
Step-by-Step on How to Make Timeline
Building a timeline in PowerPoint is easy, seamless, and—without making a tall claim—a lot of fun. Here is what you need to do:
Open PowerPoint and open a new slide where you need to create a timeline
In the toolbar, click “Insert,” and then “SmartArt.”
Click “Process” in SmartArt. Here is where one can select, under “Process,” the style he/she wants or change the order of the elements. There are numerous SmartArt choices in here for processes. Select one you like, keeping in mind you need to create a timeline.
Click in the timeline graphic text placeholders to you enter your information.
Drag timeline elements to size and space the layout as needed.
Customizing Your Timeline
One of the real strengths of PowerPoint is its customizability. You can shape your timeline to suit your brand or taste. Here’s how:
Change Colors: Change to different colors that match your brand or theme by using the “Format” tab.
Change Fonts: Make sure your fonts match other slide content.
Resize shapes: Drag some of your elements to re-size them so that nothing is over-flown from your slide.
Milestones and Events
These are the main activities of the timeline. This can be when your project is due at a significant time in history or even personal accomplishments for that matter.
Click on the timeline to add new milestones or events
Ensure that every milestone is clearly labeled to let the audience know what it represents.
Visualization by icons or symbols will help set different milestones apart.
Adding Visual Elements
Visual elements enhance readability and the feel of a timeline. Follow these steps to add them:
Images: Add images relevant to the events or milestones being represented.
Icons: Add icons that describe what kind of events or actions were made for them.
Shapes: Add shapes to add a background to your timeline or to draw attention to some sections.
Best Practices while building a timeline
While building a timeline, ensure that you adhere to the best practices
Keep it Simple: Don’t put too much on your timeline.
Consistent Spacing: The space between milestones must be consistent
Key Events The key events should pop up. The color or size should be different to help the viewer see what’s what.
Common Mistake
It’s easy to fall into some of the typical pitfalls when working on a timeline. Here are a few to be on the lookout for:
Information Overload: More information is overwhelming to your audience.
Design Inconsistency: Keep a consistent look with color, font, and layout.
Forget Scale: Make sure the timeline represents the timeline intervals between the events.
Animating for Effect
Bring your timeline to life by adding some great animations. This is how you do it:
Animate Your Milestones: In the “Animations” tab you can see how to animate each of your milestones within your timeline.
Chronologize Them: Determine the proper chronology of animations so that your events appear in the chronology in which they happened.
Subtle Animations: They shouldn’t be too flashy, though. They should be subtle to not be overwhelming and take away from the content.
Saving and Sharing Your Timeline
Now that you have composed your timeline, it is time to save and share it. PowerPoint has some options for this:
Save as PDF: This is great for distributing your timeline on its own, like sending it via e-mail or distributing it in a handout.
Export as Image: This will save the timeline as an image so you can use it within another document or on the web.
Share from PowerPoint You can share your file from PowerPoint via email or cloud services.
Conclusion
Who said building a timeline in PowerPoint was supposed to be difficult? With the right template and some basic steps, you can present a timeline that pops up. A student, professional, or anyone who needs to visualize any information truly needs PowerPoint timelines because of just how versatile of a tool it is—you’ll use it over and over again.
FAQs
1. Can I use a timeline ppt template for personal projects?
Yes. Timeline templates may be used in tracking personal goals, event planning, and anything else.
2. How do I make my timeline more interesting?
Display visuals in the form of images, icons, and subtle animations to serve further the desire of the audience.
3. How do you make a PowerPoint timeline without using a timeline template?
Of course, you could do all that manually with shapes and lines, but this template would let you do it much quicker, and it also makes sure that your timeline will follow a clear structure.
4. How do I share my timeline with others?
Save your timeline as a PDF or image, and then share your file just by sharing your PowerPoint file.
5. How do I update my timeline to include other events?
Just open your PowerPoint file and click on the top of the timeline to add or edit any milestones you would like back.


