If you need to create a timeline in PowerPoint, you have three reliable options: use SmartArt (fastest), draw it manually with shapes (most control), or start from a pre-built timeline template (best-looking result). This guide walks you through all three — with clear steps, comparison tips, and common mistakes to avoid.
⚡ Quick Answer Go to Insert → SmartArt → Process → choose a timeline layout → click the text boxes to add your dates and events. Done in under 3 minutes. For a more polished result, scroll to the template method below.
What’s in This Guide
- Why timelines work in PowerPoint presentations
- Method 1: Create a timeline using SmartArt (fastest)
- Method 2: Build a timeline manually with shapes
- Method 3: Use a pre-built PowerPoint timeline template
- How to customize your timeline (colors, fonts, animations)
- Best practices and common mistakes
- FAQs
Why Timelines Work So Well in PowerPoint
A timeline transforms a list of dates into a visual story. Research on visual communication consistently shows that audiences retain sequenced information far better when presented spatially rather than as plain text. In presentations — whether for business, education, or project management — a well-designed timeline:
- Shows cause and effect at a glance
- Keeps complex project milestones digestible
- Prevents your audience from losing the thread in long narratives
- Adds a professional polish that bullet-point slides can’t match
PowerPoint is an especially good tool for timelines because it gives you full control over layout, color, and animation — all without needing design software.
Method 1: Create a Timeline in PowerPoint Using SmartArt (Fastest Method)
SmartArt is PowerPoint’s built-in diagram tool. It’s the quickest way to get a professional timeline on screen — no design skills required. Here’s how:
Step 1: Open PowerPoint and select your slide Open an existing presentation or start a new one. Click on the slide where you want to insert the timeline.
Step 2: Go to Insert → SmartArt In the top ribbon, click the Insert tab. In the Illustrations group, click SmartArt. A dialog box will open.
Step 3: Choose a Process layout In the left panel of the SmartArt dialog, click Process. You’ll see several timeline-style options. Good picks include: Basic Timeline, Accent Timeline, and Circle Accent Timeline. Select one and click OK.
Step 4: Add your text Click on each shape in the SmartArt graphic. Type your date or event label. Use the Text Pane on the left (click the arrow icon on the left edge of the SmartArt) to quickly tab through all entries.
Step 5: Add or remove entries To add a new milestone: click the last shape → press Tab in the Text Pane to add one. To remove a shape: click it and press Delete.
Step 6: Resize and position the timeline Click on the SmartArt frame. Drag the corner handles to resize. Drag the entire frame to reposition it on the slide.
💡 Pro Tip After inserting, click the SmartArt → go to SmartArt Design tab → click Change Colors to instantly switch to a color scheme that matches your brand or theme.
Method 2: Build a Timeline Manually Using Shapes
If you want full creative control — custom spacing, unique marker styles, or a layout that SmartArt doesn’t offer — you can build a timeline from scratch using PowerPoint’s shape tools. This takes more effort but gives a truly custom result.
Step-by-Step: Manual Timeline
- Draw the baseline: Go to Insert → Shapes → Lines and pick a straight horizontal line. Hold Shift while drawing to keep it perfectly horizontal. Stretch it across the slide.
- Add milestone markers: Insert small circles or diamonds at each milestone point. Go to Insert → Shapes → choose a shape (circle or diamond works well). Position each one on the line.
- Add date labels: Insert a Text Box (Insert → Text Box) above or below each marker. Type the date or event name. Use consistent font size across all labels.
- Add vertical connectors: Use thin vertical lines to connect each milestone marker to its text label. This creates visual clarity between the line and the annotations.
- Group everything: Select all elements (Ctrl+A or drag-select), right-click → Group. This lets you move, resize, and copy the entire timeline as one unit.
⚠️ Common Mistake Not aligning shapes properly. Use View → Guides and View → Snap to Grid to keep everything evenly spaced. You can also select multiple shapes and use Arrange → Align → Distribute Horizontally for perfect spacing.
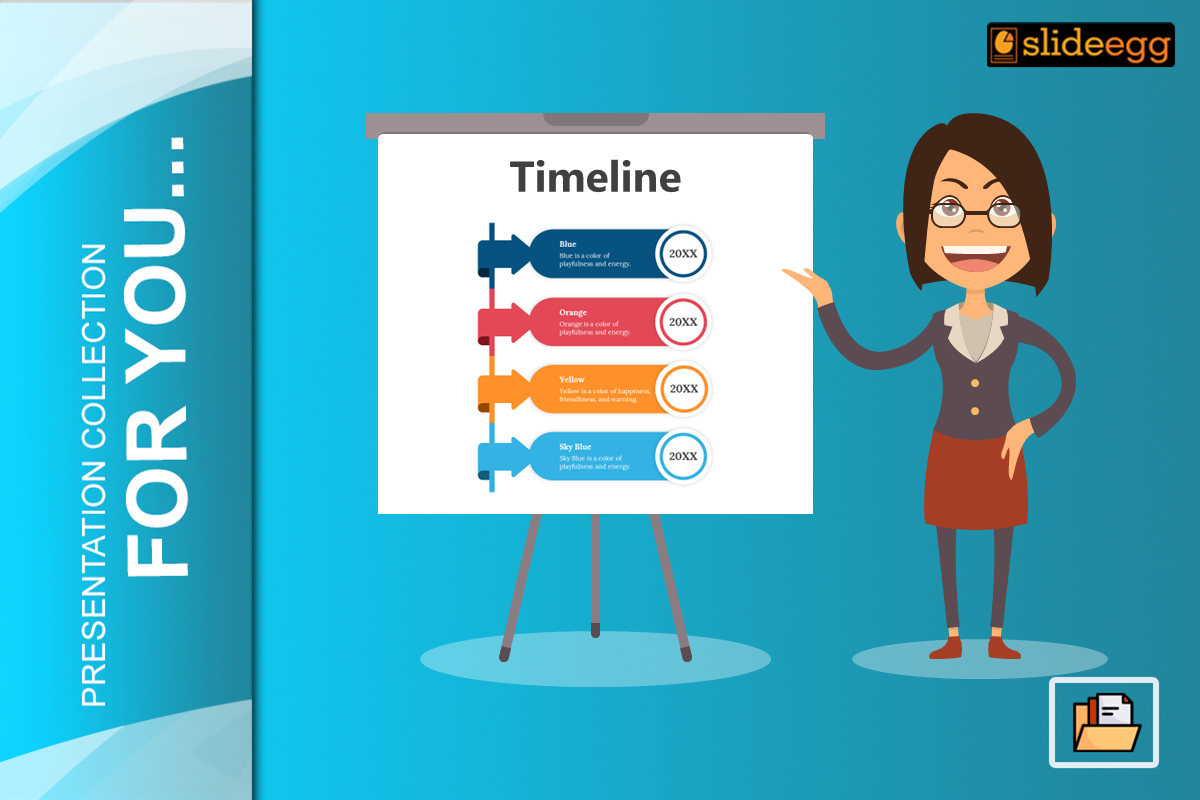
Method 3: Use a Pre-Built PowerPoint Timeline Template (Best-Looking Result)
If you want a polished, professional timeline without spending time on design, starting from a high-quality PowerPoint timeline template is the smartest move. Templates give you:
- Pre-designed layouts with proper visual hierarchy
- Consistent colors, fonts, and spacing built in
- Multiple slide variations (horizontal, vertical, roadmap-style)
- Editable placeholders — just swap in your content
SlideEgg’s PowerPoint timeline templates are free to download and fully editable. Once you download a template:
- Open the .pptx file in PowerPoint
- Click any text box and replace the placeholder text with your own dates and events
- Change colors using the Shape Format tab if needed
- Delete any slides or elements you don’t need
- Save and present
How to Customize Your PowerPoint Timeline
Whether you used SmartArt, shapes, or a template, here’s how to make your timeline look exactly the way you want:
Change Colors
Select the SmartArt or individual shapes → go to the Format tab → use Shape Fill and Shape Outline to apply your brand colors. For SmartArt, use SmartArt Design → Change Colors for a one-click color overhaul.
Change Fonts
Select all text elements (hold Shift and click each, or use Ctrl+A on the slide) → go to Home tab → change the font family and size. Keep it consistent across all labels for a clean look.
Resize Elements
Click any shape → drag the white corner handles to resize. Hold Shift while dragging to maintain proportions. For text boxes, drag the side handles to control width without changing height.
Add Icons or Images
Go to Insert → Icons (or Pictures). Place a relevant icon above or below each milestone to give it a visual anchor. Icons work especially well for project timelines, making each phase instantly recognizable.
Add Animations
Click a milestone shape → go to the Animations tab → choose an animation like Appear or Fade. Then click Animation Pane to control the order. Use Start: On Click or Start: After Previous to build the timeline step-by-step during your presentation. Keep animations subtle — Fade and Appear are usually best.
Timeline Best Practices (What Separates Good from Great)
- Keep it to 5–8 milestones max. More than that and the timeline becomes unreadable. Break long timelines into multiple slides if needed.
- Use consistent spacing between milestones. Uneven gaps imply uneven time intervals, which confuses your audience.
- Label clearly. Every milestone should have a date and a short (3–6 word) description. Avoid sentences.
- Highlight key events. Use a different color or larger shape for the most important milestone. Draw the eye purposefully.
- Match the style to your audience. A business proposal calls for clean, minimal design. A classroom timeline can use more color. For inspiration, see SlideEgg’s guide to 2026 presentation design trends to keep your slides current.
- Test on a projector or screen before presenting. Colors that look great on your laptop can wash out on a projector.
Common Mistakes to Avoid
Overloading the timeline
Adding 15+ events on a single slide makes it impossible to read from any distance. Simplify ruthlessly. If you need detail, add a notes section or use a separate slide for elaboration.
Ignoring time scale
If your timeline covers 10 years but three events are clustered in the last 6 months, your spacing should reflect that. Visually equal spacing for unequal time intervals is misleading.
Inconsistent design
Mixing three different fonts, five different colors, and two different shape styles in one timeline looks unprofessional. Pick one font, two colors (main + accent), and one shape style and stick to them.
Forgetting the audience view
What looks readable on your 27-inch monitor may be unreadable on a 12-foot projector screen. Use a minimum 18pt font for labels and preview your slide in Slide Show mode before finalizing.
Which Method Should You Use? Quick Comparison
| Method | Time Required | Customization | Best For |
| SmartArt | 2–5 min | Medium | Quick presentations |
| Manual Shapes | 15–30 min | Full control | Custom layouts |
| Template | Under 2 min | High (pre-designed) | Professional results |
How to Save and Share Your Timeline
Save as PowerPoint (.pptx): File → Save As → choose .pptx. Best for editing later or sharing with colleagues who’ll make changes.
Export as PDF: File → Export → Create PDF/XPS. Best for emailing or distributing as a read-only document — looks consistent on any device.
Export as image: File → Export → Change File Type → JPEG or PNG. Good for embedding the timeline in a report, email, or web page.
Share via cloud: File → Share → upload to OneDrive or SharePoint. Recipients can view or edit in PowerPoint Online without downloading.
Method 4: Make Your Timeline Interactive with Slidea (For Maximum Audience Engagement)
Static timelines are great for informing — but interactive timelines make your audience part of the story. If you present to live audiences and want to go beyond what PowerPoint can do, Slidea lets you add real-time interactivity directly to your timeline slides.
Here are a few ways to use Slidea with your timeline:
- Live polling on milestones: Ask your audience to vote on which milestone had the biggest impact. Results appear live on screen as people respond from their phones.
- Clickable timeline stops: Let viewers tap into each milestone for more detail — like an expandable slide within your presentation.
- Q&A tied to specific events: Open a live Q&A window at any point in your timeline so your audience can ask questions about that milestone in real time.
- Audience pacing: Let attendees signal when they’re ready to move to the next milestone, so no one gets left behind.
💡 When to use Slidea If your timeline covers a company history, product roadmap, or strategic plan — and you’re presenting live to a team or client — Slidea turns a one-way presentation into a two-way conversation. Your audience engages with the timeline instead of just watching it.
You can build your base timeline in PowerPoint using any of the three methods above, then bring it into Slidea to layer on the interactive elements. No redesign needed. Learn more about making presentations interactive with Slidea and see how easy it is to add live polls and Q&As to your existing slides.
Final Thoughts
Creating a timeline in PowerPoint doesn’t need to be complicated. For most presentations, SmartArt gets the job done in minutes. For something truly polished, a professionally designed template is your fastest path to a great-looking result. If you want full creative control, building manually with shapes gives you that freedom.
The key is to keep your timeline focused, visually consistent, and easy to read at a glance. Your audience should understand the sequence of events within seconds of the slide appearing.
Frequently Asked Questions
How do I make a timeline in PowerPoint step by step?
Go to Insert → SmartArt → Process → select a timeline layout → click the shapes and type your dates and events. Resize and recolor using the SmartArt Design tab. Full step-by-step instructions are in Method 1 above.
Does PowerPoint have a built-in timeline template?
Yes — PowerPoint includes basic timeline layouts inside SmartArt (Insert → SmartArt → Process). For more professionally designed options with multiple slide layouts, SlideEgg offers free downloadable PowerPoint timeline templates with ready-made layouts you can edit in minutes.
How do I make a project timeline in PowerPoint?
Use the SmartArt method for a quick overview, or use a project management timeline template that includes milestone markers, phase labels, and Gantt-style layouts. Add the project phases as milestones and include start/end dates in each label.
Can I animate a PowerPoint timeline?
Yes. Select each milestone shape and go to the Animations tab. Apply a Fade or Appear animation to each element, then use the Animation Pane to set the order. This lets you reveal milestones one at a time as you speak.
How do I add more points to a SmartArt timeline?
Click the SmartArt → open the Text Pane (small arrow on the left edge) → press Enter after the last item to add a new bullet. PowerPoint will automatically add a new shape to the timeline.
What is the best timeline format for PowerPoint?
For most presentations, a horizontal timeline is easiest to read. Vertical timelines work well for chronological histories. For project management, a swimlane or Gantt-style layout is more informative. Templates make it easy to try different formats without redesigning from scratch.
How do I share a PowerPoint timeline with someone who doesn’t have PowerPoint?
Export the file as a PDF (File → Export → Create PDF/XPS) or as a JPEG/PNG image. Alternatively, upload it to Google Slides or OneDrive and share a view-only link.