A timeline in any presentation is a very important aspect, as it conceptually presents how things happen over time. This tutorial will guide you through the steps to come up with a professional timeline in PowerPoint and to enhance the structure and clarity of your slides.
Step 1: Open PowerPoint and Create a New Slide
Open PowerPoint and create a new presentation or open an existing presentation in which you want to add a timeline. When you are on the slide on which the timeline is to be added, you may proceed.
Step 2: Insert a SmartArt Graphic
Timeline creation in PowerPoint is accomplished via the SmartArt feature. This saves the time of designing one yourself from scratch. Here’s how you do this:
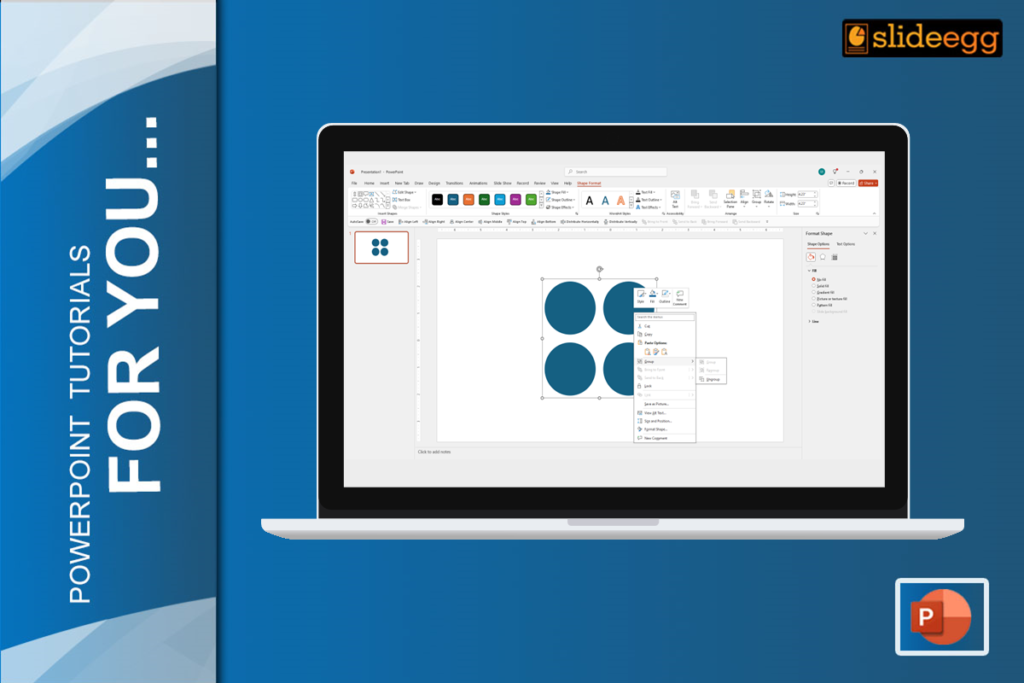
- Click the Insert tab at the top of your screen and click SmartArt.
- A dialog box opens. Under Process, there are several layouts for timelines. Click on one you like such as the Basic Timeline or Circle Accent Timeline.
- Click OK to insert your chosen timeline into your slide.
Now you have the basic structure of your timeline.
Step 3: Adding Text to Your Timeline
Upon adding the timeline, text boxes will appear to you that are connected with the points or milestones on the graphic. In each text box, add key information on your timeline, such as dates, explanations of events, milestones, or other data you wish to present.
Hint: Let your timeline be readable, and a pleasure for the eyes with concise text.
Step 4: Beautify the Look of Your Timeline
PowerPoint also gives you a number of ways through which you can beautify your timeline even more. After adding your text, you can customize the design to match the theme of your presentation.
- Changing Colors: On the SmartArt Design tab, click the arrow next to SmartArt Styles, and then click Change Colors. Under Change Colors, click a color variation that coordinates with your slides.
- Changing Layout: If you want, you can change the layout. In PowerPoint, under SmartArt, select a different layout.
- Adding More Milestones: If you want more points on your timeline, add a new milestone by either hitting Enter inside of any text box or Add Shape from the SmartArt Design menu.
Easy Tip: You may also want to check out free timeline presentation templates available online for an added degree of professionalism. These readymade editable timelines require only your data to be input into them, saving you from the creation of the layout for a timeline yourself. If short on time, these can be very useful.
Step 5: Fine-Tune the Details
After you have an overall timeline, then spend some time in fine-tuning it. Ensure:
- The text is well-aligned and easy to read.
- The colors used represent the overall tone of your presentation.
- All important milestones are included.
Keep in mind that a timeline is not something that should be cluttered; it needs to be fairly simple. If the slide is cluttered, it is going to make it look messy and disorganize your audience. Use the timeline to show only major points.
Step 6: Save and Review Your Presentation
Now that you have created your timeline, be sure to save your work. Under the File option select Save As to save the PowerPoint presentation to your computer. After saving, review the slide to make sure everything appears as you desire, and run through the slideshow to see how the timeline fits within your overall presentation.
Pro Tip: SlideEgg has a number of timeline templates that you can modify in a few minutes. They save you time without putting so much effort into designing it.
Conclusion
You can make a really engaging timeline presenting all of the information with the use of PowerPoint and with the help of free timeline templates available online. With these few steps and resources, you’ll be ready to amaze with your timeline in no time!
Want more ways to make your presentations pop? Check out our tips & tricks page where you’ll find more hacks on ‘how to enhance your PowerPoint skills’. If you’re using Google Slides, head to our blog on “How to make a timeline in Google Slides.”