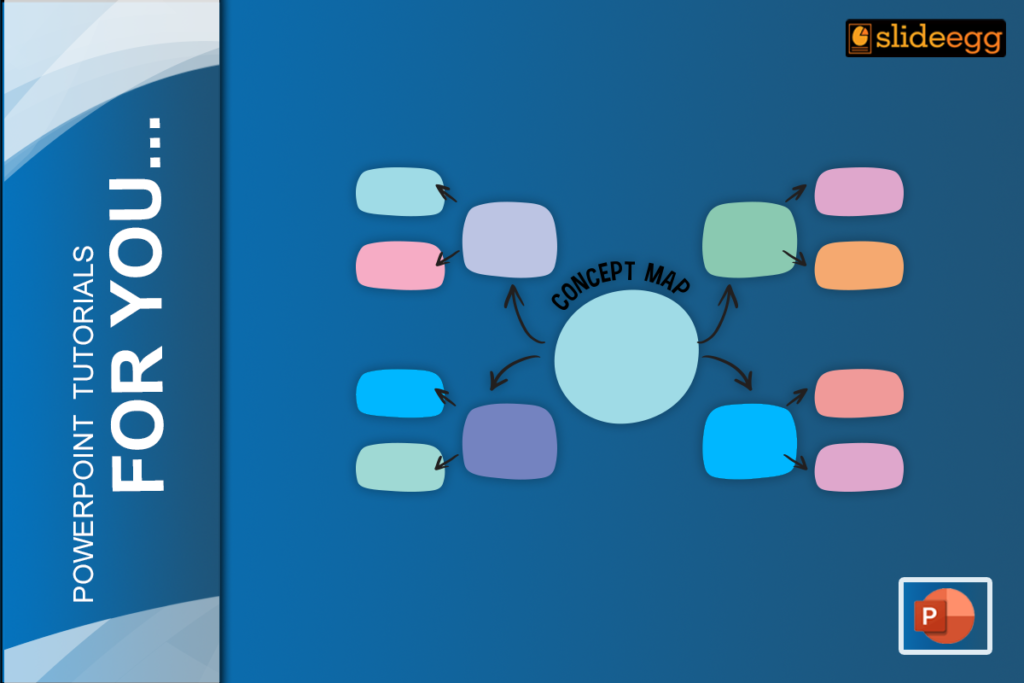
Concept maps are a great means of visualizing thoughts and breaking down complex issues or relations in ideas. After all, they are one of the tools most commonly used in education, business, and even while planning a project, as information is rendered much easier. Need a quick and easy way of creating one? Then PowerPoint is your best friend. Read this step-by-step guide to learn how to make a visually pleasing concept map.
What is a Concept Map?
So, let’s begin by just very briefly going over what a concept map is. It is quite simply an illustration of the relationship between one or more ideas or concepts. You begin with a center idea and then attach related topics to bring about a web or a map of information.
This is why concept maps are helpful during brainstorming, planning projects, or teaching complex ideas. And the good news? You can make a concept map in PowerPoint easily!
How to Create Concept Map on PowerPoint: Step-by-Step Guide
Here’s a simple guide with clear steps to help you develop a neat and professional-looking concept map in PowerPoint:
1. Open a New PowerPoint Slide
Start by opening PowerPoint and creating a new, blank slide. Of course, no better place to start the concept map is on the clean canvas of blank space – since there is much more open space where you can arrange your ideas appropriately.
2. The Shape of the Central Idea
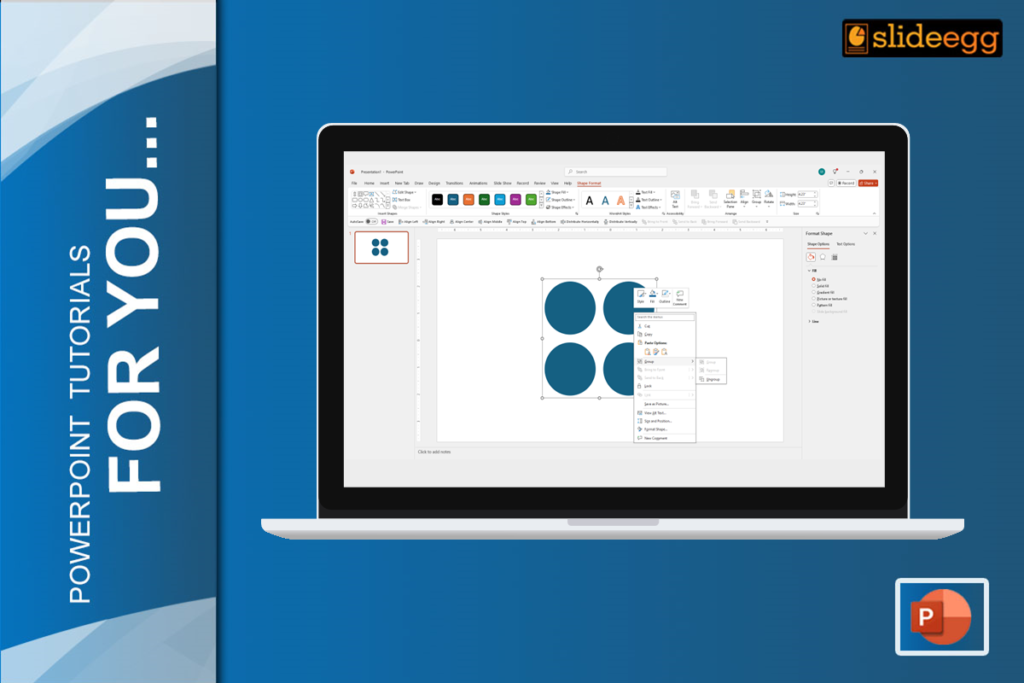
Click on the Insert menu located at the very top of the screen and then click on Shapes. The most commonly used shapes in the concept map are circles, rectangles, or ovals. Let’s place this in the middle part of your slide. This would represent your central idea or theme.
3. Place Text into Your Shape
Double-click inside the shape and type in your big idea. For example, if you’re doing a concept map on Digital Marketing, write that in the middle.
4. Add Related Concepts
Now, put your relevant ideas. To do this, go to the Insert tab, click on Shapes, and insert new shapes beside your topic. These are your secondary ideas or subtopics. You may put lines or arrows between the topic and your subtopics on how everything relates.
Pro Tip: To make things look even more polished, you can align the shapes using the Align tool under the Format tab.
5. Use Lines to Connect Ideas
You would now be required to link up the shapes to make the relationship between your concepts more apparent. In the Shapes tool under the Lines, open them and draw them linking the shapes to each other. You could even use arrows to describe the flow.
6. Color and Font Personalization
PowerPoint makes it very easy to customize your concept map. Just select your shapes, lines, and text by clicking on them and bringing up options from the Format tab. Use different colors to differentiate between different sections of your map, so you can get an instant understanding at a glance.
7. Add Icons or Images (Optional)
Add icons or small images to represent your concepts visually. You can do this by clicking Icons or Pictures under the Insert tab. This will make your concept map look more exciting and will make it easier to get across the ideas more understandably.
8. Save Your Time With Templates
Don’t want to start from scratch? No worries! Online, there are lots of pre-prepared professional PowerPoint templates for concept maps. They’re ready with pre-arranged shapes and designs according to your topic, saving you precious time while additionally giving your presentation a very professional look.
Why PowerPoint for Concept Maps?
There are many tools to create a concept map, but often it is PowerPoint that one resorts to. Here’s why:
- Easy to use: If you are a beginner at PowerPoint, this is pretty easy to create your concept map.
- Flexibility: You can add pictures easily. You can customize it as per the requirement. You can further animate the map and add it to any presentation.
- Sharing and collaboration are easy: Whether you will be presenting this in a meeting or sharing this via an online network, with PowerPoint, this is all easy and smooth.
If you are a Google tool lover, you will like this alternative: How to make a concept map in Google Slides. It’s a pretty cool alternative with similar features.
Pro Tips for an Awesome Concept Map
- Simplify: Do not overcrowd your mind map with lots of ideas. Simplify with important ideas.
- Color Code: Code different ideas with different colors to make the map look easier to read.
- Group Related Ideas: Use shapes and lines to connect ideas into visual groups.
The End
Now you know how to make a concept map in PowerPoint. Whether you’re using it for personal brainstorming or a big presentation, these maps are a fantastic way to visualize and organize your thoughts.
And if you’ve only got an hour or want something a bit more professional, there are loads of free PPT templates online that can save the day. Plus, if you want to explore more advanced options like mind maps, check out our blog on “how to create a mind map in PowerPoint” and “how to make a mind map in Google Slides“. Thanks for reading! Stay tuned for more presentation hacks!


