PowerPoint is an essential tool for creating impactful presentations, whether for business, education, or personal use. But have you ever felt overwhelmed by a jumbled mess of shapes, pictures, and text boxes on your PowerPoint slide? You drag one element, and three others seem to hitch a chaotic ride.
One of the most useful features of PowerPoint is the ability to group objects, which helps to create clean, organized, and impactful slides. In this blog, we’ll walk you through the steps on how to group objects in PowerPoint and share some additional presentation hacks to enhance your presentation skills.
What is Grouping in PowerPoint?
Grouping in PowerPoint involves combining multiple objects—such as shapes, images, text boxes, and charts—into a single unit. This feature is particularly helpful when you need to maintain the alignment and spacing of objects or want to apply the same formatting to all selected items at once.
Why Group Objects in PowerPoint?
Grouping objects in PowerPoint has several advantages:
- Ease of movement: Move multiple objects simultaneously without altering their arrangement.
- Consistent formatting: Apply the same style, color, or effect to all objects in the group.
- Simplified resizing: Resize all grouped objects together while maintaining their proportions and relative positions.
- Organized slides: Keep your slides tidy and structured by reducing the number of individual objects.
How to Group Objects in PowerPoint: Step-by-Step Guide
Step 1: Select the Objects
- Click on the first object you want to include in the group.
- Hold down the ‘Shift’ key and click on each additional object you want to select. Alternatively, you can click and drag your mouse to create a selection box around the objects.
Step 2: Group the Objects
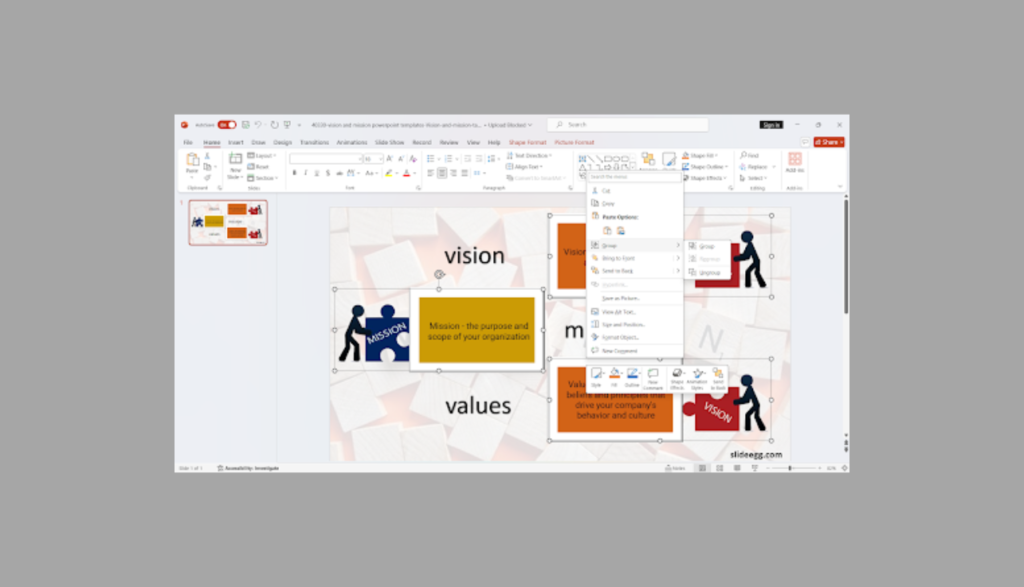
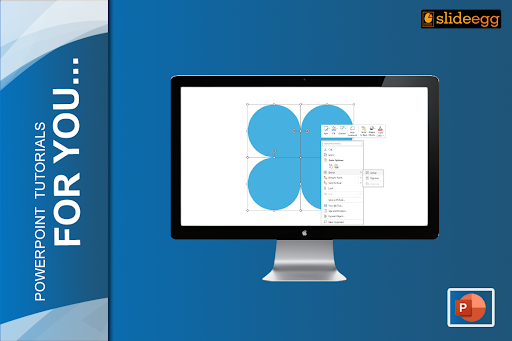
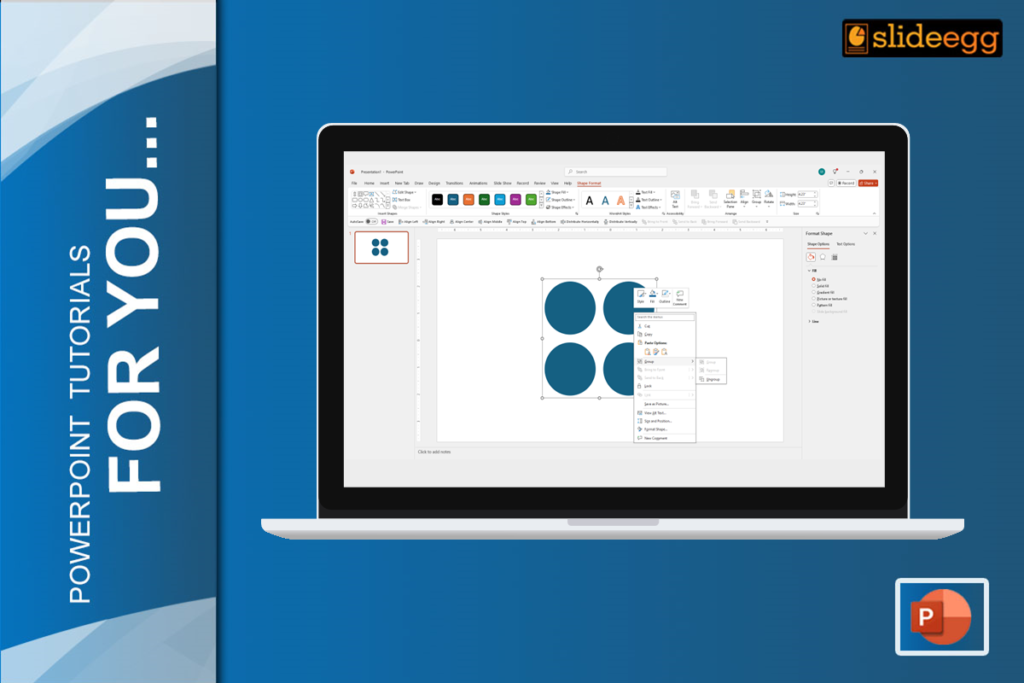
- Once all desired objects are selected, right-click on any of the selected objects.
- From the context menu, select ‘Group’ > ‘Group’. Alternatively, you can use the shortcut ‘Ctrl + G’ on Windows or ‘Command + G’ on Mac.

Ungrouping Objects
If you need to make changes to individual objects, you can ungroup them. Right-click on the grouped objects, then select ‘Group’ > ‘Ungroup’. You can also use the shortcut ‘Ctrl + Shift + G’ on Windows or ‘Command + Shift + G’ on Mac.
Regrouping Objects
Sometimes, you might need to ungroup objects to make changes and then regroup them. PowerPoint makes it easy to regroup objects that were previously grouped. Right-click on the selected object. From the context menu, select Group > Regroup. Alternatively, you can use the shortcut ‘Ctrl + Shift + J’ on Windows or ‘Command + Option + G’ on Mac.
Additional Tips
- Nested Groups: You can create nested groups by grouping already grouped objects with other objects. This helps design intricate layouts.
- Editing Grouped Objects: Double-click on any object within a group to edit it without ungrouping.
PowerPoint Tips and Tricks
Creating visually appealing presentations from scratch can be time-consuming. To save time and ensure a professional look, consider using pre-designed templates. Slide Egg offers a vast collection of 1,00,000+ pre-designed professional PowerPoint templates. These templates cater to various industries and presentation needs, allowing you to focus on your content rather than design elements.
Conclusion
Grouping objects in PowerPoint is a simple yet powerful feature that can significantly streamline your workflow and enhance the overall appearance of your presentations. By learning how to group objects, you can efficiently manage and manipulate multiple items, ensuring a polished and professional final product.
Don’t forget to explore additional resources like Slide Egg’s PowerPoint Tips and Tricks page to further improve your presentation skills. And if you’re short on time or need inspiration, Slide Egg’s extensive library of pre-designed templates can be a lifesaver. Happy presenting!


