Posters are a fantastic way to showcase information in a clear, concise, and visually appealing way. Whether you’re presenting research findings, promoting an event, or simply sharing a cool infographic, PowerPoint can be a surprisingly powerful tool to bring your poster to life. Now, you might be wondering, “Isn’t PowerPoint mainly utilized for presentations?” Well, you’d be right! But PowerPoint’s ability to structure content, incorporate visuals, and finesse formatting makes it perfectly adaptable for crafting impactful posters. This guide will equip you with the knowledge to craft compelling posters that will stop viewers in their tracks.
Before We Begin: A Glimpse into Google Slides
For those more comfortable with web-based tools, we have a dedicated blog outlining the steps to creating stunning posters using Google Slides. Check it out if that’s your preferred platform.
Choosing the Right Canvas Size
PowerPoint slides are designed for presentations, not posters. The default size won’t do justice to your grand vision. Here’s how to adjust the canvas size for your masterpiece:
- Go to the Design tab.
- Click on Slide Size.
- Select Custom Slide Size.
- In the Width and Height boxes, enter the desired dimensions of your poster. Common poster sizes include A1 (33.11 x 23.39 inches) and A2 (46.81 x 16.54 inches). You can also choose a landscape or portrait orientation based on your content.
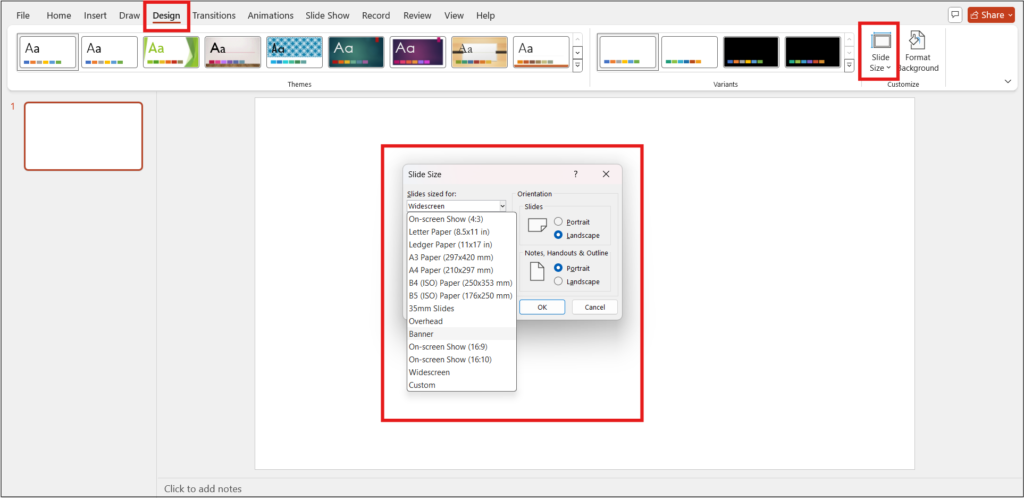
- Click OK.
Planning the Layout
Before diving headfirst into design elements, take a moment to plan your poster’s layout. This helps ensure all the information is organized logically and easy for viewers to navigate. Here are some tips:
- Identify Key Sections: Think about the information you want to convey and group it into sections like title, introduction, methodology (for research posters), results, conclusion, and contact details.
- Visual Hierarchy: Prioritize the sections based on their importance. The title and key findings should be more prominent.
- Balance is Key: Aim for a balanced layout that’s pleasing to the eye. Sketch a rough layout on paper or digitally to visualize the arrangement.
Adding Visuals and Text
With the foundation laid, it’s time to bring your poster to life with visuals and text. Here’s how:
- Background: Choose a background color or image that complements your content and doesn’t overpower it. Solid colors often work well for research posters, while thematic images can add visual interest to event posters.
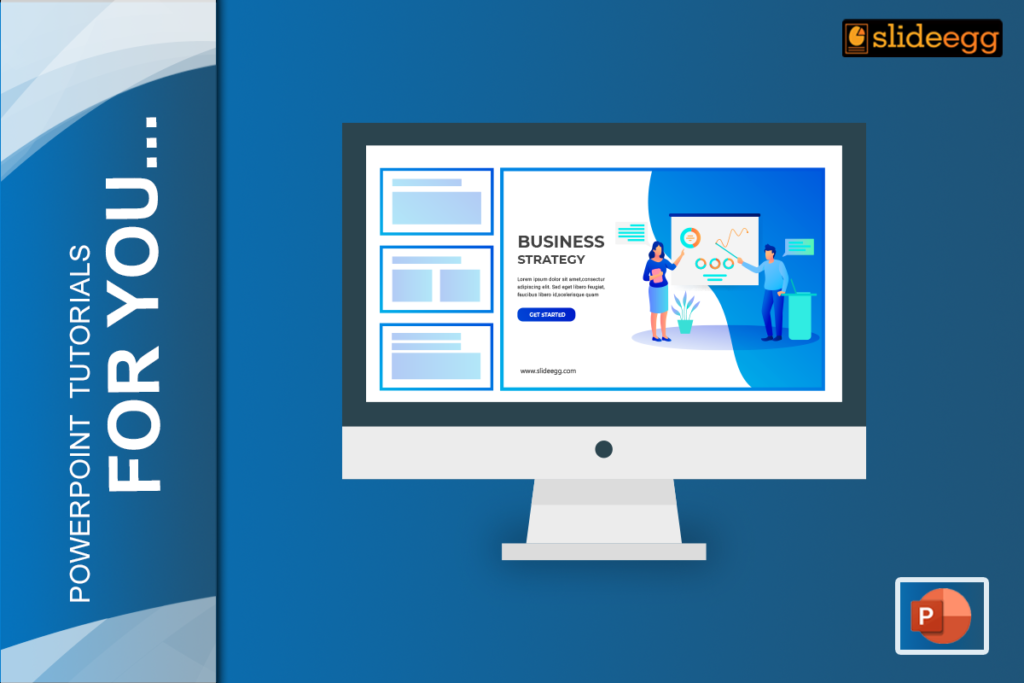
- Captivating Images: Images are powerful tools for grabbing attention and illustrating your points. Use high-resolution images that are relevant to your subject matter.
- Headlines that Hook: Craft a clear and concise title that piques viewers’ interest. Use large, easy-to-read fonts for the title and headings.
- Body Text: Keep the body text clear, concise, and easy to understand. Use bullet points and short sentences to break up the text and improve readability. Consider using a slightly smaller font size compared to headings.
Formatting and Design Tools
PowerPoint offers a wealth of tools to enhance your poster’s design. Here are some handy features to explore:
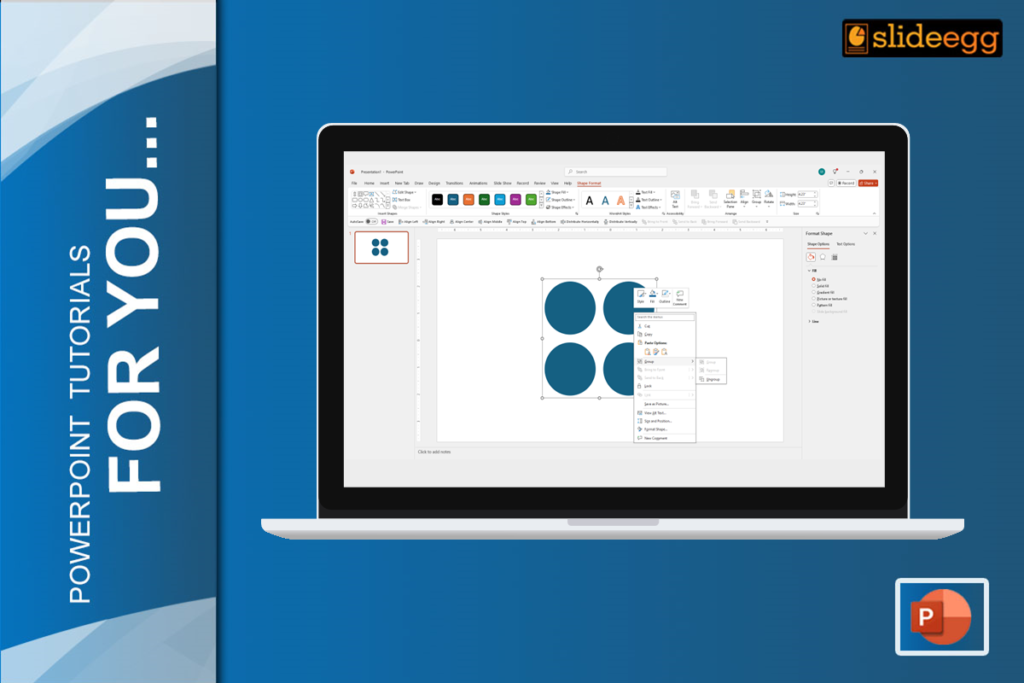
- Adding Images and Graphics: Images can breathe life into your poster and help convey your message more effectively. PowerPoint allows you to easily insert images from your computer or online sources. Simply click on the “Insert” tab, select “Pictures,” and choose the image you want to add. You can also add shapes, icons, and other graphics to spice up your design.
- Playing with Fonts and Colors: Font choice and color scheme play a crucial role in poster design. Maintain consistency and readability by limiting to two or three complementary fonts. Experiment with different font sizes and styles to create hierarchy and emphasis. When it comes to colors, opt for a cohesive palette that aligns with your message and branding.
- Shapes and Lines: Use shapes and lines to create sections, highlight key points, or add visual interest. Experiment with different shapes, sizes, and colors to create visually appealing divisions that draw attention to key points. By strategically placing lines throughout your poster, you can guide the viewer’s eye and create a sense of flow and cohesion in your design.
- SmartArt: SmartArt graphics in PowerPoint is a powerful tool for visualizing complex information in a simple and engaging way. Utilize SmartArt to create charts, diagrams, and process flows that effectively communicate your message. With customizable colors, styles, and layouts, you can tailor your SmartArt graphics to match the tone and theme of your poster, adding depth and clarity to your presentation.
- Alignment and Grouping: Ensure a clean and organized look by aligning text and image elements. Grouping related elements together allows you to manage them as a single unit, making it easier to move and manipulate them as needed. Whether you’re aligning text boxes, images, or shapes, taking the time to properly align and group elements will elevate the overall aesthetic of your poster.
Beyond the Basics
Interested in elevating your poster design quickly? Look no further than Slide Egg, a website packed with professional PowerPoint templates and design tips. From sleek modern layouts to scientific-themed templates, Slide Egg has something for every poster type.
The Final Touches: Proofreading and Exporting
Before hitting print (or saving digitally), take a step back and proofread your poster meticulously. Double-check for typos, grammatical errors, and factual accuracy. Once you’re confident everything is perfect, export your poster as a high-resolution PDF for printing or share it digitally.
Conclusion: Your Poster Awaits!
Creating a poster in PowerPoint is easier than you think. With the right tools and a bit of creativity, you can design eye-catching posters that leave a lasting impression. With a little planning and these handy tips, you’re well on your way to crafting a poster. Follow the steps outlined in this guide, and don’t hesitate to experiment with different layouts and designs. So, fire up PowerPoint, deliver your creativity, and get ready to showcase your work with confidence!