
Picture collages are a wonderful way to capture memories, tell stories, or showcase a collection of images in a single, visually appealing format. Microsoft PowerPoint, known primarily for its presentation capabilities, also offers an excellent platform for creating stunning picture collages. The best part? You don’t need to be a design expert to make a professional-looking collage. With a few simple steps, you can create a collage that looks great and perfectly suits your needs. In this guide, we’ll walk you through the step-by-step process of creating a picture collage in PowerPoint. Whether you’re a beginner or looking to refine your skills, this tutorial is for you.
Step-by-Step Guide to Making a Picture Collage in PowerPoint
Step 1: Open PowerPoint and Create a New Slide
Start by opening Microsoft PowerPoint. To create a new presentation, click on “File” in the top left corner and select “New”. Choose a blank presentation to have a clean slate for your collage.
Step 2: Insert a Blank Slide
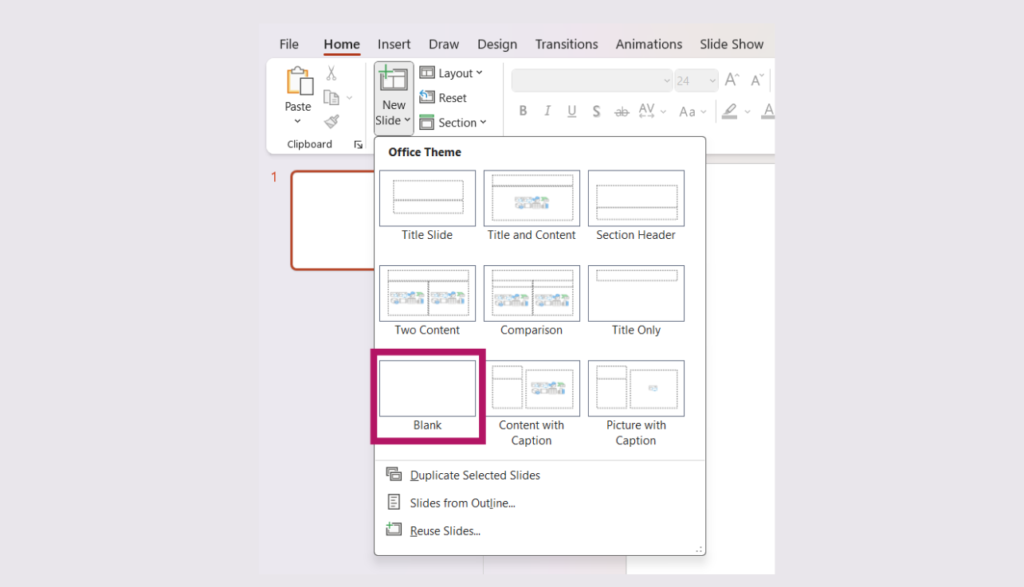
Once your new presentation is open, insert a blank slide. You can do this by clicking on “New Slide” in the “Home” tab and selecting “Blank” from the dropdown menu. This gives you an empty canvas to work on your collage.
Step 3: Insert Pictures
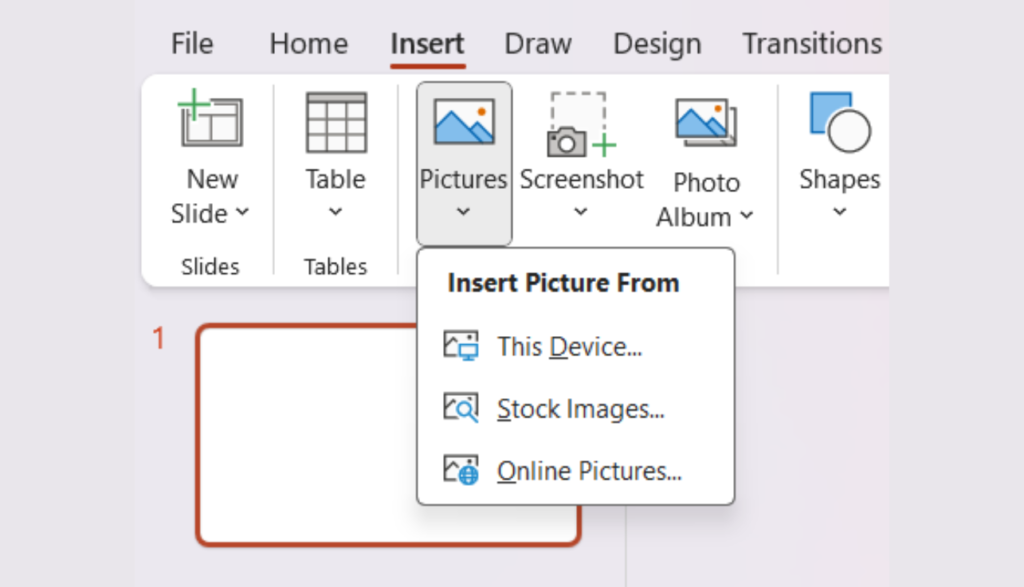
Now, it’s time to add your pictures. Click on “Insert” in the top menu, then select “Pictures”. Choose “This Device” if your images are saved on your computer, or select “Online Pictures” if you want to use images from the web. Browse and select the images you want to include in your collage, then click “Insert”.
Step 4: Arrange the Pictures
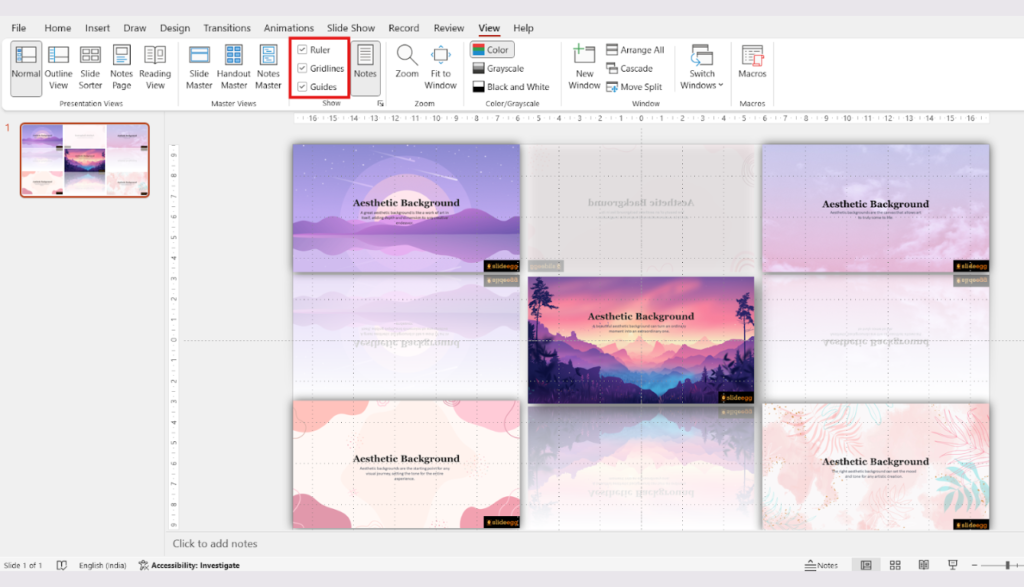
After inserting your pictures, arrange them on the slide. You can resize and reposition each image by clicking and dragging the corners of the pictures. For precise alignment, use the gridlines and guides. To activate these, go to “View” and check “Guides” and “Gridlines”.
Step 5: Use Picture Tools for Enhancement
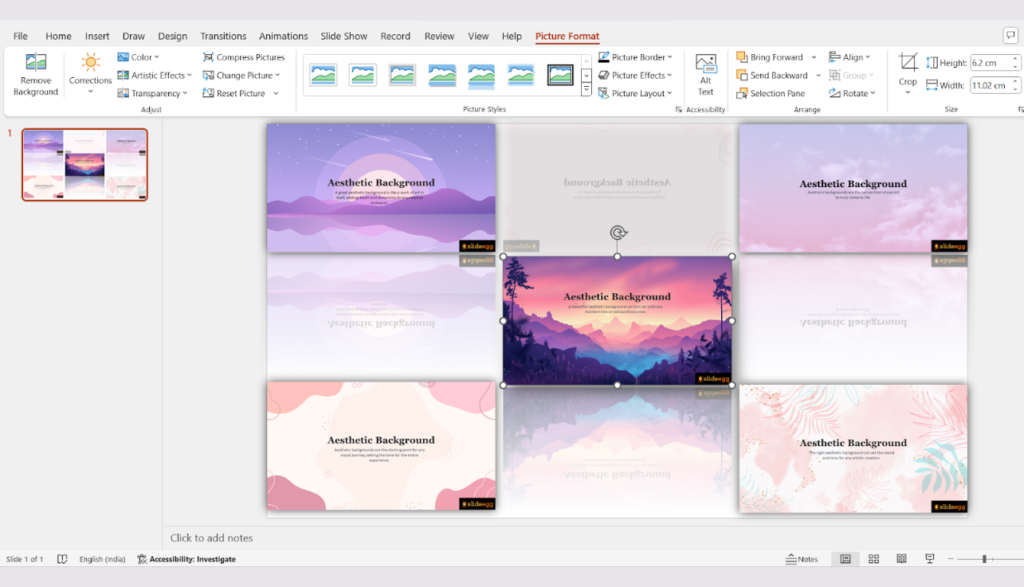
PowerPoint offers various picture tools to enhance your collage. Choose a picture to access the “Picture Format” tab. Here, you can adjust the brightness, contrast, and color of your images. You can also apply artistic effects and picture styles to make your collage more visually appealing.
Step 6: Add Shapes and Text
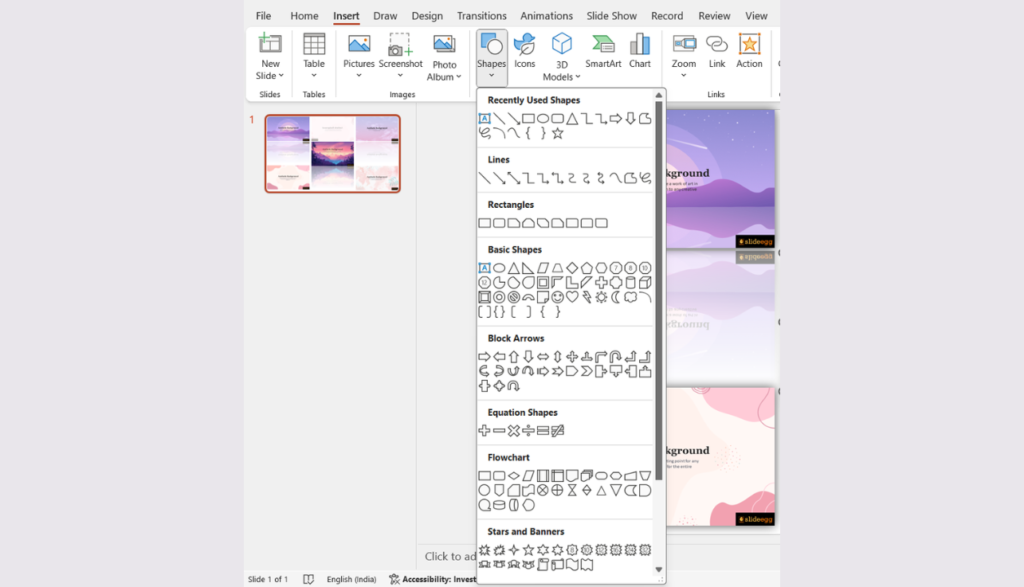
To add a creative touch, include shapes and text in your collage. Click on “Insert” and select “Shapes” to add elements like circles, rectangles, or arrows. For text, select “Text Box” from the “Insert” menu, click on the slide, and start typing. Customize the font, size, and color to match your collage’s theme.
Step 7: Grouping Elements
If you want to move multiple elements at once, group them. Hold down the “Shift” key and click on each item you want to group. Right-click on one of the selected items and choose “Group” from the context menu. This way, you can move or resize the group as a single unit.
Step 8: Save Your Collage
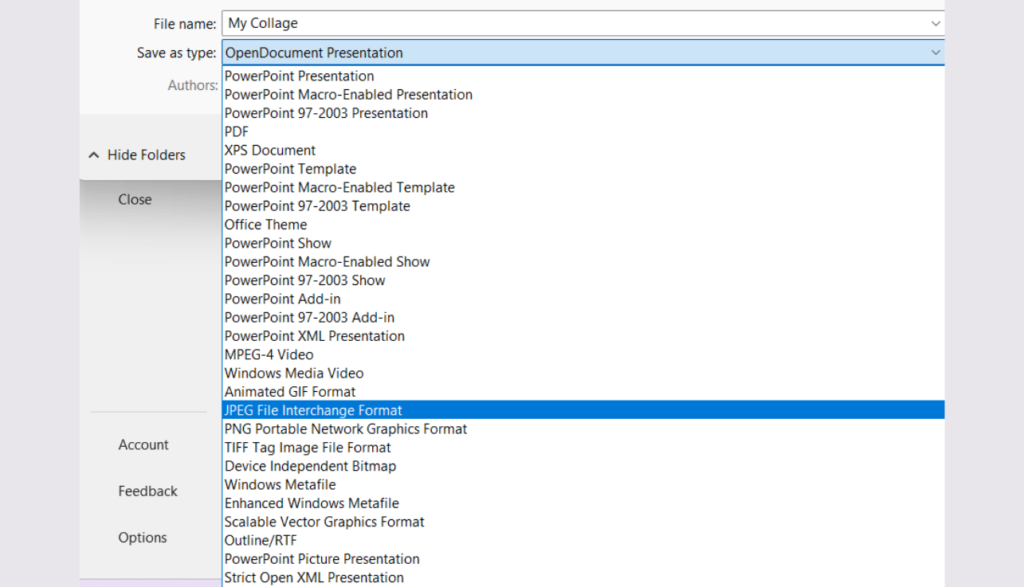
Once you’re satisfied with your collage, save your work. Click on “File” and then “Save As”. Choose a location on your computer, name your file, and select “PowerPoint Presentation” for the file type. If you want to save your collage as an image, select “JPEG” or “PNG” from the file type options.
Step 9: Export and Share
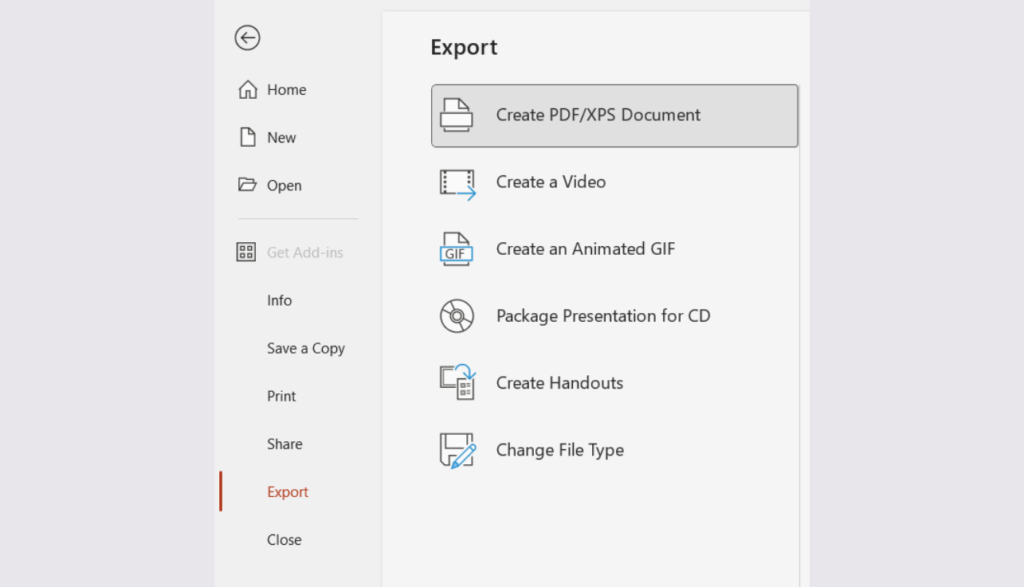
To share your collage, you can export it as an image or PDF. Click on “File”, then “Export”. Choose your desired format and click “Export”. You can now share your collage via email, social media, or print it out.
Tips for Creating an Impressive Picture Collage
- Choose a Theme: Select a theme for your collage to ensure a cohesive look. This could be based on color, occasion, or style.
- Use High-Quality Images: High-resolution images will make your collage look professional and polished.
- Balance and Symmetry: Arrange your pictures in a balanced way to create a pleasing visual effect. Symmetry often works well in collages.
- Consistent Borders: If you use borders around your images, keep them consistent in size and color to maintain a clean look.
- Play with Layers: Experiment with overlapping images and text to add depth and interest to your collage.
Additional Tips:
One of the exciting aspects of using PowerPoint for your collages is the availability of free professional PowerPoint templates online. Using templates can help you save time and spark design ideas. Whether you’re looking for a minimalist style, a vibrant theme, or something specific like a travel photo collage, there’s a template out there for you. Simply download a template, insert your pictures, and customize it to fit your vision.
Conclusion
Creating a picture collage in PowerPoint is a straightforward process that allows for a lot of creativity. By following these steps and utilizing PowerPoint’s robust features, you can design beautiful collages that capture and showcase your favorite memories or ideas. Don’t forget to explore free PowerPoint templates online to jumpstart your creativity. And if you’re eager to expand your collage-making skills, check out our guide on “How to Make a Collage on Google Slides.” So, gather your photos, open PowerPoint, and start creating your masterpiece today!