
Creating stunning presentations in PowerPoint is an art, but high-quality images can bloat your file size, making it difficult to share, slowing down your device, and frustrating to use. Luckily, PowerPoint provides a simple solution to compress those images and keep your presentations sleek and efficient. Here’s your step-by-step guide to mastering this essential skill.
Why Compress Pictures in PowerPoint?
Before we get into the bottom line, let’s explore why you might want to compress pictures:
- Slim Down File Size: High-resolution images can enlarge your PowerPoint file, making it cumbersome to email or upload.
- Boost Performance: Large files can drag your computer’s performance, causing lag during presentations.
- Speedy Sharing: Compressed files upload and download faster, perfect for quick sharing.
- Save Storage: Smaller files mean more space on your hard drive or cloud storage for other important data.
Steps to Compress Pictures in PowerPoint
Follow these simple steps to keep your PowerPoint presentations light and breezy:
Step 1: Open Your PowerPoint Presentation
Fire up PowerPoint and open the presentation containing the images you want to compress. Make sure all your visuals are in place before starting.
Step 2: Select an Image
Click on any image in your presentation to select it. This action will activate the Picture Format tab at the top of your screen.
Step 3: Navigate to the Picture Format Tab
With your image selected, the Picture Format tab appears in the ribbon. Click on this tab to get a pack of picture editing tools.
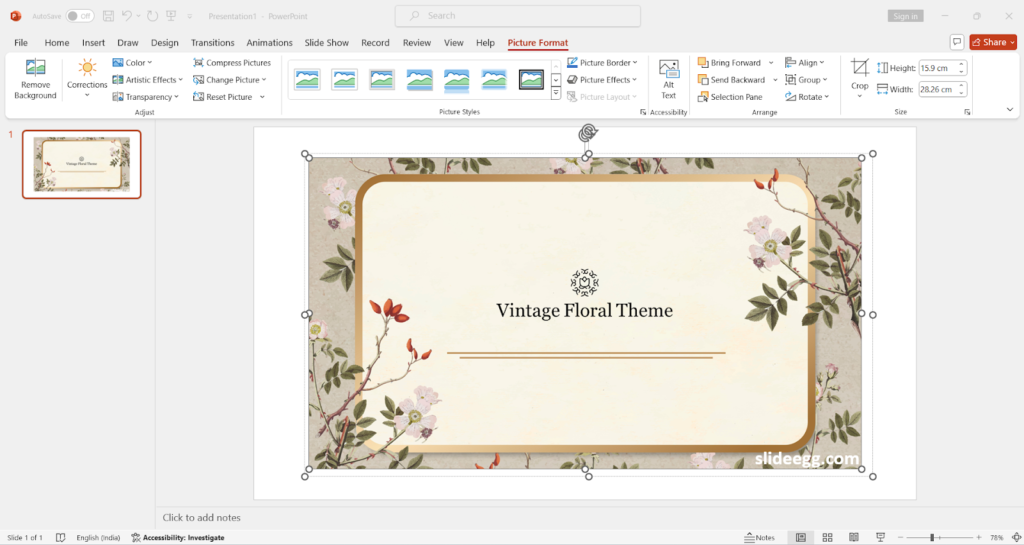
Step 4: Click on the Compress Pictures Button
Within the Picture Format tab, locate the “Compress Pictures” button, typically found in the Adjust group. Click it to open the Compress Pictures dialog box.
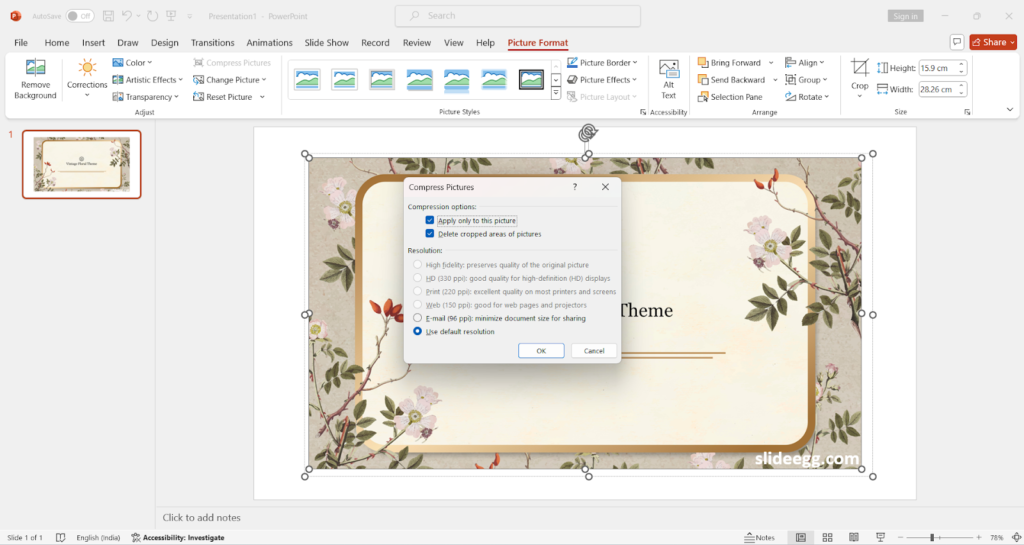
Step 5: Choose Your Compression Options
The Compress Pictures dialog box offers several settings:
- Apply only to this picture: Check this if you want to compress only the selected image. Uncheck to apply changes to all images in your presentation.
- Delete cropped areas of pictures: This option removes any parts of pictures you’ve cropped out, which can significantly reduce file size.
- Resolution: Select the resolution that best fits your needs:
- Email (96 ppi): Perfect for emailing, providing the smallest file size.
- Web (150 ppi): Ideal for online presentations.
- Print (220 ppi): Great for printing your presentation.
- High fidelity: Keeps the highest quality, ideal for large screen displays.
Make your selections and click OK to apply the changes.
Step 6: Save Your Presentation
After compressing your images, save your PowerPoint presentation. It’s wise to save it under a new name to preserve the original file.
Additional Tips for Managing Picture Sizes in PowerPoint
Here are a few extra tricks to keep your presentations polished:
- Choose the Right File Format: JPEG works wonders for photographs, while PNG is best for images with transparent backgrounds.
- Resize Before Inserting: Use an image editor to resize your pictures to the desired dimensions before inserting them into PowerPoint.
- Limit Image Use: Be selective with your images. Use only those that enhance your message.
Conclusion
Compressing pictures in PowerPoint is a breeze, and it keeps your presentations professional and efficient. By following these simple PowerPoint tips, you can ensure your files are lightweight, easy to share, and quick to load. This not only makes your work more presentable but also impresses your audience with a seamless performance. Next time you craft a PowerPoint presentation, remember to compress your images. Happy presenting!