Creating a polished and professional PowerPoint presentation often hinges on the careful arrangement and alignment of elements. Whether it’s text boxes, images, shapes, or charts, properly positioning these components can significantly enhance the visual appeal and clarity of your slides. This guide will walk you through easy steps to arrange and align elements in PowerPoint, ensuring your presentations are visually stunning and highly effective.
Why Arrangement and Alignment Matter
Before diving into the steps, it’s important to understand why arrangement and alignment are crucial. Properly aligned elements create a sense of order and professionalism, making your slides easier to read and more aesthetically pleasing. Misaligned items can be distracting and give an impression of carelessness.
Step-by-Step Guide to Arranging Elements
1. Select Your Elements
- Click on the element you want to move. You can select multiple elements by holding down the ‘Shift’ key and clicking each one.
2. Move Elements Using Your Mouse or Arrow Keys
- Drag the selected elements to the desired location with your mouse. For more precision, use the arrow keys to nudge elements into place.
3. Use Guides and Gridlines
- Enable guides and gridlines to help align elements. Go to ‘View’ > ‘Guides’ and ‘Gridlines’. These visual aids are beneficial for maintaining consistent spacing and alignment.
Aligning Elements
1. Align to Slide or Selected Elements
- Select the elements you want to align. Go to ‘Format’ > ‘Align’ and choose whether you want to align to the slide or other selected elements.
2. Choose Your Alignment Option
- Options include aligning left, center, right, top, middle, or bottom. Choose the one that will best suit your design.
3. Distribute Evenly
- To distribute elements evenly, select three or more elements, go to ‘Format’ > ‘Align’ > ‘Distribute Horizontally’ or ‘Distribute Vertically’. This ensures equal spacing between elements.
Grouping Elements
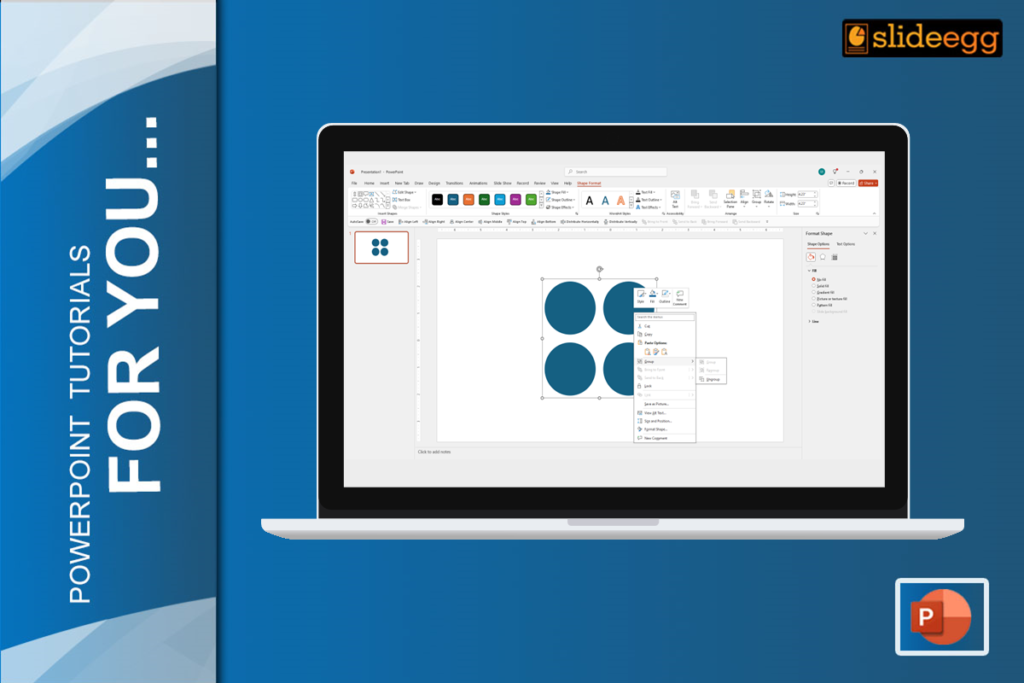
1. Select and Group
- Select the elements you want to group. Right-click and choose ‘Group’ or press ‘Ctrl+G’. Grouping allows you to move and align multiple elements as a single unit. For more details on this, check out our guide on how to group objects in PowerPoint.
2. Ungroup if Necessary
- If you need to adjust individual elements later, you can ungroup them by right-clicking and selecting ‘Ungroup’ or pressing ‘Ctrl+Shift+G’.
Using the Selection Pane
The Selection Pane is a powerful tool for managing layered elements. To access it, go to ‘Home’ > ‘Arrange’ > ‘Selection Pane’. This feature lets you:
- See All Elements on the Slide: The Selection Pane lists all elements on your slide, making it easier to select and manipulate them.
- Reorder Elements: Change the stacking order of elements by dragging them up or down in the list.
Snap to Grid and Snap to Object
1. Enable Snapping
- Go to ‘View’ > ‘Snap to Grid’ or ‘Snap to Object’. This feature helps ensure elements align perfectly with the grid or other objects.
2. Adjust Grid Settings
- Customize the grid spacing by going to ‘View’ > ‘Grid Settings’. Adjusting these settings can provide more control over how elements snap into place.
Use the Ruler
The ruler at the top and left of your PowerPoint slide can be a helpful tool for aligning elements manually. To show the ruler, go to ‘View’ > ‘Ruler’. Using the ruler, you can measure the distance between elements and ensure they are evenly spaced and aligned.
Tips for Perfect Alignment
- Use Alignment Tools Regularly: Make a habit of using PowerPoint’s alignment tools to maintain consistency.
- Zoom In for Precision: Zooming in can help you place elements more precisely.
Use Professional Templates
Consider using professional PowerPoint templates available online. These templates often come with pre-aligned elements, making it easier to create a cohesive and attractive presentation. If you use Google Slides, you might find our tutorial on how to arrange and align objects in Google Slides helpful as well.
Conclusion
Arranging and aligning elements in PowerPoint is a fundamental skill that can elevate your presentations from good to great. By following these simple steps, you can ensure that your slides are visually appealing and effectively communicate your message. Remember to take advantage of PowerPoint’s built-in tools and consider using free presentation templates to save time and enhance the overall look of your slides.
For more presentation hacks, check out our tips & tricks page.
Thanks for reading!