Looking to add a polished touch to your PowerPoint presentations? Adding footers is one of the easiest ways to enhance the look and feel of your slides while keeping them organized. Whether it’s a copyright notice, a company logo, or a date, footers can do wonders for your presentation’s credibility and structure. And you don’t need to be a design expert to add one!
Here’s everything you need to know about adding footers in PowerPoint, explained in a simple way. Let’s dive in!
What Is a Footer and Why Does It Matter?
Think of a footer as the “underdog” of presentation design. You may not notice it immediately, but it works hard in the background to make your slides look polished. A footer is the space at the bottom of your slide where you can add extra information like the slide number, the date, or even a small note.
Using professional PowerPoint templates often includes pre-designed footer areas, but you can customize them to fit your needs. Footers not only provide useful information but also give your slides a more cohesive, professional look.
Step-by-Step Guide to Add Footers in PowerPoint
Adding a footer in PowerPoint is as easy as pie. Follow these steps:
1. Open Your PowerPoint Presentation
Start by opening the presentation you’re working on. It can be an existing one or a brand-new file with one of your favorite templates.
2. Go to the “Insert” Tab
At the top of your screen, you’ll find the “Insert” tab. Click on it, and you’ll see a variety of options.
3. Select “Header & Footer”
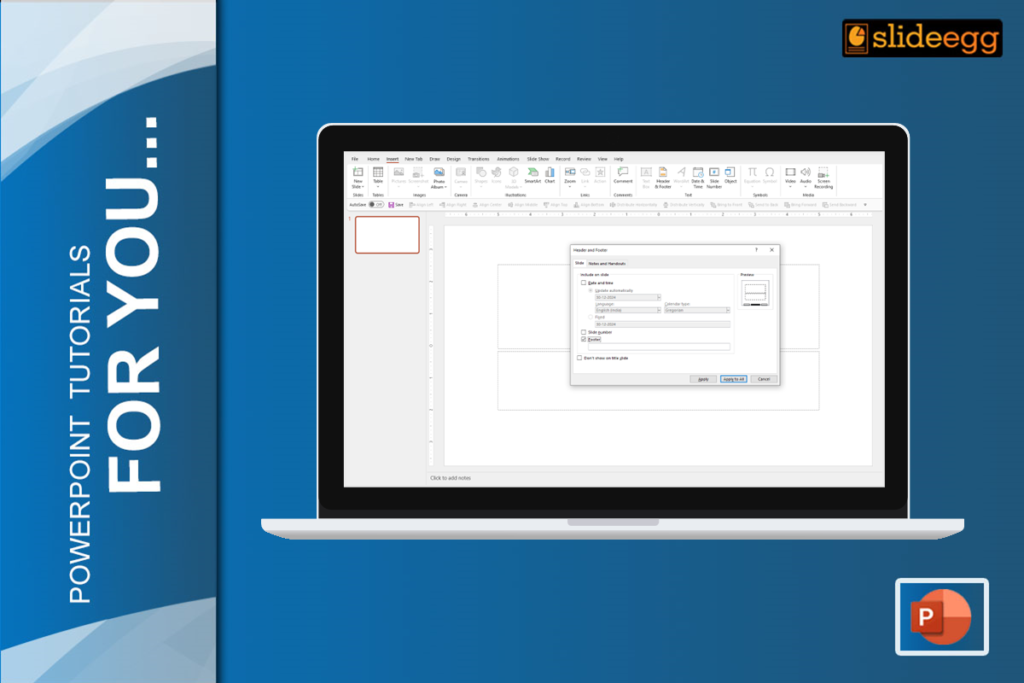
Under the “Insert” menu, locate the “Header & Footer” option. Clicking this will open a pop-up window where you can manage your footer settings.
4. Choose Your Footer Content
In the pop-up window, check the “Footer” box and type in the text you’d like to display. It could be a copyright notice, your company name, or even a motivational quote to keep your audience engaged.
5. Add Slide Numbers or Dates (Optional)
You’ll also see options to include slide numbers or the current date and time. Select these options if you want to add them to your footer.
6. Apply to All Slides or Selected Ones
Once you’ve added your footer content, decide if you want it to appear on every slide or just a few. Click “Apply” to make changes to individual slides or “Apply to All” for a consistent look across your presentation.
Pro Tips for Creating Effective Footers
- Keep It Simple: Don’t overload your footer with too much text or flashy designs. A simple line of text or a small logo works best.
- Match the Theme: If you’re using premade templates, ensure your footer matches the slide theme to maintain visual harmony.
- Be Selective: You don’t have to show the footer on every slide. Skip it on title slides or visuals-heavy pages to keep the focus where it matters most.
Why Footers Can Be a Game-Changer
Adding footers isn’t just about aesthetics; it’s about functionality too. They make your slides look more organized and provide valuable context for your audience. If you’re someone who often works with slides, knowing how to add footers is a small yet essential skill that can significantly impact your presentation quality.
And if you’re curious about more ways to make your presentations stand out, don’t miss our guide on how to add footnotes in Google Slides to explore another easy trick for creating polished slides.
Wrapping It Up
Footers might seem like a small detail, but they can elevate your presentation game to a whole new level. With just a few clicks, you can customize your slides to look professional, polished, and engaging. So next time you’re working with PowerPoint, don’t forget to make the most of the footer section!


