Icons are a powerful way to visually enhance your PowerPoint presentations. They help convey information succinctly, make your slides more engaging, and add a professional touch. They can transform a bland presentation into a visually appealing and informative experience. Whether you’re creating a business report, a marketing pitch, or an educational slideshow, using icons effectively can help you communicate your message more clearly. In this blog, we’ll walk you through the process of adding and modifying icons in PowerPoint, providing you with tips and tricks to make the most out of this feature.
Adding Icons in PowerPoint
Step 1: Launch PowerPoint and Choose Your Slide
Open your PowerPoint presentation and navigate to the slide where you want to add an icon. You can add icons to any slide, including title slides, content slides, and closing slides.
Step 2: Insert an Icon
- Navigate to the “Insert” tab in the PowerPoint ribbon.
- Click on Icons. This will open a library of icons available within PowerPoint.
- Browse or search for the icon you need. The library is categorized, making it easier to find the right icon for your presentation.
- Choose the desired icon and click “Insert.” The icon will appear on your slide.
Step 3: Resize and Position the Icon
Click on the icon to select it. You can then drag the corners to resize the icon or click and drag it to reposition it on the slide. PowerPoint maintains the aspect ratio of the icons to prevent distortion.
Modifying Icons in PowerPoint
Changing Icon Color
To change the color of an icon:
- Select the icon by clicking on it.
- Go to the “Graphics Format” tab in the ribbon.
- Select “Graphics Fill” and pick the color you prefer.
- You can also use the “More Fill Colors” option for custom colors.
Adding Effects to Icons
Enhance your icons with effects to make them stand out:
- Select the icon.
- In the “Graphics Format” tab, explore options like “Graphics Effects”, where you can add shadows, reflections, glows, and more.
- Experiment with different effects to see which one best suits your presentation’s style.
Grouping Icons with Other Elements
Sometimes, you may want to group an icon with text or other shapes to keep them together:
Select the icon and the other elements you want to group.
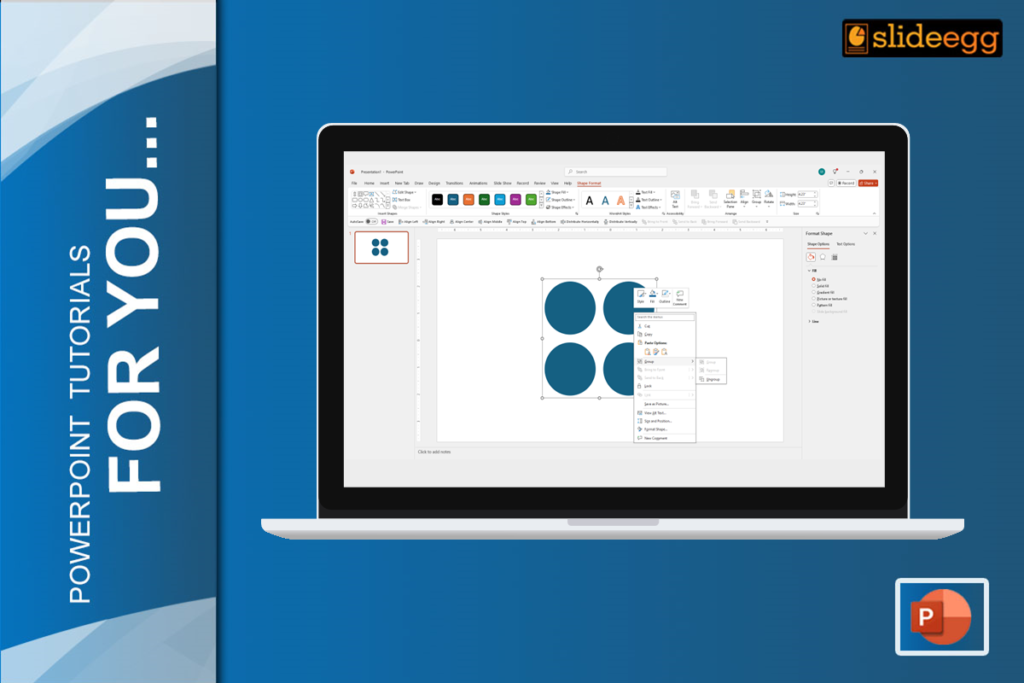
- Right-click and select “Group”, or go to the “Format” tab and click on “Group”.
- You can now reposition and resize the grouped elements as needed.
Using Pre-made Icon Presentation Templates
For those who prefer a quicker and more streamlined approach, consider using pre-made icon presentation templates available online. These templates come with professionally designed icons and layouts, saving you time and effort. Simply download a template, and customize it to fit your content and style.
Pro Tips for Using Icons in PowerPoint
- Consistency is Key: Ensure that the icons you use throughout your presentation are consistent in style and color. This will give your presentation a unified and polished appearance.
- Don’t Overcrowd Your Slides: While icons are great for adding visual interest, too many can clutter your slides and distract from your main message. Use icons sparingly and only where they add value.
- Use Icons to Support Text: Icons should complement your text, not replace it. Use icons to highlight key points, illustrate concepts, or guide the audience’s attention, but make sure the text is still clear and readable.
Need More Help?
For more tips and tricks on creating stunning presentations, check out our tips & tricks page. Additionally, if you use Google Slides, you can learn how to insert and edit icons there as well by visiting our blog on how to insert and edit icons in Google Slides.
Conclusion
Adding and modifying icons in PowerPoint can significantly enhance your presentations. By following the steps outlined in this guide, you can create visually appealing and informative slides that will captivate your audience. Remember to experiment with different icon styles and customization options to find what works best for you.


