Adding a border to a picture in PowerPoint is a great way to make your presentations more visually appealing. Borders can help highlight important images, make your slides look more polished, and create a cohesive look across your presentation. This guide will walk you through the process of adding a border to a picture in PowerPoint.
Why Add a Border to Your Pictures?
Before we get into the steps, let’s briefly discuss why you might want to add a border to your pictures:
- Aesthetic Appeal: Borders can give your pictures a finished and professional look.
- Highlight Important Images: A border can draw attention to key images in your presentation.
- Consistency: Borders can help create a uniform look across multiple slides.
- Visual Interest: Adding borders can make your slides more engaging and visually appealing.
Step-by-Step Guide to Apply Borders to Pictures in PowerPoint
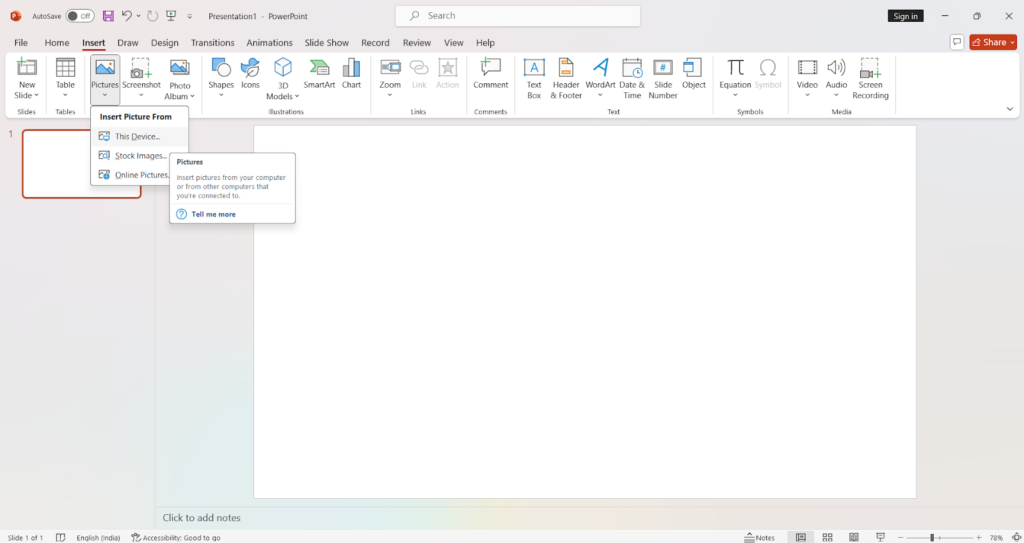
Step 1: Open PowerPoint and Insert Your Picture
- Start PowerPoint: Open Microsoft PowerPoint on your computer.
- Insert Your Picture: Go to the slide where you want to add a picture. Click on the “Insert” tab in the ribbon at the top of the screen. Select “Pictures” and choose the picture you want to insert from your computer.
Step 2: Select the Picture
- Click on the Picture: Once the picture is inserted, click on it to select it. You’ll see a border around the picture, indicating that it is selected.
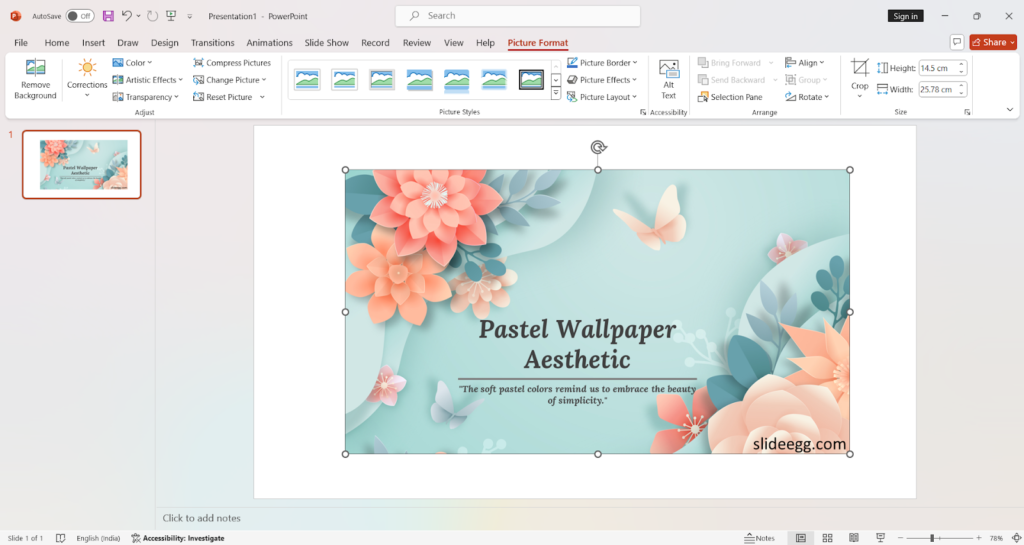
Step 3: Add a Border Using Picture Tools
- Go to Picture Tools: With the picture selected, a new tab called “Picture Format” will appear in the ribbon. Click on “Picture Format.”
- Select Picture Border: In the “Picture Format” tab, look for the “Picture Border” option. Click on it to open a dropdown menu with various border options.
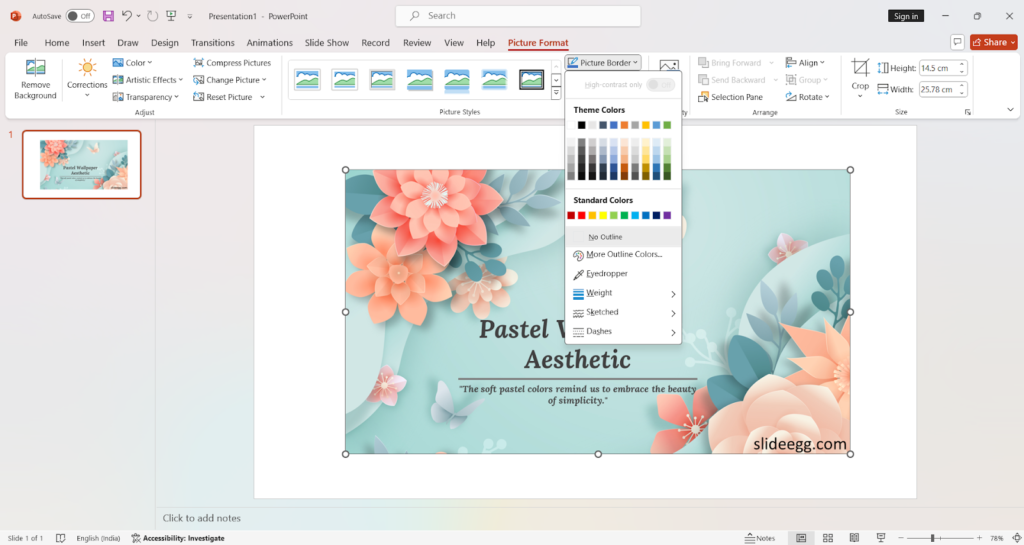
Step 4: Customize the Border
- Choose a Border Color: In the “Picture Border” dropdown menu, you can select a color for your border. You can choose from the theme colors, and standard colors, or click on “More Outline Colors” to select a custom color.
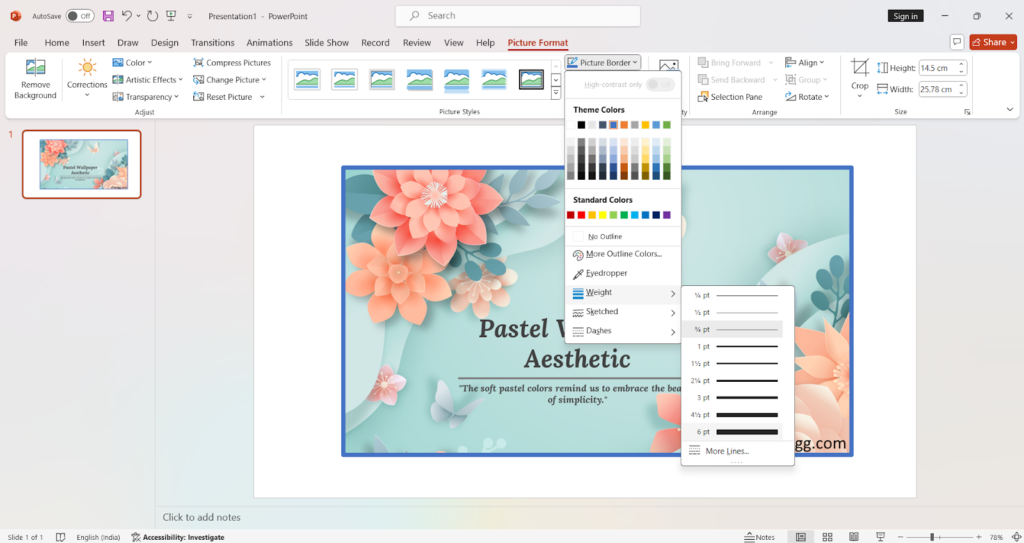
- Set the Border Weight: After choosing a color, go back to the “Picture Border” dropdown menu and hover over “Weight.” This will allow you to set the thickness of the border. Click on your preferred thickness.
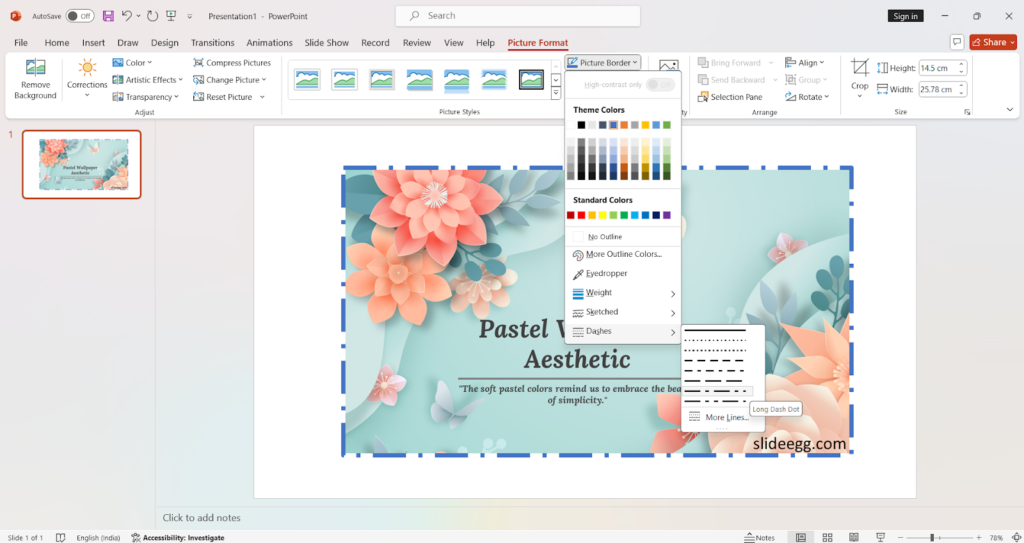
- Adjust the Border Style: For more customization, you can also change the border style. In the “Picture Border” dropdown menu, hover over “Dashes” to choose from various dashed and dotted line styles.
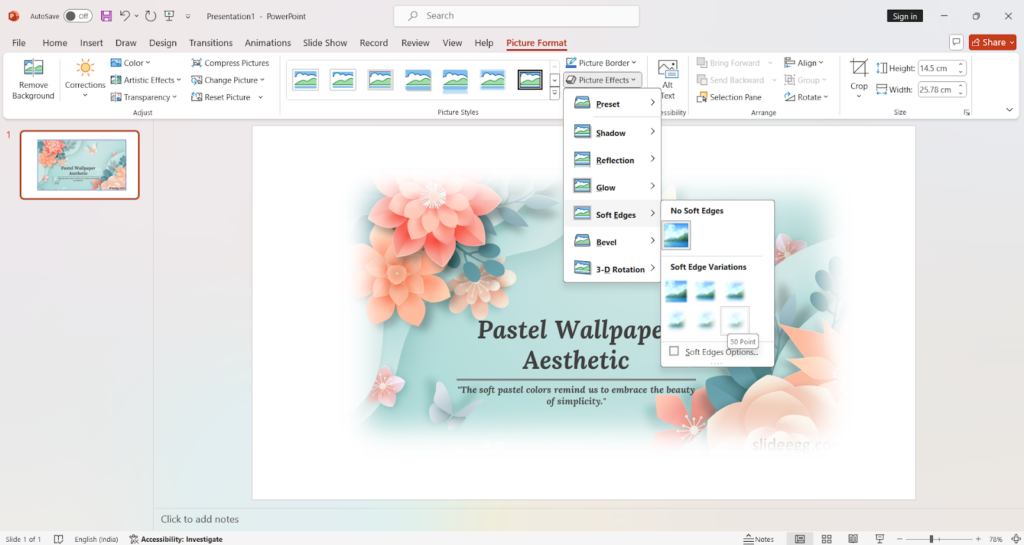
Step 5: Fine-Tune Your Border
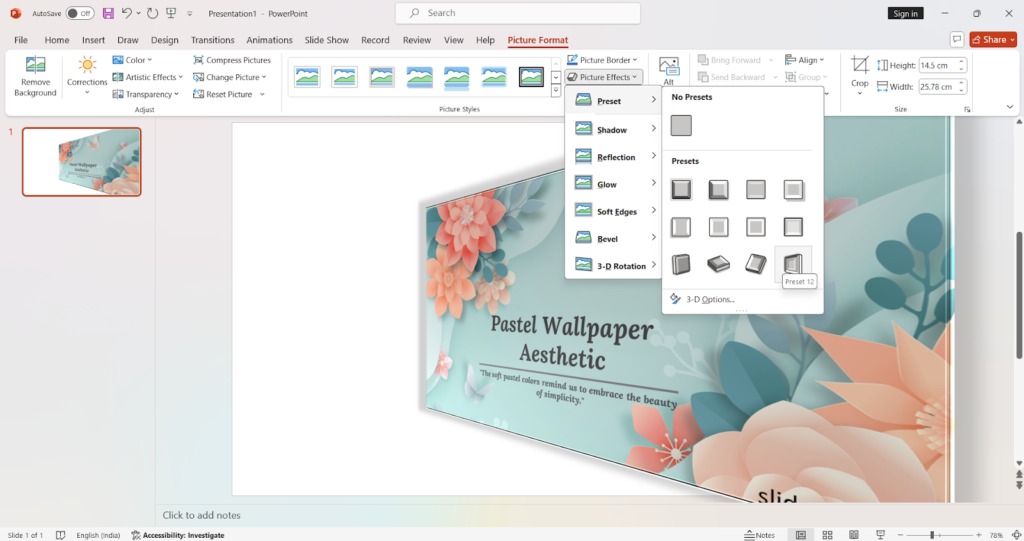
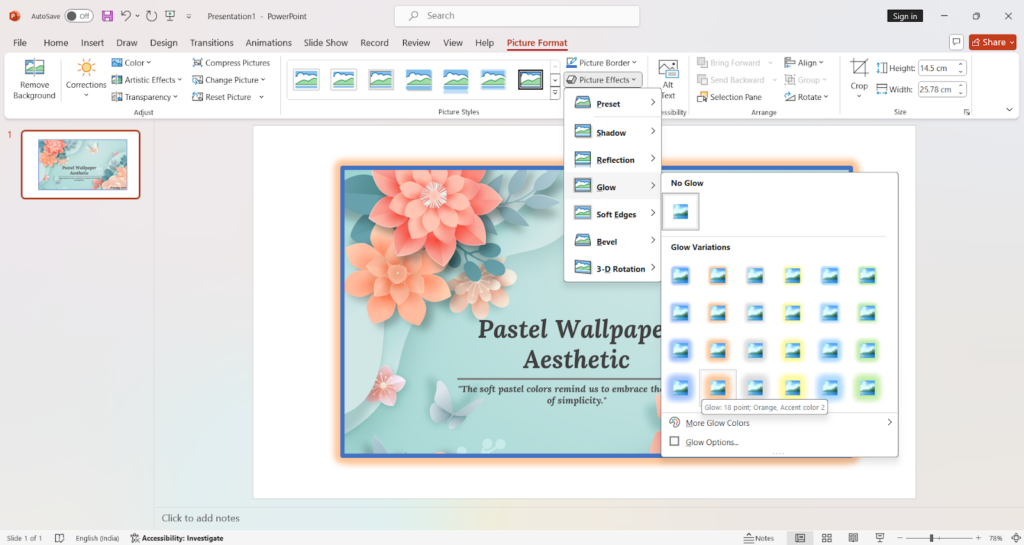
- Apply Shadow and Effects: To make your border even more interesting, you can add effects like shadows or glow. Still in the “Picture Format” tab, look for “Picture Effects.” Click on it to see options like “Shadow,” “Reflection,” “Glow,” and more. Select an effect and customize it according to your preference.
- Adjust Picture Position: Sometimes, adding a border might change how your picture fits on the slide. You can adjust the picture’s position and size by clicking and dragging the corners or edges of the picture.
Step 6: Save Your Presentation
- Save Your Work: Once you’re satisfied with the border and any other changes, make sure to save your presentation. Click on “File” in the top left corner, then select “Save” or “Save As” to save your presentation with the updated picture.
Tips for Adding Borders in PowerPoint
- Keep It Simple: A simple, clean border often works best and doesn’t distract from the main image.
- Match Colors: Choose border colors that complement the colors in your picture and the overall theme of your presentation.
- Consistency is Key: If you’re adding borders to multiple pictures, try to keep the style and color consistent for a cohesive look.
- Experiment: Don’t be afraid to try different border styles and effects to see what works best for your presentation.
Conclusion
Adding a decorative border to an image in PowerPoint is a quick and easy way to enhance your presentations. With just a few clicks, you can create a polished, professional look that will help your images stand out. Whether you’re preparing for a big presentation at work or creating a slideshow for a personal project, knowing how to add and customize picture borders in PowerPoint can make a big difference. So go ahead, give it a try, and see how a simple border can transform your slides! You can also visit Slide Egg’s Tips and Tricks page to learn more PowerPoint tips. Happy presenting!