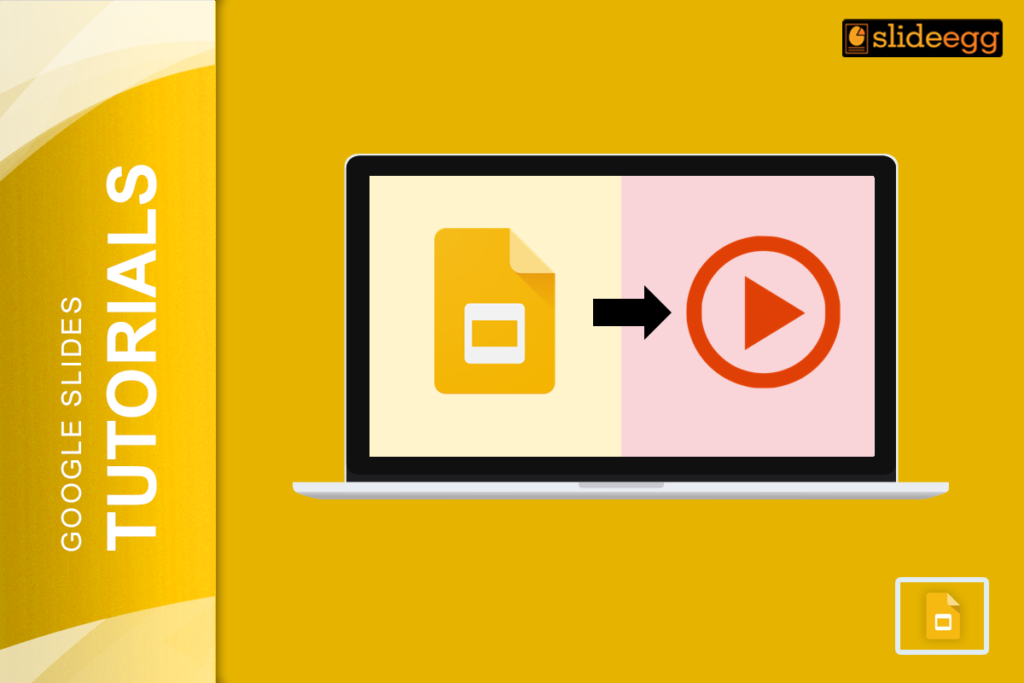
Google Slides is an amazing tool for creating presentations. But what if you could turn those slides into a video? Videos can be more engaging and are perfect for sharing online, whether it’s for a business project, school assignment, or social media content. In this blog post, we’ll walk you through the simple steps to convert your Google Slides into a captivating video.
Why Convert Google Slides to a Video?
Turning your slides into a video can make your content more versatile. For instance:
- Engage your audience better: Videos are easier to follow and more dynamic than static slides.
- Share easily: Platforms like YouTube or social media are perfect for video content.
- Add a professional touch: A video with transitions, animations, and narration feels polished.
Now, let’s explore how to make the magic happen.
Step-by-Step Guide to Convert Google Slides to a Video
Step 1: Prepare Your Google Slides Presentation
Before anything else, polish your presentation.
- Add animations and transitions to make it more lively.
- Include relevant images, videos, and charts to enhance the message.
Step 2: Export Slides as Images (Optional)
If your slides are simple and don’t need animations, exporting them as images can work.
- Go to “File” > “Download” > “JPEG” or “PNG.”
- Save all slides to your computer.
This method is best when you want to use another video editor to create a custom video.
Step 3: Use Google Slides’ Built-in Feature
Google Slides doesn’t have a direct “export as video” option, but you can still get the job done.
- Click on “File” > “Download” > “Microsoft PowerPoint (.pptx)”.
- Open the file in PowerPoint.
- Use PowerPoint’s video export option to save it as a video.
- Go to “File” > “Export” > “Create a Video” and choose your quality settings.
Step 4: Record Your Presentation
Don’t want to use PowerPoint? No problem. You can record your presentation directly:
- Open your Google Slides and present it in “Slideshow Mode.”
- Use a screen recorder like OBS Studio, Loom, or Screencastify to capture your screen.
- Record yourself narrating while moving through the slides.
- Save the recording as a video file (MP4 is best for compatibility).
Step 5: Add Music or Voiceover (Optional)
To make your video more engaging, you can:
- Add background music that fits the tone of your presentation.
- Add a voiceover to explain each slide for a more professional touch.
If you’re new to creating presentations and want to make yours look stunning, check out free Google Slides templates for inspiration.
Pro Tip: Save Your Work in Multiple Formats
You can also save a copy of your slides as a PDF for easy sharing. Need help? Here’s a great guide on how to convert Google Slides into PDF. This ensures you have everything you need, no matter what format your audience prefers.
Wrapping It Up
Converting Google Slides into a video is super easy, even if you’re not a tech expert. Whether you’re preparing a school project, a business pitch, or simply a creative presentation, this process will add an edge to your content. So, give it a try today, and wow your audience with your new skills!
