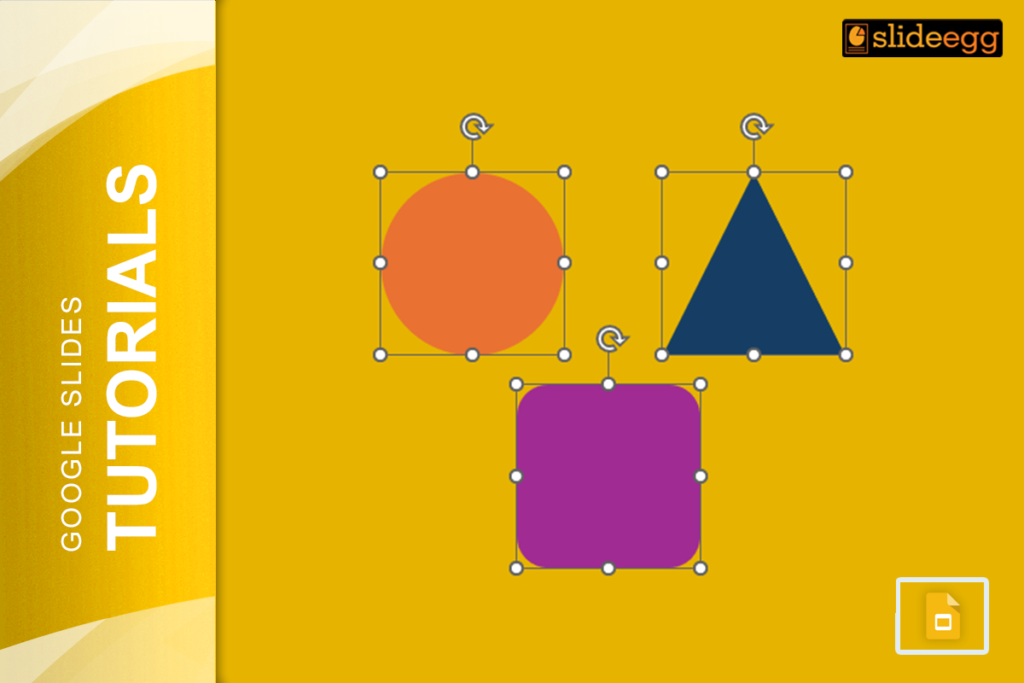
One of the easiest and free presentation tools available today, Google Slides is a fantastic tool. It can save you time and effort in designing anything between a polished pitch deck and educational material. However, the more you use it with images, shapes, text boxes, etc., the harder it is to drag and drop lots of objects or edit them all at one time.
This is where grouping saves the day! The ability to select a group of things will allow you to work on several objects together as one single unit. This really helps make editing your slides move much faster and easier. You might be curious about how this can be done. You are in the right place. Let’s dive in!
What Does “Grouping” Mean in Google Slides?
Let’s just take a quick glance at what we mean by grouping. Grouping objects means you can take several elements, be they shapes, text boxes, images, or other things and treat them as if they’re one. And when they are grouped, you can drag them, you can scale them, or apply a format to them together, which makes your editing much smoother and more organized.
Why Grouping Elements on Google Slides is So Helpful
Assume you worked on a slide for many hours, setting it chock-full of pictures, shapes, and text boxes. You would have to spend an awfully long time moving them all or trying to resize them one at a time. You might get something hopelessly wrong.
Grouping lets you do the following:
- Move everything as one operation without losing alignment.
- Resize or rotate all the selected items at once.
- Apply changes, like colors or fonts, to multiple objects in one go.
- Lock them in place so they stay organized while you work on other parts of the slide.
Okay, so now let’s take a gander at how you may choose and group things on Google Slides Templates!
How to Select a Group of Things on Google Slides
Step 1: Open Google Slides and Access Your Presentation
First, open the Google Slides presentation that you’d like to group objects in. That might be your customized slide that you will be working on, or it could be a template from Google Slides that you have downloaded and customized.
Step 2: Select Multiple Objects
To group objects, you’ll first need to select them. Here’s how you do it:
- Click and Drag: The simplest way to select more than one object is the click and drag method. Click anywhere outside of the objects on the slide and drag your mouse over all the items you wish to select. When you release the mouse button, everything inside the selection rectangle will be highlighted.
- Hold Shift and Click: Using your keyboard, hold down the “Shift” button and select each object one by one. All those objects clicked will be selected.
Step 3: Group the Selected Objects
Now all your elements have been chosen; it’s time to group them all together into one unit.
- Right-click any of the selected objects.
- From the context menu, select “Group.” Alternatively, you can also use keyboard shortcuts: Ctrl + Alt + G (Windows) or Cmd + Option + G (Mac)
How to Ungroup Items
Oops! Grouped the wrong items or need to make some changes? No worries—you can always ungroup them.
- Right-click and select an option from the context menu: Ungroup, or use one of the following key shortcuts: On Windows Ctrl + Alt + Shift + G; on Mac Ctrl + Option + Shift + G.
Now you can able to drag anything or regroup as needed.
Conclusion
Knowing how to pick and group objects in Google Slides will make the presentation look more professional, thus saving time. It helps you manage several elements easily, which can really be helpful when working on complicated presentations about tweaking designs, moving objects, and creating beautiful slides.
Follow these easy steps, and you’ll be empowered to make the most out of your Google Slides presentations!
