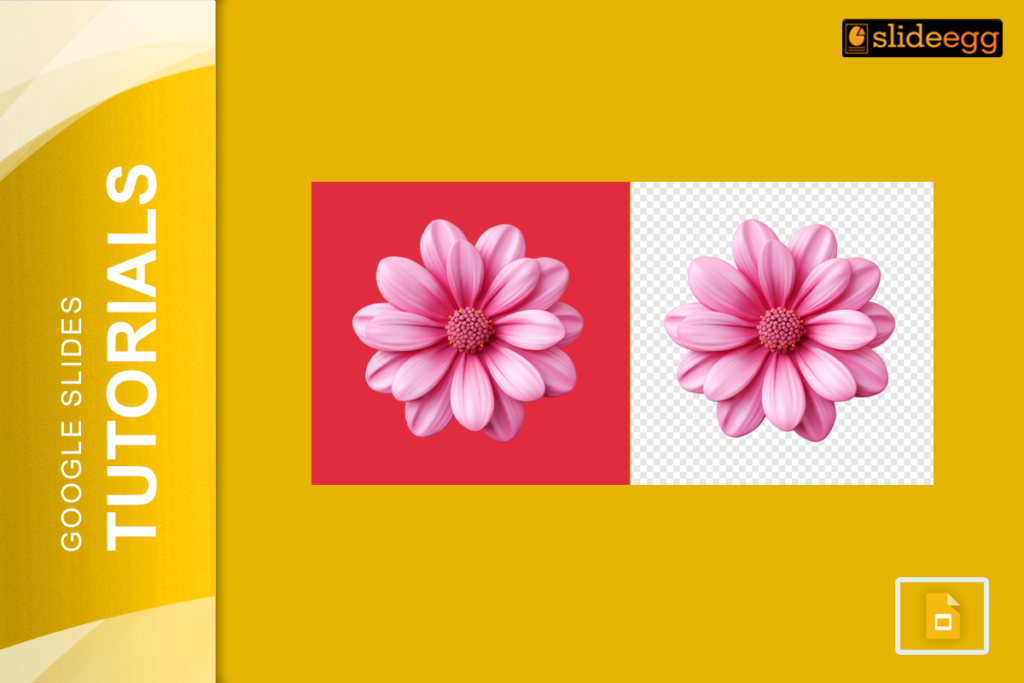
Ever needed to remove a background from a picture to make your slides pop? While Google Slides doesn’t have a built-in tool for this, you can still easily achieve a clean, professional look with a little workaround! Here’s a step-by-step guide to removing backgrounds from images in Google Slides to make your presentations look more polished and attention-grabbing.
Why Remove Backgrounds in Google Slides?
Sometimes, the background of a picture can be distracting or doesn’t match the overall theme of your slide. Removing it lets you focus on the main subject of the image, creating a cleaner look. It allows your content to blend smoothly with the overall style.
Steps to Take the Background of an Image
Step 1: Use a Background Remover Tool
Since Google Slides lacks a direct background-removal feature, you’ll need to start with an online background remover. Websites like remove.bg, Canva, or Adobe Express offer free, easy-to-use background erasers. Simply upload your image to one of these sites, and the tool will automatically remove the background.
Once your image has a transparent background, download it as a “PNG” file to retain transparency. This is important so that your image blends seamlessly into your Google Slide.
Step 2: Upload the Background-Free Image to Google Slides
After removing the background, head back to your Google Slides presentation. Now, you’re ready to add your edited image:
- Open the slide where you want to place the image.
- Click on “Insert” > “Image” > “Upload from Computer” to select your new, transparent PNG image.
This method allows the subject of your picture to stand out against the slide background, keeping things visually clean and focused.
Step 3: Position and Resize Your Image
Once the image is on your slide, resize and position it as needed. To adjust the image’s position, simply click and drag it across the slide until you’re happy with its placement. You can also resize the image by dragging the corners to ensure it doesn’t look stretched or pixelated.
Tip: If you’re looking for more flexibility with image editing, try PowerPoint as an alternative tool, which comes with a built-in background removal feature. You can find a step-by-step guide on how to take the background of a picture on PowerPoint, which might come in handy if you need to do more detailed edits.
Step 4: Enhance Your Slide with the Right Theme
To make your slides visually appealing, experiment with various free Google Slides themes that suit your content and style. Themes can add a consistent design throughout your presentation, making it look more cohesive and professional. With a transparent background on your image, these themes will stand out even more!
Wrapping Up
Removing the background from a picture in Google Slides might require an extra step, but it’s a simple process that can significantly elevate your presentation’s look. By using an external tool and carefully placing your background-free image, you’ll have cleaner, more focused slides that keep your audience engaged. Try it out, and watch how it transforms your slides into a professional masterpiece!


