| ✅ Quick Tips to Record a Google Slides Presentation with Voice-Over * Open your Google Slides on Chrome browser. * Click Extensions > Slides Recorder (add it if you don’t have one). * Start the recorder and begin your voice-over. * Speak clearly and slowly, slide by slide. * Download or share your recording when done. |
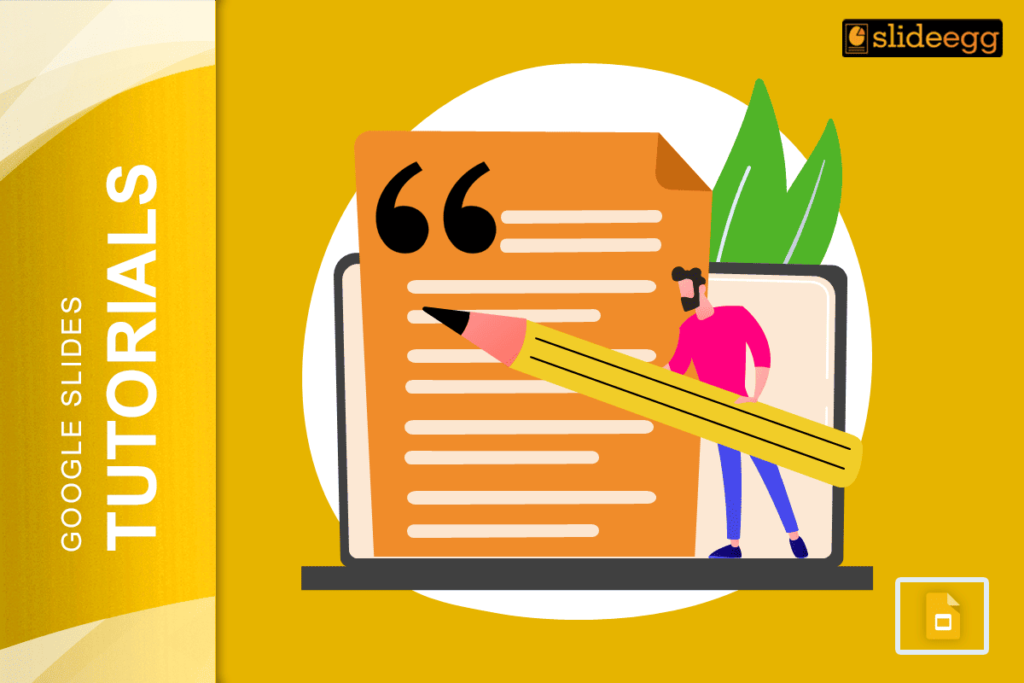
Introduction
“Your voice can turn plain slides into powerful stories.”
Did you know? People remember 95% of what they hear in a video but only 10% of what they read in text. That’s why adding voice to your Google Slides makes your message stronger and clearer.
Whether you’re a teacher making a lesson, a student working on a project, or just someone trying to explain an idea better, voice-over slides can do wonders.
And the best part? You can do it all right inside your browser. In this blog, let’s learn how to do it in the simplest way possible.
🔍 Why Add Voice Over to Google Slides?
Adding your voice can:
- Make your presentation more engaging.
- Help others understand better, especially in online learning.
- Save time by explaining instead of writing long text.
- Give a personal touch to your work.
Plus, it helps people who prefer listening over reading — like kids, busy adults, or non-native English speakers.
🛠️ What You’ll Need
Here’s what you need before you start:
- A Google account
- Google Chrome browser
- A working microphone (built-in or external)
- Internet connection
- A free Chrome extension like Slides Recorder or Screencastify
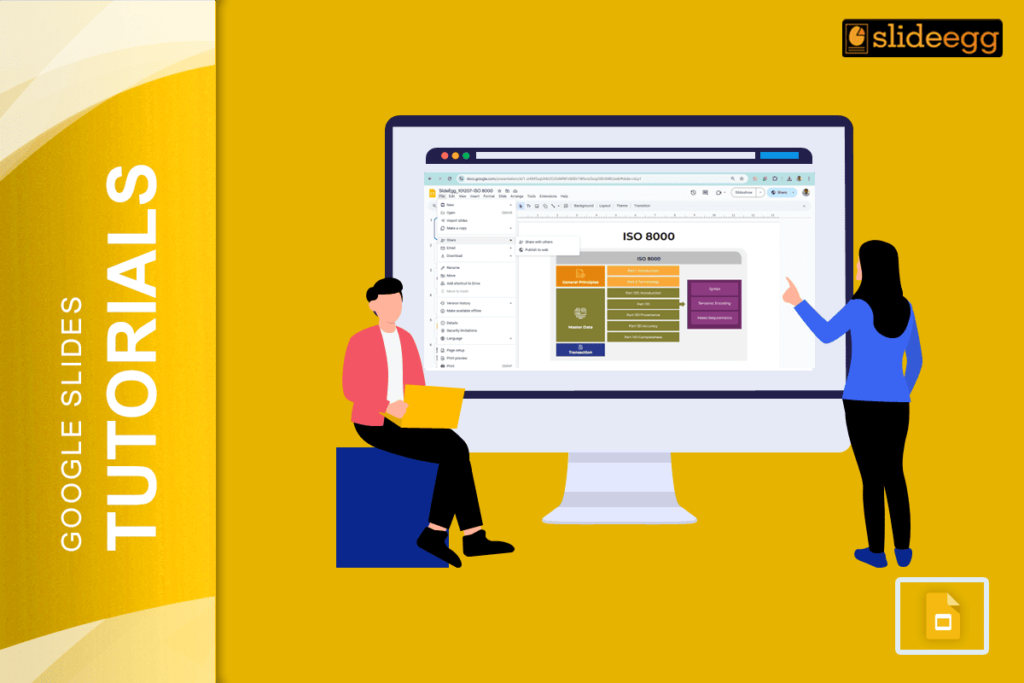
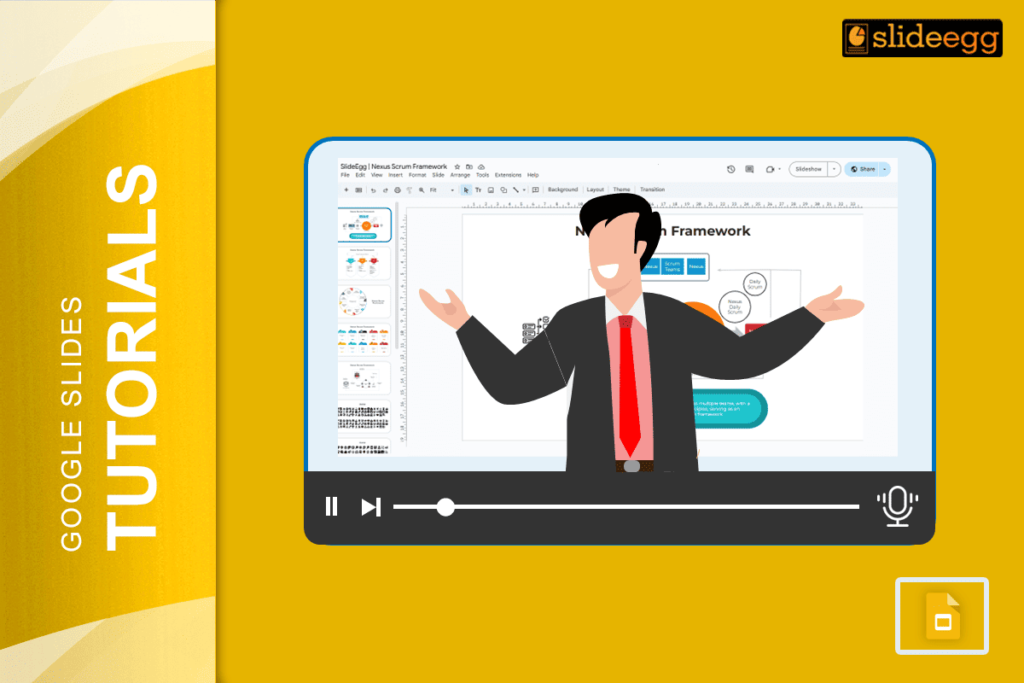
📋 Step-by-Step: How to Record Google Slides with Your Voice
1. Open Your Slides
Go to Google Slides and open the file you want to record.
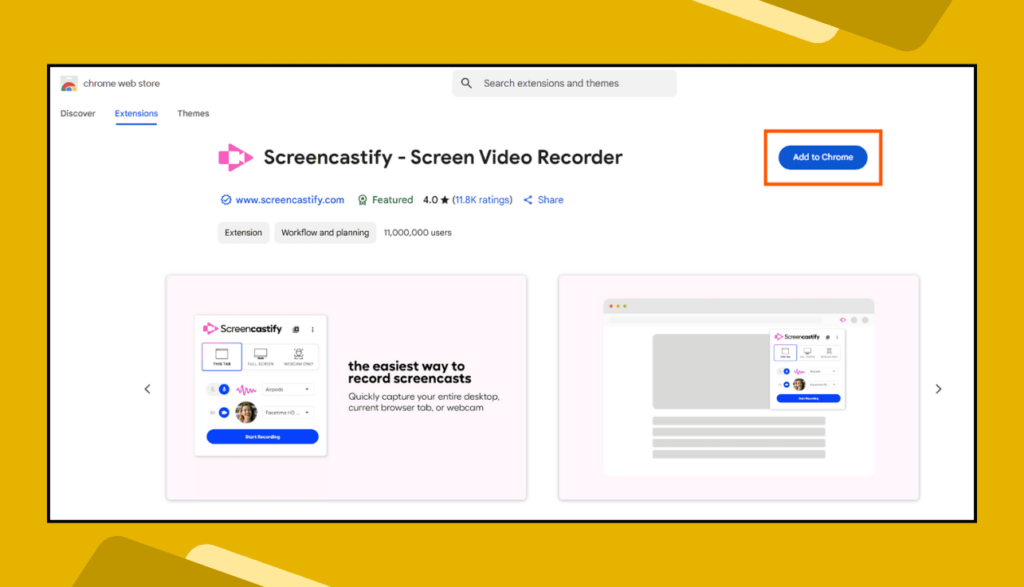
2. Install the Recorder
If you don’t have one already:
- Go to Chrome Web Store.
- Search for Slides Recorder or Screencastify.
- Click Add to Chrome.
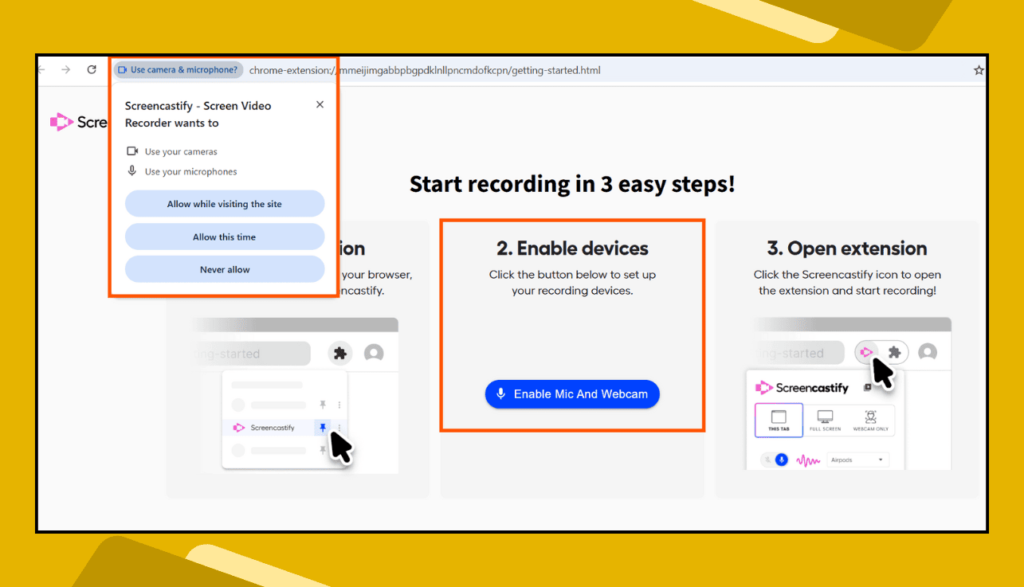
3. Allow Permissions
Once added, the extension will ask for permission to use your microphone. Click Allow.
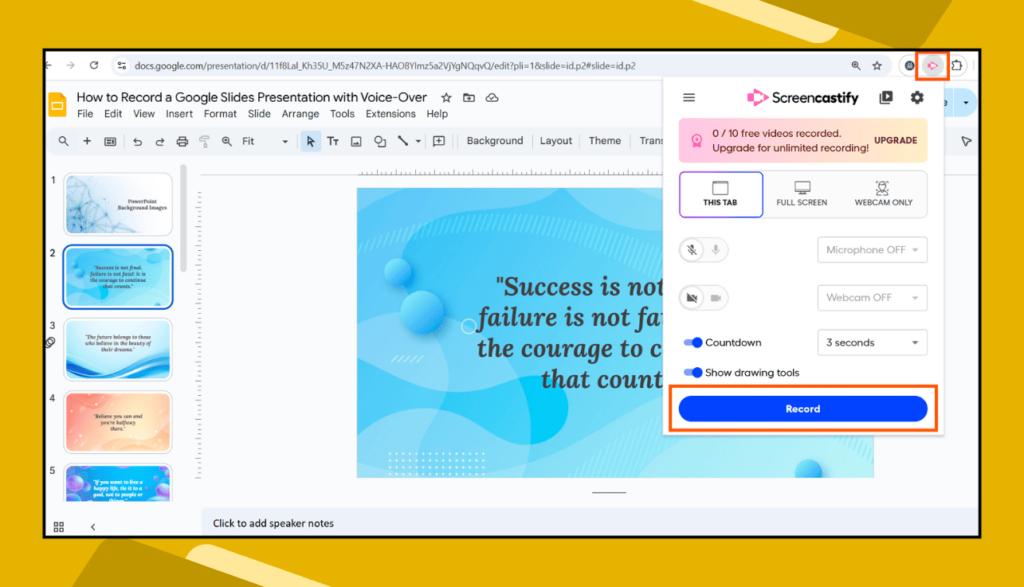
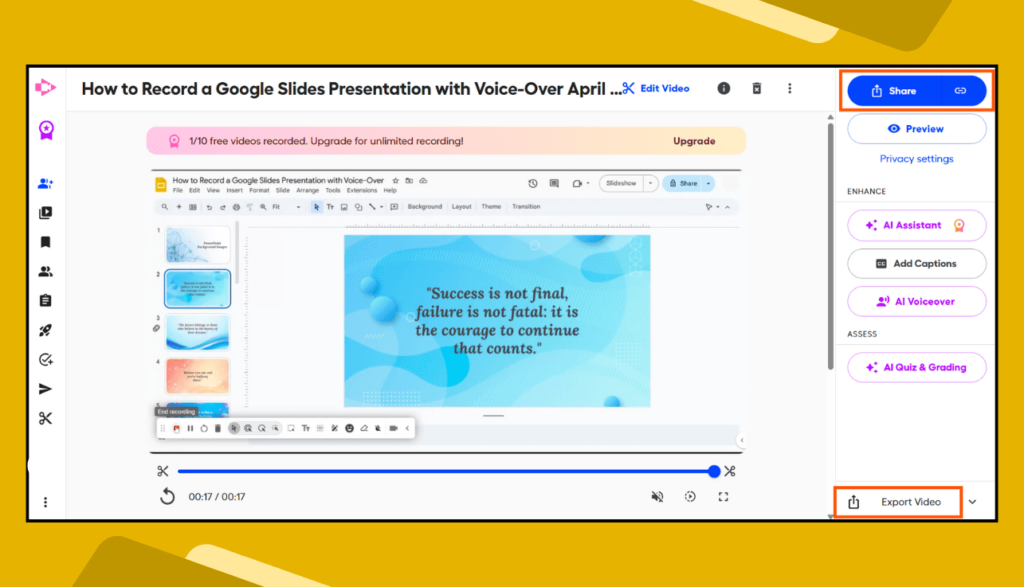
4. Start Recording
- Click the extension icon from the top-right of your Chrome.
- Complete the Sign-in process.
- Choose “Record”.
- Speak clearly as you go through each slide.
👉 Tip: Pause before changing slides. It makes your voice and slides match better.
5. Finish and Save
- Click Stop when you’re done.
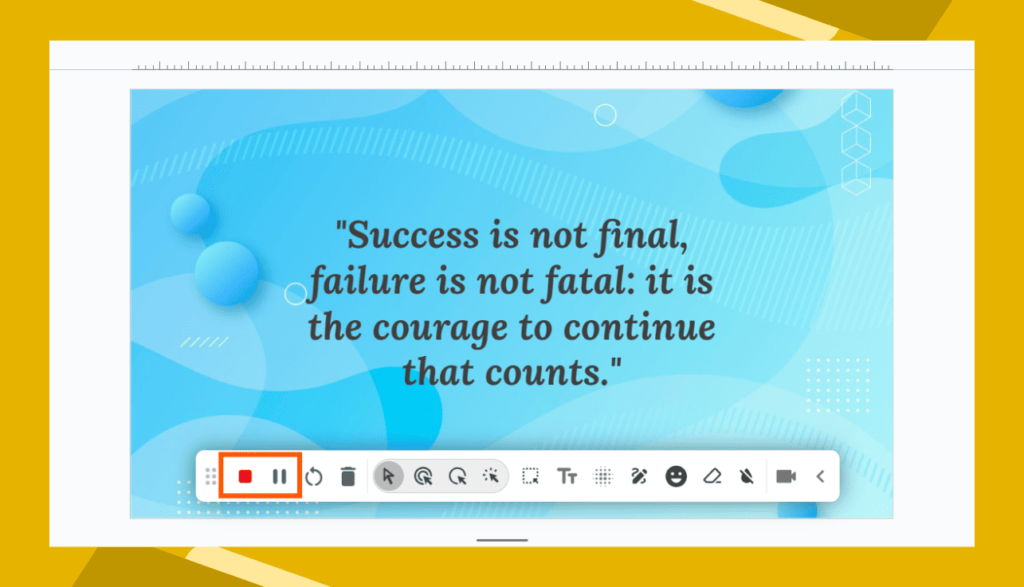
- You can Export the video or Share the link with others.
🎯 Tips to Make Your Voice-Over Better
- Speak slowly and clearly.
- Don’t rush through your slides.
- Use a quiet room if possible.
- Practice once before the final recording.
- Add simple words to explain visuals.
🔁 Best Tools to Record Voice on Google Slides
Here are some free and easy tools you can try:
| Tool Name | Features |
| Slides Recorder | Simple and works inside Slides |
| Screencastify | Records screen and voice, easy to edit |
| Loom | Share link instantly, good for teams |
These tools are easy to use and perfect for beginners.
🌍 Can I Use This on Mobile?
Right now, recording voice on Google Slides works best on a laptop or desktop. Mobile phones don’t support full recording features yet. But you can still view and listen to slides with voice-over on your phone once they’re ready.
💡 FAQs
Q1. Can I record audio directly in Google Slides?
No. Google Slides doesn’t have a built-in voice recorder. You’ll need an extension or external tool.
Q2. Is Slides Recorder free?
Yes! It’s free and simple to use for basic voice recordings.
Q3. Can I add background music too?
Yes, but you’ll need to edit your audio file using a separate tool like Audacity before uploading it to Google Slides.
Q4. How do I share my presentation with sound?
After recording, download the video or copy the share link from the tool you used (like Screencastify or Loom). Send that link to others.
Q5. Does it work offline?
Nope. You need the internet to use Chrome extensions and save your work online.
If you want your slides to speak, don’t just show them — say something. Your voice adds value that plain text can’t.
Just follow these steps, take a deep breath, and hit record.