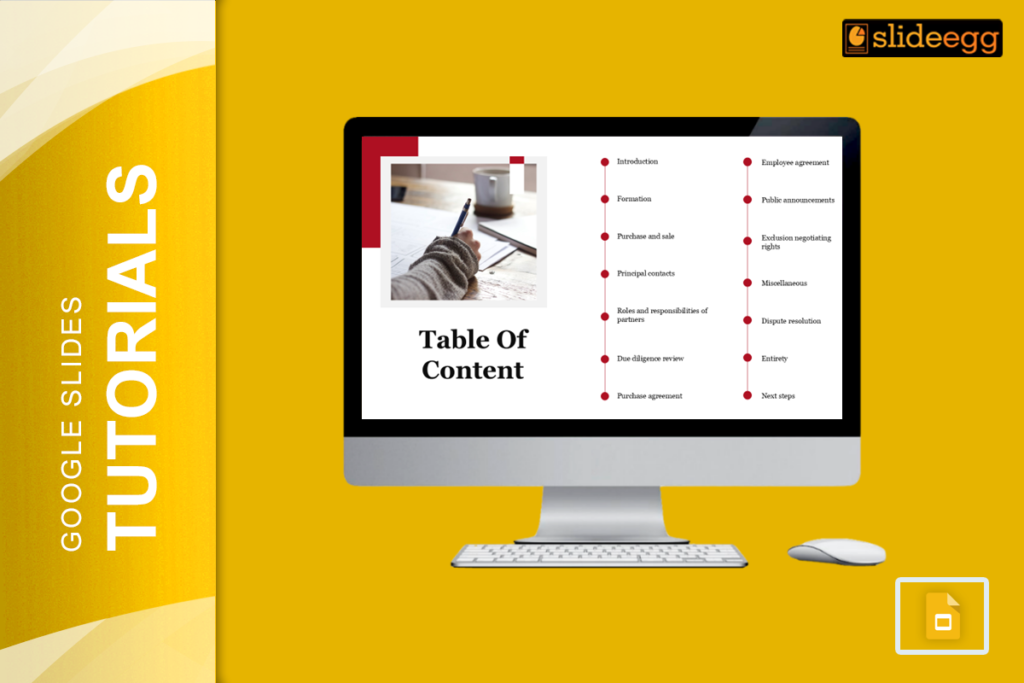
Google Slides is a great choice for creating presentations, but when one has many slides, audiences will find it difficult to trace out where they are. That’s where the dynamic table of contents comes in handy. Imagine being able to think of it as an interactive menu that really facilitates your jumping from one section to another.
In this tutorial, I will guide you through easy steps on how you can develop a dynamic table of contents in Google Slides.
Why Use a Table of Contents in Google Slides?
But let’s talk about why you should ever do this. This brings me to the question, what if you’re giving a presentation with 50 slides? Now, if a viewer wants to go back to one particular section, he has to scroll through every single slide. Bother, right? A dynamic table of contents fixes that problem because it provides a way of direct links to different sections in your presentation so that it’s easier for you and your viewers to navigate.
More to this, the table of contents gives you a very good professional look, and it shows that you have put some thought into its general structure. And it will make your presentation flow better and will keep your audience riveted to it!
How to Design a Dynamic Table of Contents
Now, let’s just go ahead and see how to produce a dynamic table of contents in Google Slides-it’s pretty easy, no high-tech skills are needed, but rather just these simple steps:
Step 1: Plan Your Slides and Sections
Divide your presentation into clear sections. For example, if you’re making a pitch for a business idea, your sections will probably be:
- Introduction
- Objectives
- Strategies
- Outcomes
- Conclusion
Take a note out of each of your sections onto a piece of paper or document in front of you before you get started.
Step 2: Design a Table of Contents Slide
Once you’re familiar with your sections, it’s about time to create a new slide at the very start of your presentation. It is going to be your Table of Contents slide. Just use bullet points or put them into numbered lists to identify each different section of your presentation.
Step 3: Insert Text for Each Section
For each of your bullet points or list items, place the name of the section to which it will refer. For instance, if your first section is “Introduction,” your table of contents must be marked with this name as well. Do not be too obscure regarding your text so one gets confused later.
Step 4: Hyperlink Each Section to Its Resultive Slide
This is the magic part: hyperlinking!
- Select the text you wish to hyperlink, for example, “Introduction”.
- Right-click on the highlighted text to get a context menu and select “Link.”
- Now, a choice labeled “Slides in this presentation” will appear in the link box; click on this.
- You will get a drop-down list that contains all of your slides. Select the slide where you want to link to this section. For example, if you select “Introduction” use Slide 2. Click “Apply”.
Continue this process for each section you have decided in your table of contents. When you have done this, each of the sections will have its appropriate slide, and navigation for your audience is significantly enhanced.
Step 5: Test Your Table of Contents
Before you present, give your hyperlinks a test. Put your presentation into presentation view and test each of your headings by clicking on each to make sure it takes you to the right slide. If anything is off, you can easily go back and fix the links.
Make It Really Dynamic: Updating on the Fly
Don’t forget, if you change your slides, for example, if you change sections you add or remove, update your table of contents. It’s good to check on your links again before you deliver a presentation.
Final Thoughts
Creating a dynamic table of contents within Google Slides is quite easy but highly useful. It allows you to give your presentation a professional look while keeping your audience aware of how they will easily navigate through long chunks of content. Of course, with the use of countless pre-made Google Slides templates available online, you can save even more time and make sure your presentation still looks like the best.
Hope you found this blog helpful in getting the most out of Google Slides with the added benefit of a dynamic table of contents. Then, the next time you’re working on an extremely long presentation, include a table of contents. That’s going to save your audience some scrolling and they’ll thank you for that!


