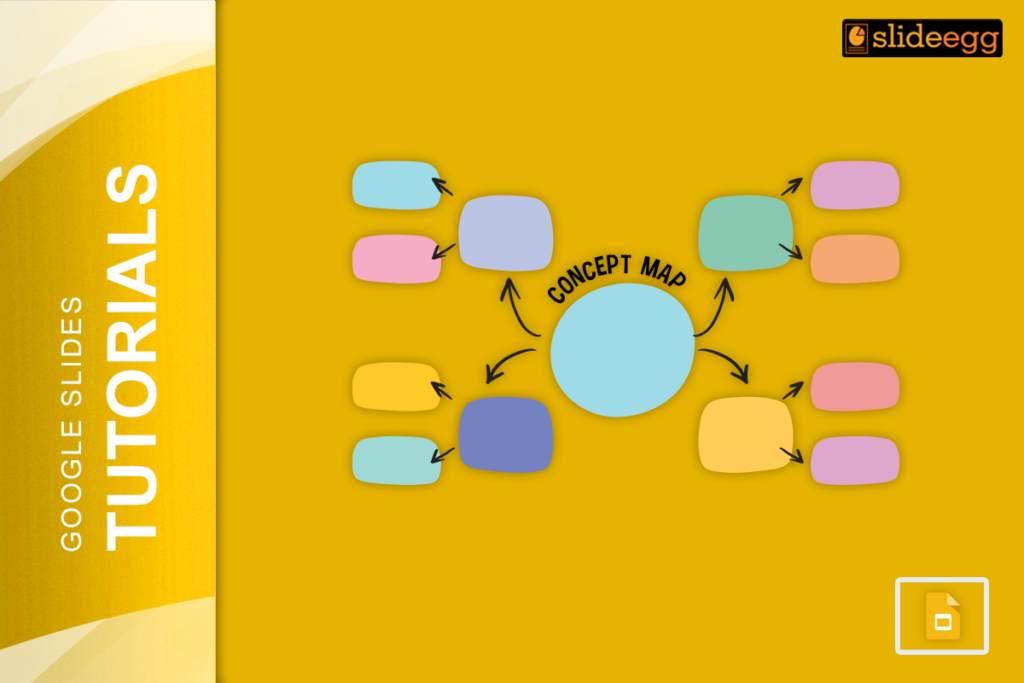
A concept map is a great way to organize your thoughts and present ideas clearly. Google Slides is a powerful tool that can help you create these maps efficiently. This guide will walk you through the process of making a concept map in Google Slides, even if you’re a beginner. By the end of this tutorial, you’ll be able to create professional-looking concept maps that effectively convey your ideas.
Introduction to Concept Maps
A concept map is a visual tool that helps in structuring and organizing information. It is often used in education, business, and personal projects to outline ideas, concepts, and their relationships. Concept maps can simplify complex information, making it easier to understand and communicate.
Why Use Google Slides for Concept Maps
It is an accessible, user-friendly tool that allows you to create and share presentations online. Its collaborative features make it perfect for team projects, and it offers a variety of tools to enhance your concept maps. Here are some reasons to use Google Slides for your concept maps:
- Accessibility: Access your work from any device with internet access.
- Collaboration: Share your slides and work simultaneously with others.
- Flexibility: Customize your slides with various shapes, colors, and text options.
Preparing Your Google Slides
Before you start creating your concept map, you need to set up your Google Slides presentation. Follow these simple steps:
- Open Google Slides: Go to Google Slides (https://slides.google.com) and open a new presentation.
- Set Up Your Slide: Select a blank slide layout to provide a clean canvas for your concept map.
- Save Your Work: Name your presentation and save it in your Google Drive to ensure you don’t lose any progress.
Creating Your Concept Map
Now, let’s dive into creating your concept map. Follow these steps to create a clear and effective map:
Step 1: Identify the Central Idea
- Central Idea: Place the main concept or topic in the center of the slide. Use a large, bold font to make it stand out.
Step 2: Add Branches for Sub-Topics
- Branches: Draw lines from the central idea to represent different sub-topics. Use the line tool in Google Slides to create these connections.
- Sub-Topics: Place text boxes at the end of each branch to label your sub-topics.
Step 3: Connect Ideas
- Relationships: Add additional branches from each sub-topic to represent related ideas or details. Ensure each connection is clear and logical.
- Shapes and Colors: Use different shapes and colors to differentiate between various levels of information. This will make your map more visually appealing and easier to read.
Step 4: Add Visuals and Text
- Icons and Images: Incorporate relevant icons or images to enhance understanding and retention.
- Text Formatting: Use bullet points, bold text, and different font sizes to emphasize important information.
Using Premade Templates
One of the best ways to enhance your concept map is by using premade concept map presentation templates available online. These themes can save you time and give your presentation a polished look. Here’s how to use them:
- Search for Free Themes: Look for websites offering free Google Slides themes. Many educational and professional websites provide high-quality templates.
- Download and Import: Download the theme you like and import it into your Google Slides presentation.
- Customize: Adjust the theme elements to fit your concept map. Change colors, fonts, and layouts as needed.
Using these themes not only saves time but also ensures your presentation looks professional.
Tips & Tricks for Better Presentation Hacks
To make your concept maps and presentations stand out, here are some additional tips and tricks:
- Consistency: Maintain a consistent style throughout your map to avoid confusion.
- Minimal Text: Use concise text to convey ideas clearly without overwhelming the audience.
- Interactive Elements: Add links to relevant resources or additional slides for a more interactive experience.
- Review and Revise: Always review your map for clarity and completeness. Ask for feedback from others to enhance your presentation.
For more detailed advice on improving your presentations, don’t forget to explore our tips & tricks page.
Conclusion
Creating a concept map in Google Slides can greatly enhance your ability to organize and present information. By following this easy manual, you can create effective concept maps that clearly convey your ideas. Remember to utilize premade Google Slides templates to give your maps a professional touch and explore additional tips and tricks for even better presentations. Start creating your concept map today and see how it can transform your projects!


