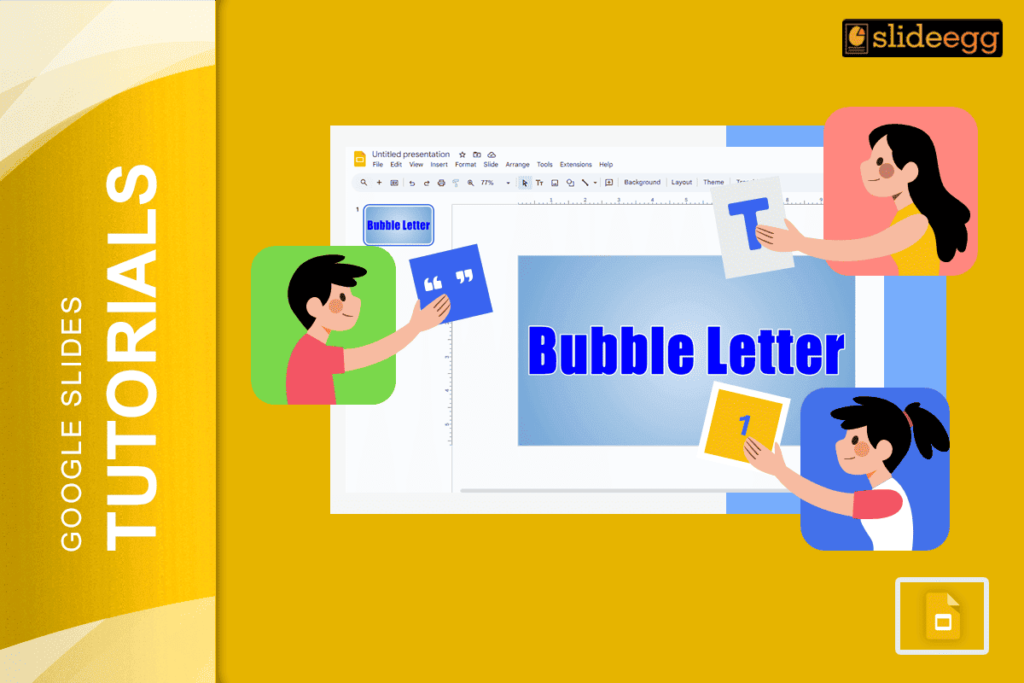
Ever wondered how some presentations grab attention with those bold, colorful, and funky text designs? That’s WordArt for you! It has the power to turn an average presentation into a show-stopper. The best part?
In this blog, I’ll show you how to do WordArt on Google Slides step by step, sprinkle in some extra tips for getting creative, and link you to other cool ways to upgrade your slides. Ready? Let’s dive in!
What Is WordArt, and Why Use It?
WordArt is a great way to make your text stand out. Instead of plain, boring fonts, WordArt allows you to style your text with bold colors, shadows, outlines, and more. Imagine it as adding personality to your words!
Using WordArt can help:
- Grab attention: Perfect for titles or key points.
- Add creativity: Make your slides visually engaging.
- Keep things fun: Who doesn’t love adding a little flair to their work?
Step-by-Step: How to Make WordArt on Google Slides
Follow these super-easy steps to add some WordArt magic to your presentation:
1. Open your Google Slides presentation
- Start with the slide where you want to add WordArt.
2. Insert a text box
- Go to the “Insert” menu, then choose “Text Box”. Click and drag to create a text box anywhere on the slide.
3. Type your text
- Write what you want to turn into WordArt. This could be a title, heading, or anything that needs extra flair.
4. Personalize the font style and size
- Highlight your text and use the toolbar to select a fun font, adjust the size, and play with the text alignment.
5. Add bold colors and effects
- Go to the “Fill color” tool to choose a background color for your text.
- Use “Border color” to add an outline.
- Experiment with “Border weight” to make the outline thicker or thinner.
6. Add shadows or reflections
- Right-click your text, select “Format Options”, and explore effects like “Drop Shadow” or “Reflection”. These features are perfect for giving your WordArt a polished look.
Pro Tips for Stunning WordArt
- Use gradients for a modern vibe: Want to go beyond solid colors? Try gradients under the “Fill color” menu.
- Mix and match fonts: Pair a bold font with a script-style one for contrast.
- Balance your slide: While WordArt is fun, make sure the rest of your slide stays clean and easy to read.
If you want even more creative ideas, check out our guide on how to decorate Google Slides. It’s full of tips to take your presentation designs to the next level!
Why Google Slides Is Perfect for WordArt
Google Slides makes adding WordArt easy without needing any extra tools or downloads. Plus, you can explore free Google Slides templates to quickly start your presentation with pre-designed themes that complement your text styles.
Take Your Presentations Further
WordArt is just one piece of the puzzle. To explore even more creative options, check out our blog on how to use SmartArt in Google Slides for organizing ideas visually. You can also visit our tips & tricks page for quick hacks to make your presentations pop.
Final Thoughts
Learning how to do WordArt on Google Slides opens up endless possibilities for creating eye-catching presentations. Whether you’re sprucing up a title or adding flair to a key point, WordArt helps your ideas shine. Don’t be afraid to experiment and have fun with colors, fonts, and effects—it’s all about making your presentation reflect your personality!
Now, it’s your turn to try out WordArt and wow your audience. Who knew presentations could be this fun?
Hope you enjoyed this guide! Let me know if you need more tips or tricks to up your Google Slides game.


