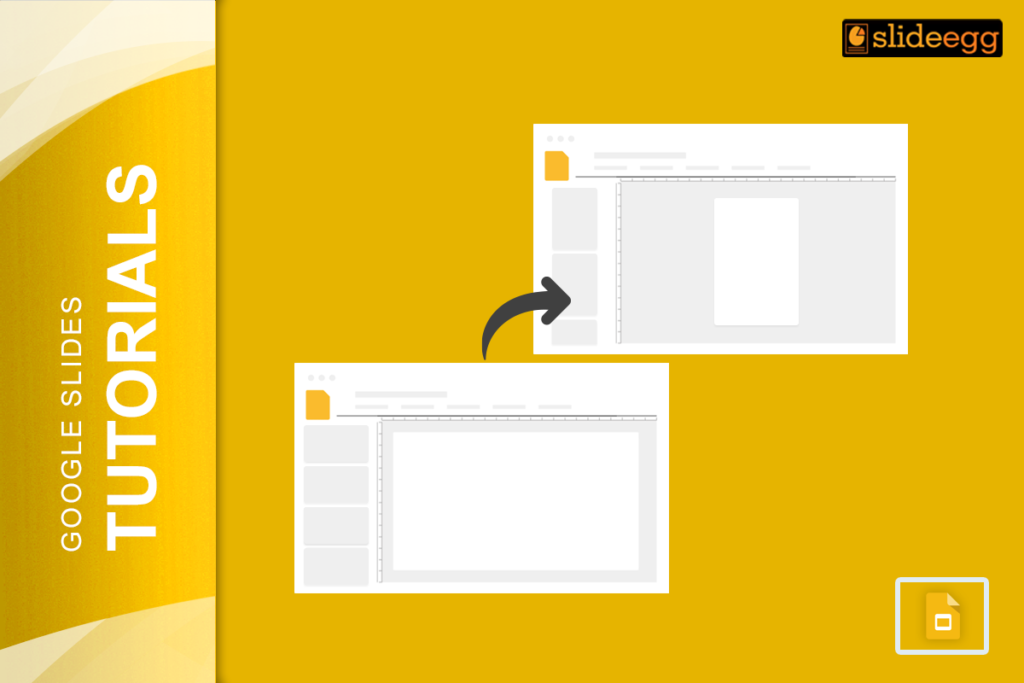
Google Slides is a powerful and versatile tool for creating presentations. However, it defaults to a horizontal (landscape) orientation, which isn’t always ideal for every project. Whether you’re designing a poster, a flyer, or a unique presentation, knowing how to make Google Slides vertical (portrait orientation) can be incredibly useful. In this guide, we’ll walk you through the steps to change the orientation of your slides, providing tips and tricks to make the most out of your vertical slides.
Why Use Vertical Google Slides?
Before diving into the how-to, let’s explore why you might want to use vertical slides:
- Posters and Flyers: Vertical orientation is perfect for creating posters and flyers that need to be printed.
- Mobile Presentations: Vertical slides are easier to view on mobile devices, making them ideal for presentations that will be shared via smartphones.
- Unique Layouts: A vertical layout can help your presentation stand out and grab attention.
Step-by-Step Guide to Making Google Slides Vertical
Step 1: Open Your Presentation
First, open the Google Slides presentation you want to change to a vertical format. If you don’t have one yet, you can start a new presentation by going to Google Slides (https://slides.google.com).
Step 2: Access Page Setup

Once your presentation is open, follow these steps:
1. Click on “File”: In the top-left corner of the screen, click on the “File” menu.
2. Select “Page Setup”: Scroll down and select “Page setup” from the dropdown menu. This will open a new window with your current slide dimensions.
Step 3: Change the Orientation
In the Page Setup window, you will see several options:
1. Click on the drop-down menu: It will likely show “Widescreen 16:9” by default.
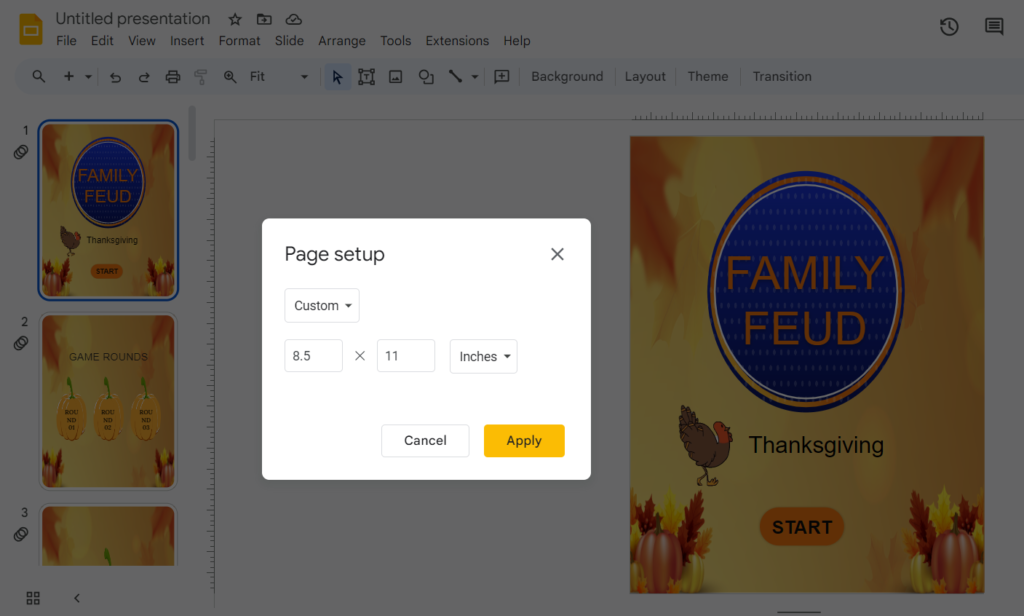
2. Select “Custom”: From the dropdown menu, select “Custom” to input your own dimensions.
Step 4: Set Custom Dimensions

To switch to a vertical orientation:
1. Input Dimensions: For a standard vertical slide, set the dimensions to 8.5 inches width and 11 inches height. These dimensions mimic a standard sheet of paper in portrait mode.
2. Apply Settings: Click “Apply” to save your changes. Your slides will now be in vertical orientation.
Step 5: Adjust Content
After changing the orientation, you might need to adjust your content to fit the new layout. Here are some tips:
- Resize Text Boxes: Ensure that text boxes fit well within the new vertical space.
- Reposition Images and Shapes: Move and resize images and shapes to take full advantage of the vertical layout.
- Check Alignment: Make sure all elements are properly aligned for a clean, professional look.
Tips for Using Vertical Slides Effectively
Design Considerations
- Use Vertical Space: Make use of the full vertical space by stacking content vertically.
- Consistent Design: Maintain a consistent design and layout to keep your slides looking professional.
- Readable Fonts: Use large, readable fonts to ensure your text is easy to read, especially on mobile devices.
Practical Applications
- Educational Posters: Create educational posters for classrooms.
- Event Flyers: Design event flyers that are easy to print and distribute.
- Infographics: Develop infographics that tell a visual story from top to bottom.
Google Slides Templates
Google Slides offers a variety of free templates that can be customized to suit your needs. These free Google Slides themes are a great starting point for creating professional-looking presentations quickly and easily. By utilizing free templates, you can save time and focus on adding your unique content.
If you’re interested in learning more about how to optimize your these templates, check out our blog post How to Change Your Google Slides Template Size in Minutes. This guide will help you understand how to adjust your template sizes to fit any presentation format.
Conclusion
Changing the orientation of your Google Slides to vertical can open up new possibilities for your presentations and design projects. By following the simple steps outlined in this guide, you can easily switch to a vertical layout and start creating unique, eye-catching slides. Whether for posters, flyers, or mobile-friendly presentations, vertical slides can help you achieve your creative goals.
Experiment with different designs and layouts to see what works best for your project, and enjoy the flexibility that Google Slides offers. Happy designing!


