Google Slides is a powerful and user-friendly tool for creating engaging presentations. While most users stick to the default landscape orientation, there are times when you might need to switch to a portrait orientation. Whether you’re designing posters, creating infographics, or simply prefer a different layout, changing the slide orientation can make a significant difference. In this blog, we’ll guide you through the process of changing slide orientation in Google Slides using simple steps. Plus, we’ll share some handy tips on using free Google Slides templates to make your presentations stand out.
Why Change Slide Orientation?
Before we learn the steps, let’s discuss why you might want to change the slide orientation. The default landscape orientation is great for most presentations, but a portrait orientation can be more suitable for certain types of content, such as:
- Posters and Flyers: Portrait orientation is ideal for creating posters and flyers that you plan to print.
- Infographics: If you’re designing an infographic that needs to be viewed in a vertical layout, portrait orientation works best.
- Reports and Documents: Sometimes, a document-style presentation is better suited to a portrait orientation.
By adjusting the orientation, you can better tailor your slides to fit the content and purpose of your presentation.
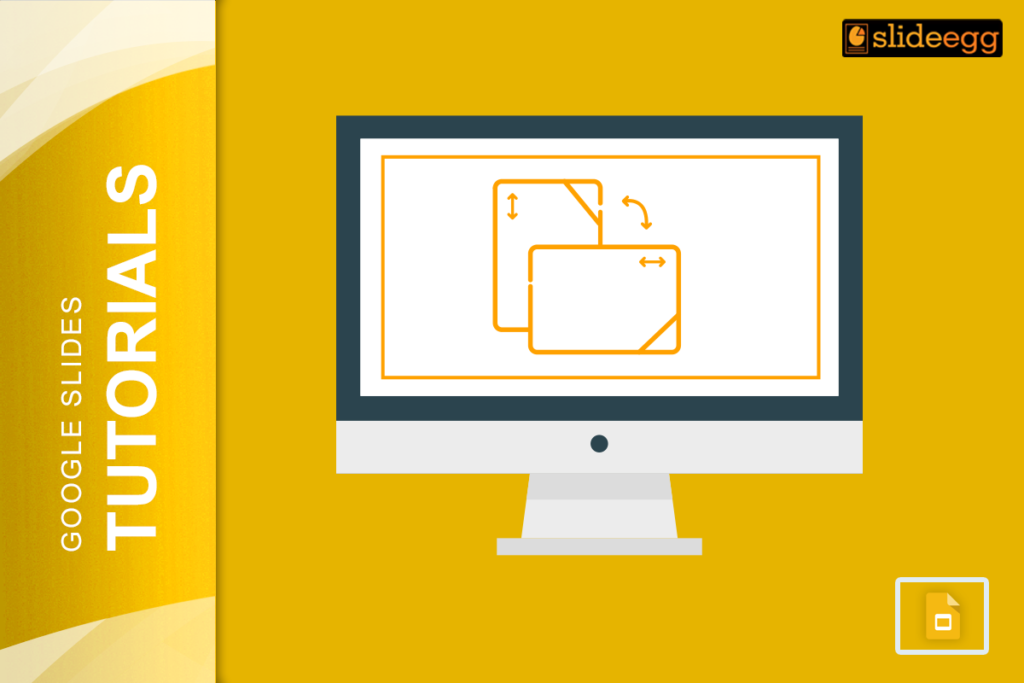
Step-by-Step Guide to Changing Slides Orientation
Changing the orientation of your slides in Google Slides is a simple process. Follow these steps to switch from landscape to portrait or vice versa:
- Open Your Presentation: Start by opening the Google Slides presentation you want to edit.
- Access Page Setup: Click on the ‘File’ menu in the top-left corner of the screen, then select ‘Page setup’ from the dropdown menu.
- Choose Custom Dimensions: In the Page Setup window, you’ll see the default options (Standard 4:3, Widescreen 16:9, etc.). Select ‘Custom’ to enter your own dimensions.
- Set Your Dimensions: To switch to portrait orientation, reverse the dimensions. For example, if the default is 10 x 5.62 inches (landscape), change it to 5.62 x 10 inches (portrait).
- Apply the Changes: Click ‘Apply’ to save the new dimensions. Your slides will now be oriented in portrait.

It’s that simple! By following these steps, you can easily change the orientation of your slides to suit your needs.
Enhance Your Presentation with Free Templates
Once you’ve changed the orientation of your slides, you might want to enhance their visual appeal with some stylish themes. There are numerous free Google Slides themes available online that can help you create professional-looking presentations quickly. Here are a few tips for finding and using these themes:
- Explore Theme Libraries: Various websites offer a wide range of free slides on various themes for different purposes.
- Match Your Theme to Your Content: Choose a theme that complements the content and purpose of your presentation. For instance, a clean and minimalist theme might be perfect for a business report, while a colorful and creative theme could be great for a school project.
- Customize Your Theme: Don’t hesitate to tweak the colors, fonts, and layouts of the theme to match your branding or personal style better.
Using free themes can save you time and help you create visually appealing presentations that stand out.
Read More
If you’re looking to further customize your presentations, you might also be interested in learning how to change the template size in Google Slides. Check out our detailed blog for a step-by-step guide.
Additional Tips and Tricks
Changing the slide orientation and using themes are just a few ways to enhance your presentations. For more advanced tips and tricks, be sure to visit our tips & tricks section. You’ll find a wealth of information to help you create more effective and engaging presentations.
Conclusion
Changing the orientation of your slides in Google Slides is a quick and easy way to tailor your presentations to fit your content better. By following the steps outlined in this guide, you can switch between landscape and portrait orientations with ease. Don’t forget to explore free themes to add a professional touch to your presentations, and be sure to check out our other blogs for more helpful tips and tricks. Happy presenting!