If you have ever done work in Google Slides, you have probably added many images, text boxes, or shapes to your slides. However, you might once in a while find that an object is behind another one, or maybe it’s in a location you wouldn’t like it to be. Well, that’s where the concept of layering comes in handy.
For some reason, knowing how to change layers on Google Slides can really make a presentation pop. I’m sure you’ve noticed all the elements on a slide that you want perfectly in place. You might have elements overlapping, jumbled up, or simply in the wrong location. This tutorial will help guide you through simple steps for rearranging your elements on a slide and getting everything just right!
What is Changing Layers?
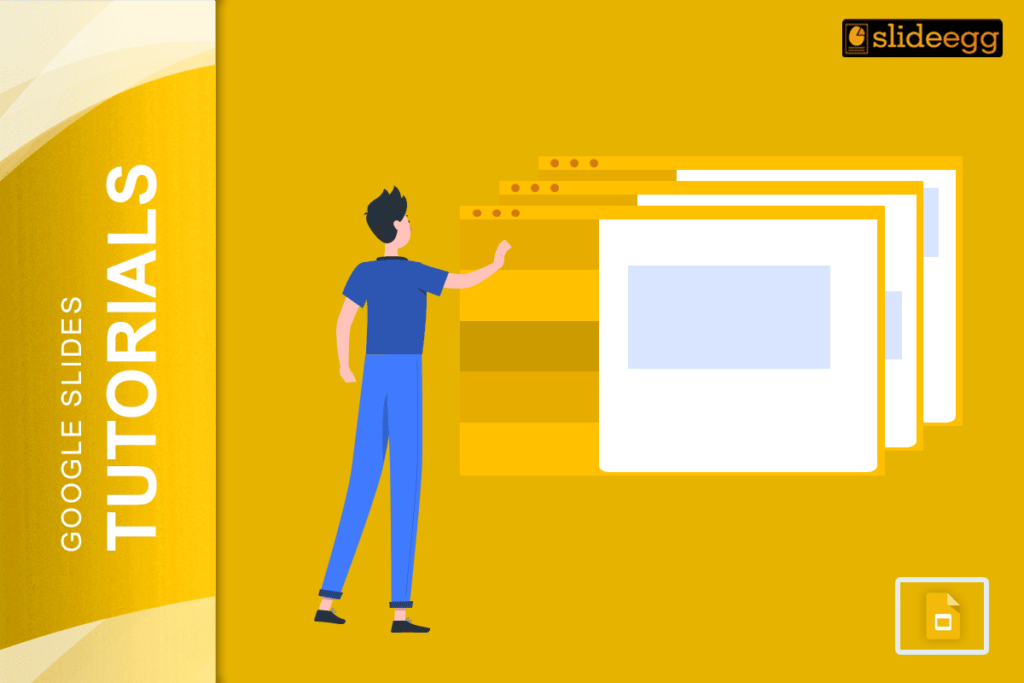
All elements you insert in Google Slides are within a layer. You can compare it to placing layers of paper on each other. When you move layers, you are moving those pieces of paper (the objects of your presentation) either forward or backward in the stack.
This feature is super helpful when you want to control which objects appear on top and which ones stay behind. For instance, if you have a picture with text over it, you need to make sure that the text layer is ahead of the image layer so it’s visible.
How to Change the Layers on Google Slides
Here’s a super easy way to change the layers on your slides:
Step 1: Select the object
Choose the item you will be moving. This could be an image or text box, and so forth.
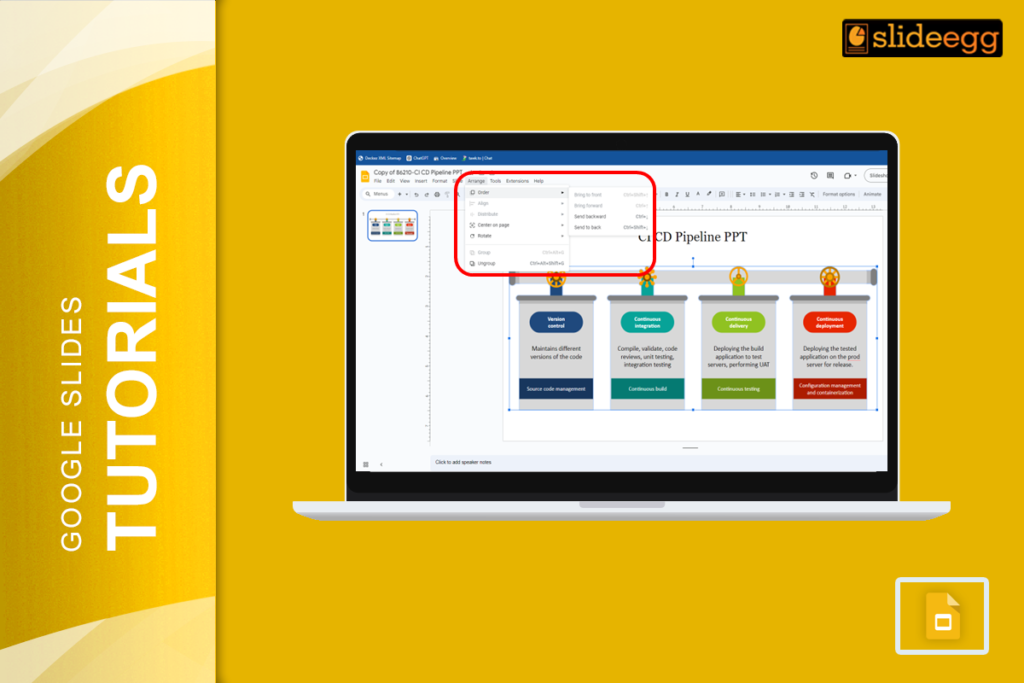
Step 2: Right-click or use the Arrange menu
After you choose the object, you’ll either right-click on that object itself or go up to the top menu by clicking on “Arrange.” The options begin with “Order” under this menu.
Step 3: Choose the layer action
From the “Order” submenu you can select:
- Bring to front: This moves the object to the very top layer.
- Send to back: Sends the object behind all others.
- Bring forward: This moves the object up one layer.
- Send backward: This moves the object down one layer.
Step 4: Layer as needed
Make all of your objects layer perfectly just the way you want them. The steps can be repeated in multiple elements on the slide.
And that’s all! Now, you know how to change layers in Google Slides with just a few clicks.
Pro Tip: Use Free Google Slides Themes
You can make your slides more fabulous without much effort if you use free Google Slides templates available online. Most of the time, they have excellent layouts and layering pre-designed, so it will be easy for you to create professional-looking slides, rather than setting almost every object by hand.
You can quickly search for free themes and give your presentations a boost of creativity instantly. These themes really make a difference if you want to save time, yet end up with a very appealing look.
A Couple More Layering Hacks
Switch layers pretty much in the same way: Just click on the layer you would like to switch in the Layers panel, then click on the new layer in the Navigator pane where you would like that layer to go. Now, here are a couple more tips to really step your layering game up:
- Group objects: This will be of great help if you have lots of objects you want to move around together. You can select all with the “Ctrl” key and right-click and click on Group. Now, all these groups will move with you, and their layers will change together too. Check out our blog on “How To Group Or Ungroup Objects In Google Slides” for clear steps.
- Align and arrange: You probably would like to have your objects perfectly aligned. To learn more about this, check out our post “How to Align and Arrange Objects in Google Slides.”
Conclusion
Knowing how to change layers in Google Slides lets you create cleaner, more organized slides. Using it, whether you want to bring text to the front or send an image to the back, your presentations will surely stand out. Don’t forget to try free themes to enhance your creativity and speed up the process.
Find more Google Slides hacks by visiting our Tips & Tricks page, which contains a ton of useful tips on presentation skills. So, this is a great chance to start making professional slides quickly and efficiently.
