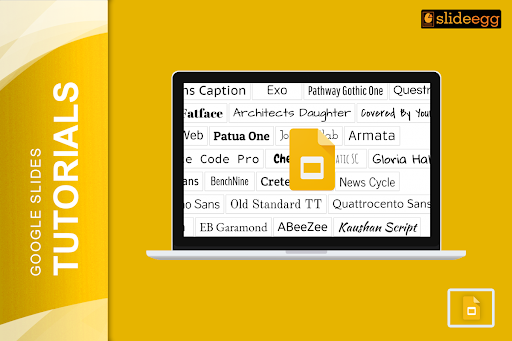
If you’re already using Google Slides for the presentation, you would have already noticed that default fonts are typically not the most engaging way of having a font. Be it a school project, business presentation, or even the presentation of one’s creative portfolio, you might have to make use of other kinds of fonts, which really do make a lot of difference to the entire presentation. Do you know? You can easily change your default font by following a few simple steps in this quick guide.
Why Change Default Font?
Well, before we get into the procedure, let’s briefly talk about why you should change default fonts.
- Personalization: Using your favorite font gives the presentation a personal touch and sets it apart.
- Brand Consistency: If you are doing business, using a font that best represents your brand gives a more professional look.
- Readability: The Arial and other fonts are readable, but sometimes they are not suitable for your presentation design. So, you can make it quite clear by using a font that will be apt for your slides.
How to Change Default Font in Google Slides
Here is the fast and easy way of changing the default font in Google Slides:
Step 1: Open Your Google Slides Presentation
Open up a presentation where you wish to change the default font. If you do not have a presentation, open up a Google Slides template or start by using an empty page to create your first presentation.
Step 2: Open the Master Slide
Open the Master Slide, if you are going to replace the master font for all of your slides. Here is where all of your slide templates are stored.
- Top Menu > Click Slide.
- Right-click the “Slide” and click Edit Theme.
In the Theme editor, you now have a list of slide layouts in your left-hand area. Your Master Slide is at the very top of the list.
Step 3: Alter the Master Slide’s Font
Click the Master Slide and click one of the text boxes you wish to alter. You can now refresh the font of your text from the toolbar just as if you were working on a regular slide.
- Select the text by dragging your mouse across it in the textbox.
- Choose the font you like from the dropdown in the toolbar.
Step 4: Apply to All the Slides
Now you change the text font in your Master Slide, and all slides automatically update with it. This can be a time-saver on longer presentations. You can change other slide layouts below the Master Slide if you have areas of different slides that you want to use different fonts.
Step 5: Save Your Work
Remember to save your changes. To return to your presentation, just click the back arrow up top left of the browser window. Now, your new default font is applied throughout all the slides.
Things to Remember
- Readability: Some fonts may not be readable through all devices and software. You may want to share your presentation with people, so ensure that the font you are using can easily be accessed at their end.
- Consistency: Do not misbehave and use too many different fonts in one single presentation. Use two or three for the best presentation look.
To learn other Google Slides tutorials, tips, and tricks, head on over to our Google Slides tutorial page. It’s chock-full of ways to take your presentation to the next level!
Bonus Tip: How to Add New Fonts to Google Slides
Tired of running out of your default font options? Don’t worry anymore since you can add more to Google Slides and even make the most unique presentations ever. Go check this step-by-step article on how to add fonts in Google Slides for some extra guidelines on how to add those extra fonts to your Google Slides.
Let me tell you one more trick: There are plenty of free Google Slides templates available online that you can use to spice up your presentations. They come with amazing designs and even custom fonts – all of the time and effort you save.
Conclusion
This simple yet very powerful approach to changing the font in Google Slides will enable one to do almost everything that would help work out to make presentations look more professional and creative or even just add a little spice to looks. Personalize slides and give them that personal touch so that they will fit your style or brand with some simple clicks.
Free templates as a bonus, you will escalate the presentation designs to a new level, and maybe even inspire you and save tons of time, and you’re getting polished designs.
Go ahead and start creating your next presentation with creativity!


