
Creating visually appealing and engaging presentations is essential for capturing your audience’s attention. One way to enhance your Google Slides presentations is by using unique and custom fonts. While Google Slides offers a variety of fonts, sometimes you need a specific font to match your brand or presentation style. In this guide, we’ll walk you through the process of adding fonts to Google Slides, helping you make your presentations stand out.
Why Add Custom Fonts to Google Slides?
Using custom fonts in your Google Slides can:
- Enhance Readability: Custom fonts can make your text easier to read.
- Reinforce Branding: Using your brand’s fonts helps maintain consistency.
- Improve Aesthetics: Unique fonts can make your slides more visually appealing.
- Capture Attention: Interesting fonts can grab and hold your audience’s attention.
Understanding Google Slides Font Options
Google Slides comes with a selection of pre-installed fonts, accessible via the font drop-down menu in the toolbar. While these fonts are versatile, they might not always meet your specific needs. Here’s how you can explore additional font options and add custom fonts to Google Slides.
Adding Fonts from Google Fonts
Google Fonts is a free library of web fonts that you can use in your Google Slides. Here’s a step-by-step guide to adding fonts from Google Fonts:
Step 1: Access Google Fonts
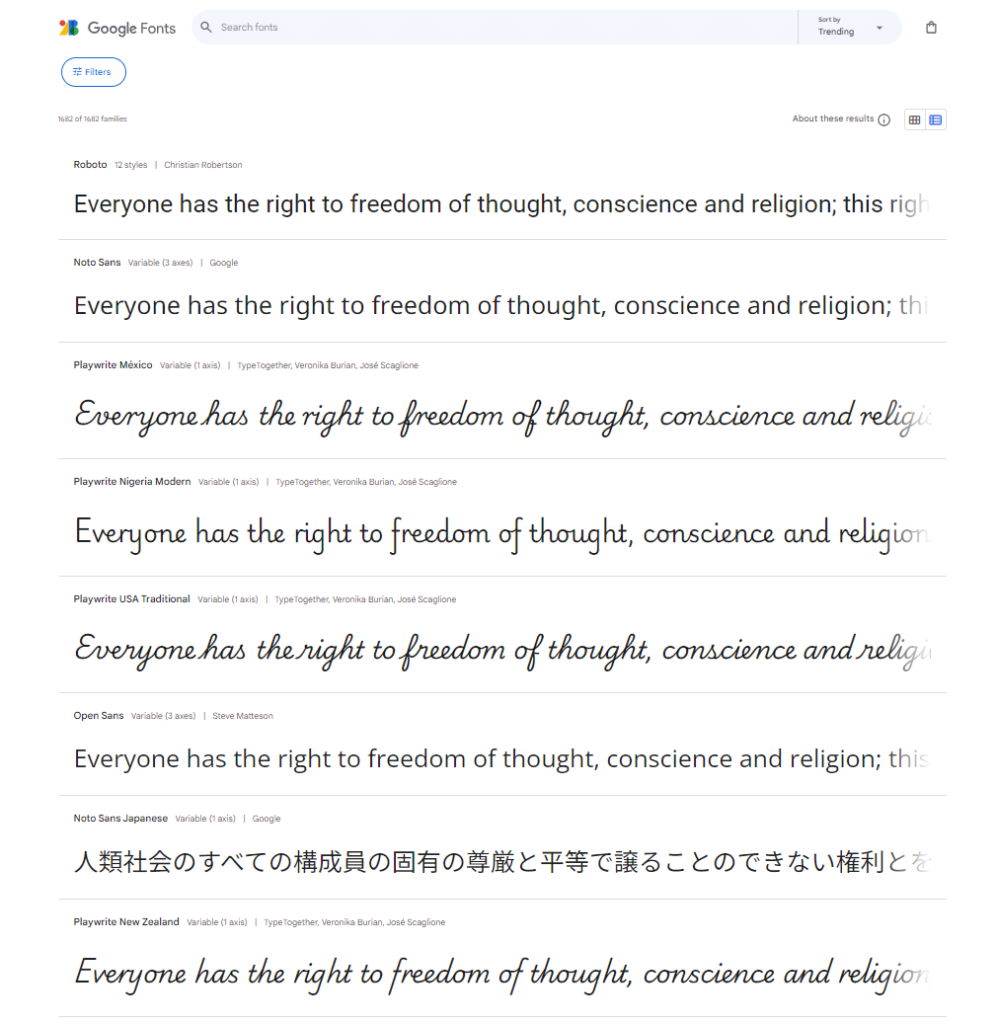
1. Open your web browser and go to Google Fonts (https://fonts.google.com)
2. Browse the extensive library of fonts. You can filter by categories like serif, sans-serif, display, handwriting, and more.
Step 2: Select Your Font
1. Click on the font you like to see more details.
2. On the font’s page, click on the “+ Select this style” button to choose the specific styles you want (e.g., bold, italic).
Step 3: Copy the Font Name
1. Once you’ve selected the font styles, click on the “Embed” tab.
2. Copy the font name under “CSS rules to specify families.”
Step 4: Apply the Font in Google Slides
1. Return to your presentation.
2. Highlight the text you want to change.
3. Click on the font drop-down menu in the toolbar.
4. Paste the font name you copied from Google Fonts into the search bar.
5. Select the font from the results to apply it to your text.
Using Extensis Fonts Add-On
Another way to add fonts to Google Slides is by using the Extensis Fonts add-on, which gives you access to over 900 Google Fonts directly in Google Slides. Follow these steps:
Step 1: Install the Extensis Fonts Add-On
1. Open your Google Slides.
2. Click on “Add-ons” in the top menu.
3. Select “Get add-ons.”
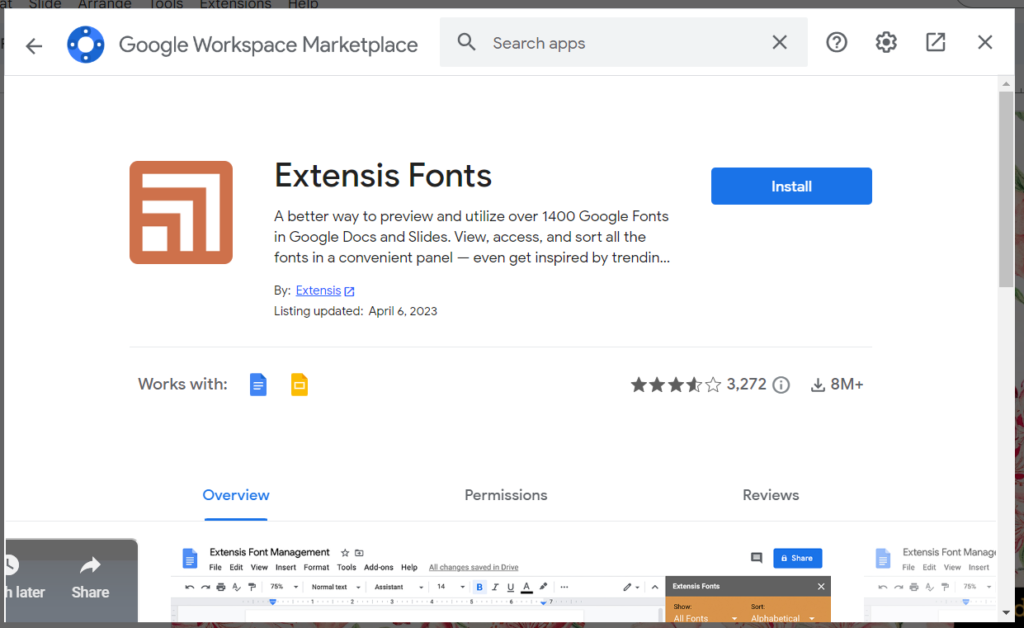
4. Search for “Extensis Fonts” and click on it.
5. Click on the “Install” button and follow the prompts to authorize the add-on.
Step 2: Access Extensis Fonts
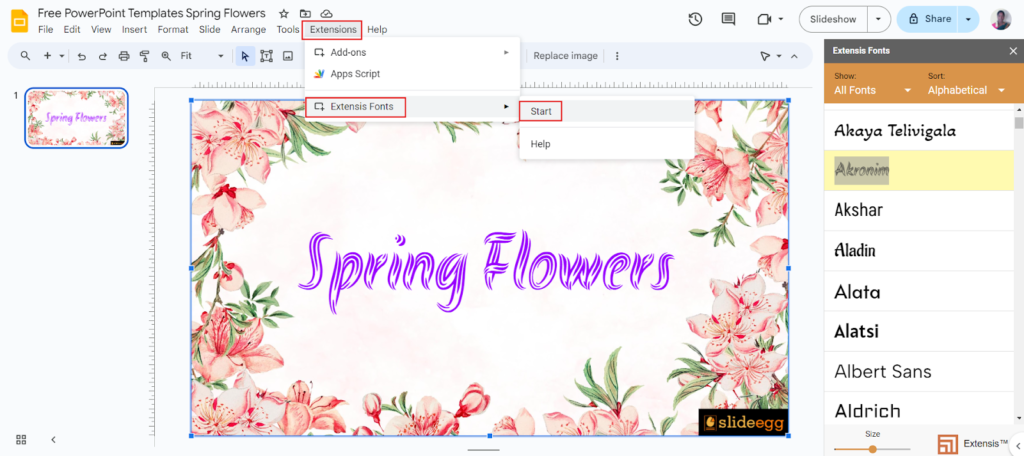
1. After installation, go to “Add-ons” in the top menu.
2. Select “Extensis Fonts” and then “Start.”
Step 3: Apply Extensis Fonts
1. A panel will appear on the right side of your screen, showing the available fonts.
2. Highlight the text you want to change.
3. Browse the Extensis Fonts panel and click on a font to apply it to your selected text.
Adding Custom Fonts Using Google Slides Add-Ons
If the font you want is not available on Google Fonts, you can use third-party add-ons to add custom fonts to your Google Slides. Here’s how:
Step 1: Find a Custom Font Add-On
1. Open your presentation.
2. Click on “Add-ons” in the top menu.
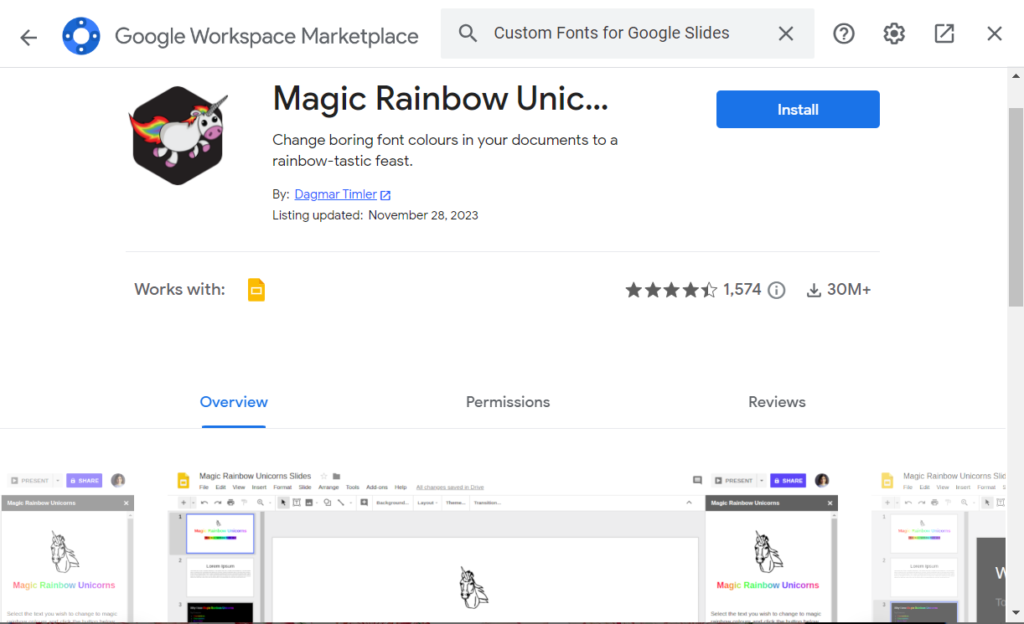
3. Select “Get add-ons” and search for custom font add-ons (e.g., “Custom Fonts for Google Slides”).
Step 2: Install the Add-On
1. Select the add-on and click on the “Install” button.
2. Complete the authorization process for the add-on.
Step 3: Upload Your Custom Font
1. Open the installed add-on from the “Add-ons” menu.
2. Follow the instructions provided by the add-on to upload and apply your custom font to your presentation.
Tips for Using Fonts Effectively in Google Slides
- Consistency: Maintain consistency by using a limited selection of fonts for a unified appearance.
- Readability: Ensure readability by selecting fonts that are easy to read, particularly for body text.
- Contrast: Ensure there is a good contrast between your text color and the background.
- Size: Use font sizes that are appropriate for your audience and setting (e.g., larger fonts for large rooms).
- Branding: Use your brand’s fonts to reinforce your visual identity.
Discover Free Google Slides Themes
Besides customizing fonts, another way to make your presentations stand out is by using premade free Google Slides templates available online. These templates can save you time and provide a professional look for your presentations. You can find a wide variety of free templates that you can easily customize to fit your needs.
Conclusion
Adding custom fonts to your Google Slides is a simple yet powerful way to enhance your content and make your presentations more engaging. Whether you use Google Fonts, the Extensis Fonts add-on, or a custom font add-on, you can easily find and apply the perfect fonts to match your style.
Follow the steps outlined in this guide to start creating unique and visually appealing presentations today. For more tips on customizing your slides, check out our blog on how to add, copy, and delete text boxes in Google Slides.
By taking advantage of these tools and tips, you’ll be able to create presentations that not only look professional but also leave a lasting impression on your audience. Happy presenting!