Creating presentations can often feel like a chore, especially when you’re racing against the clock to perfect every slide. Have you ever been in the middle of a presentation, only to realize you need to move a slide or delete an unnecessary one? Or maybe you’ve struggled to hide a slide without deleting it entirely? These common pain points can disrupt your flow and add unnecessary stress.
Fortunately, Google Slides offers a range of simple tools to manage your slides efficiently. With the right techniques, you can turn these frustrations into a streamlined process. This guide is here to show you how to handle slides like a pro, helping you save time and avoid unnecessary stress.
Step-by-Step Guide to Adding Slides in Google Slides

- Open Your Presentation: Start by opening your Google Slides presentation.
- Navigate to the Slide Menu: Click on the “Slide” menu at the top of the screen.
- Select New Slide: Choose “New slide” from the drop-down menu. Alternatively, you can use the shortcut ‘Ctrl + M’ (Windows) or ‘Cmd + M’ (Mac).
Tips for Adding Slides
- Use Templates: Google Slides offers various templates that can be used to maintain a consistent design throughout your presentation.
- Insert from Layouts: Use the “Layout” button on the toolbar to select different slide formats, such as title slides, section headers, or content slides.
Step-by-Step Guide to Duplicating Slides in Google Slides
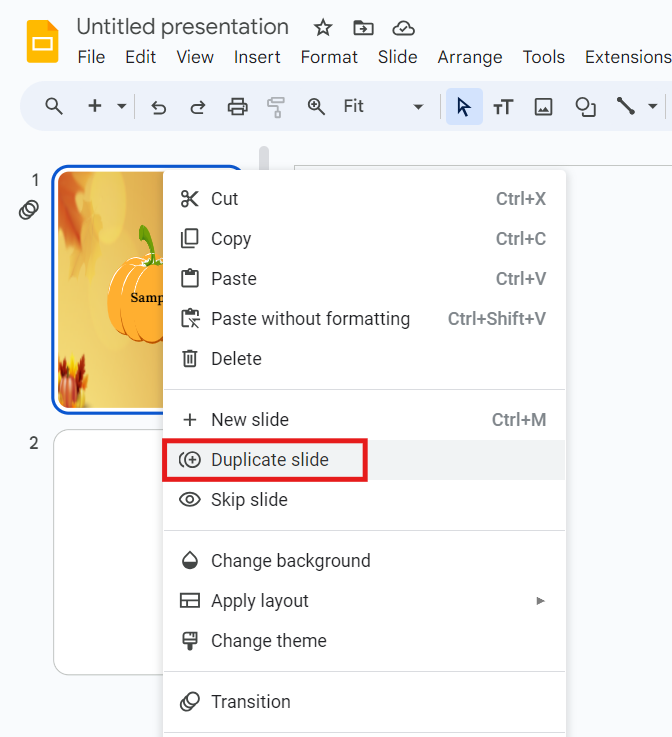
- Select the Slide: Click on the slide you want to duplicate in the slide thumbnail pane on the left.
- Right-Click: Right-click the selected slide and choose “Duplicate slide” from the context menu. You can also use the shortcut ‘Ctrl + D’ (Windows) or ‘Cmd + D’ (Mac).
Tips for Duplicating Slides
- Maintain Consistency: Duplicating slides is a great way to keep the formatting and design consistent throughout your presentation.
- Edit After Duplicating: Once duplicated, you can easily modify the content without affecting the original slide.
Step-by-Step Guide to Moving Slides in Google Slides
- Select the Slide: Click on the slide you want to move.
- Drag and Drop: Drag the slide to the desired position in the thumbnail pane and release it.
Tips for Moving Slides
- Reorder for Flow: Ensure your slides are in a logical order to maintain a smooth flow of information.
- Use Outline View: Switch to the outline view if you have a long presentation, making it easier to see and rearrange slides.
Step-by-Step Guide to Deleting Slides in Google Slides
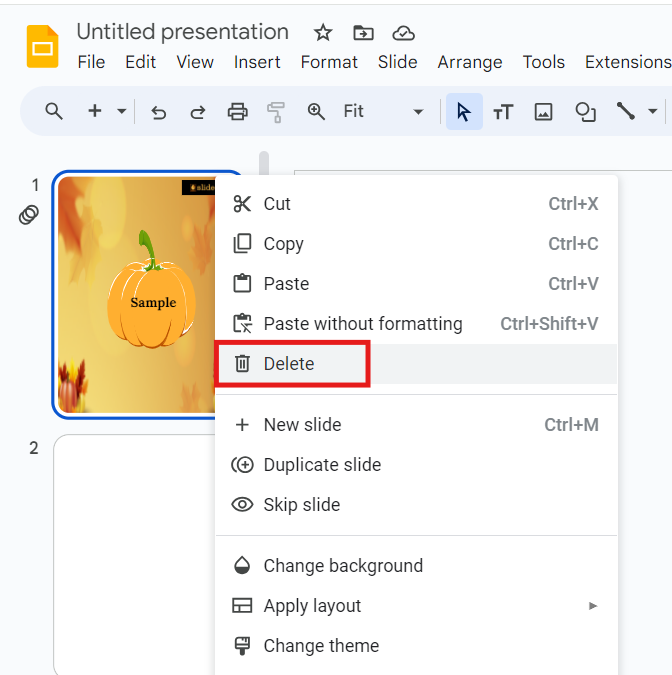
- Select the Slide: Click on the slide you want to delete.
- Right-Click: Right-click the selected slide and choose “Delete slide” from the context menu. Alternatively, press the ‘Delete’ key on your keyboard.
Tips for Deleting Slides
- Double-Check Before Deleting: Make sure you really want to delete the slide, as this action cannot be undone.
- Use the Undo Feature: If you delete a slide by mistake, use ‘Ctrl + Z’ (Windows) or ‘Cmd + Z’ (Mac) to undo the action.
Step-by-Step Guide to Hiding Slides in Google Slides
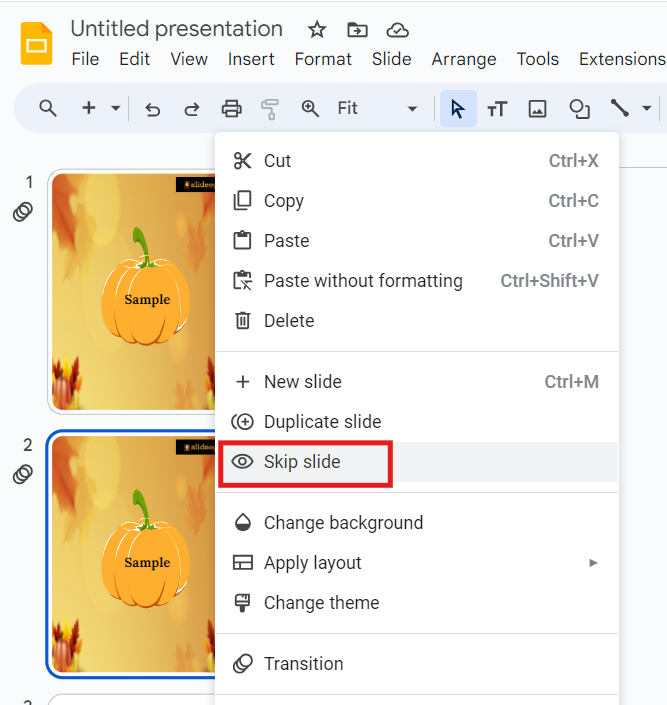
- Select the Slide: Click on the slide you want to hide.
- Right-Click: Right-click the selected slide and choose “Skip slide” from the context menu.
Tips for Hiding Slides
- For Backup Slides: Hide slides that you might want to use later or as a backup during your presentation.
- Audience Customization: Customize your presentation for different audiences by hiding slides that are not relevant.
Additional Tips and Tricks
For more hacks to enhance your presentation skills, check out our tips and tricks page. You’ll find valuable insights and advanced techniques to make your presentations even more effective.
Explore Free Google Slides Themes
If you’re looking for new and creative ways to enhance your presentations, explore free Google Slides templates available online. These templates can save you time and give your presentations a professional look with minimal effort.
Conclusion
Mastering the basics of adding, duplicating, moving, deleting, and hiding slides in Google Slides can significantly improve your presentation skills. These simple yet powerful techniques will help you create polished and organized presentations with ease.
By following this guide, you’ll be able to navigate Google Slides with confidence, making the most out of its features to create compelling and engaging presentations. Happy presenting!