Google Slides is a fantastic tool for creating presentations. It’s free, user-friendly, and can be accessed from anywhere with an internet connection. One feature that can make your slides stand out is the use of drop shadows. Adding drop shadows can give your text and images a more professional and polished look. In this blog post, we will guide you through the steps to add drop shadows in Google Slides and also share some tips on finding Google Slides templates online.
Why Use Drop Shadows?
Drop shadows can make elements on your slides pop out, giving them a three-dimensional effect. This can help in making text easier to read and images more visually appealing. Whether you are preparing a business presentation, an educational slide, or a personal project, adding drop shadows can enhance the overall look of your slides.
Adding Drop Shadows in Google Slides
Unfortunately, Google Slides does not have a built-in feature for drop shadows. However, there are workarounds you can use to achieve this effect. Below are three methods you can use:
Method 1: Using Shapes as Shadows

One of the simplest ways to create a drop shadow effect is by using shapes. Here’s how:
- Insert an Image or Text Box: First, insert the image or text box you want to add a shadow to.
- Duplicate the Image or Text Box: Click on the image or text box and press ‘Ctrl + D’ (or ‘Cmd + D’ on Mac) to duplicate it.
- Change the Color: Change the color of the duplicate to a darker shade (usually black or grey).
- Position the Shadow: Move the darker duplicate slightly behind the original element to create the shadow effect. Use the arrow keys for precise positioning.
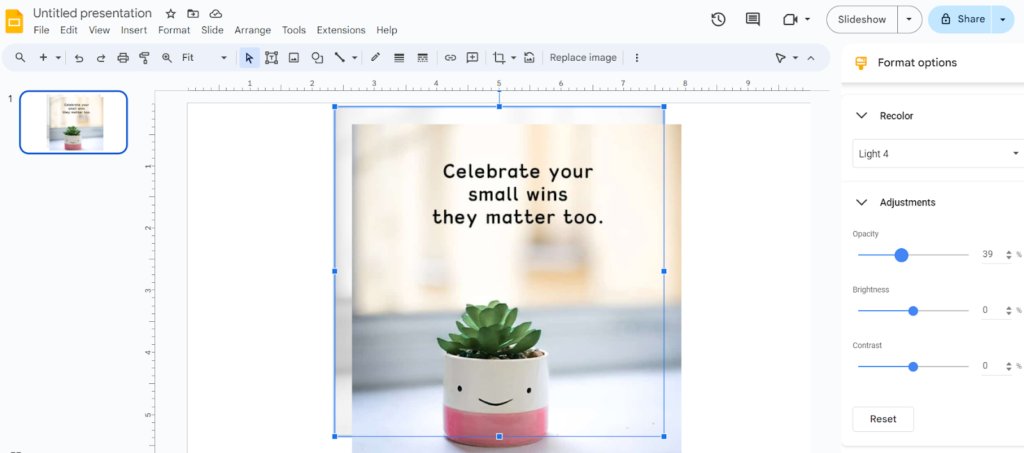
- Adjust the Transparency: Click on the darker duplicate, go to ‘Format options’ > ‘Adjustments’, and adjust the transparency to make it look more like a shadow.

Method 2: Using Google Drawings
Another method involves using Google Drawings to create a drop shadow and then importing it into Google Slides.
- Open Google Drawings: Go to Google Drawings (drawings.google.com).
- Create Your Element: Insert the image or text box in Google Drawings.
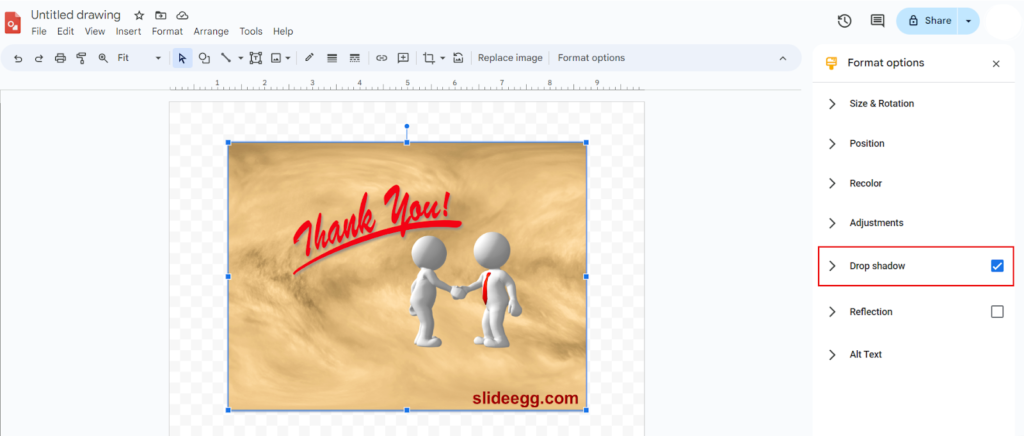
- Add the Shadow: Right-click on the element, select ‘Format options’, and choose ‘Drop shadow’. Adjust the settings to your liking.

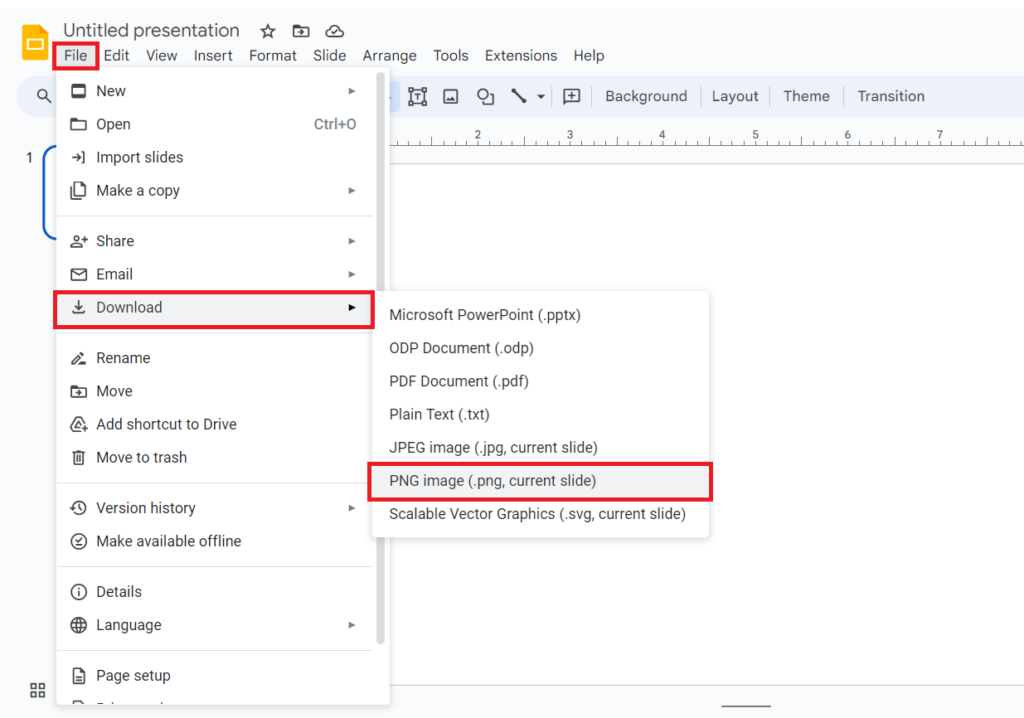
- Insert into Google Slides: Once you are satisfied with your design, click ‘File’ > ‘Download’ > ‘PNG image’. Then, insert this PNG into your Google Slides.

Method: 3 Using Third-Party Tools
Some third-party tools and websites allow you to create images with drop shadows, which you can then insert into Google Slides.
- Create Shadowed Image: Use a tool like Canva or a free online image editor to create your image with a drop shadow.
- Download the Image: Download the image once you’re happy with the design.
- Insert into Google Slides: Upload the image to Google Slides and position it as needed.
Finding Free Google Slides Templates
In addition to enhancing your slides with drop shadows, using pre-designed Google Slides can save you a lot of time and effort. Google itself offers a selection of free templates that you can access directly from the Google Slides home page. Simply click on ‘Template Gallery’ to explore the available options.
Conclusion
Adding drop shadows in Google Slides can significantly enhance the look of your presentations. While it requires a bit of creativity and a workaround, the results are worth the effort. By adding shapes in Google Slides, Google Drawings, or third-party tools, you can create professional-looking shadows that make your slides stand out. We hope these tips will help you make the most of Google Slides. So, go ahead and experiment with drop shadows and templates to create stunning presentations that captivate your audience!


