The drawing tool in Google Slides provides a degree of flexibility, it might not be as feature-rich as professional graphic design software. For more complex graphics, intricate designs, or advanced visual effects, you might need to use external design software and then import the created visuals as images into your presentation.
If you’re working on a presentation collaboratively, you can use the drawing tool to add custom shapes directly into the slides.
Custom shapes can be a great way to add visual interest and creativity to your Google Slides presentations.
In this blog post, explore how to add custom shapes and get some additional tips to be an expert in Google Slides.
There Are Two Ways To Add Custom Shapes In Google Slides
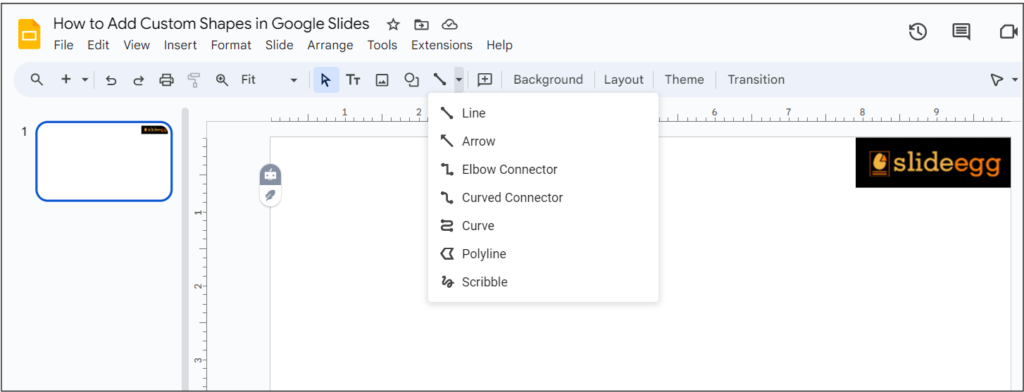
- Use the line tool to draw your own shape. This method is best for creating simple shapes, such as arrows or stars.
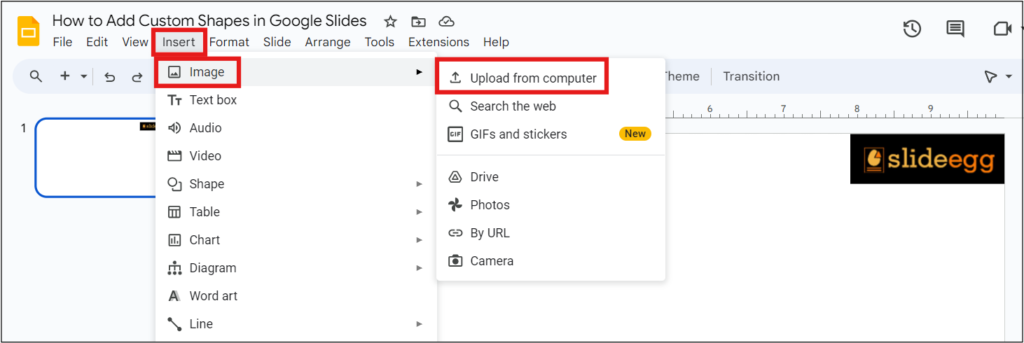
- Upload a custom shape file. This method is best for creating more complex shapes, such as logos or icons.
To Add A Custom Shape Use The Line Tool

- Click the Line tool in the toolbar.
- Click and drag on the slide to draw your shape.
- Click once to end the shape.
To make your shape more complex, you can add more line segments.
To Add A Custom Shape By Uploading A File

- Go to Insert > Image > Upload from your computer.
- Select the custom shape file you want to upload.
- Click Open.
- The custom shape will be inserted into your slide.
- Once you have added a custom shape, you can resize, rotate, and format it however you like.
Tips For Adding Custom Shapes
- To make a perfect shape, hold down the Shift key while you are drawing it.
- To constrain the proportions of a shape, hold down the Shift key while you are resizing it.
- To rotate a shape around its center, hold down the Alt key while you are dragging it.
- To change the fill color or outline of a shape, use the Format menu.
I hope you now know about how to add customized shapes to your Google Slides templates. Try now!


